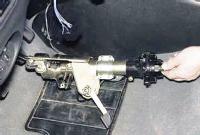
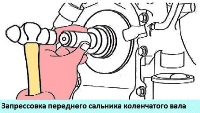
Replacing the timing belt on a Renault Megan car is recommended by the factory after a run of 60,000 km
The method for replacing the timing belt is determined by the type of keyed connection at the end of the crankshaft.
The connection can be with or without a key.
Setting the valve timing when installing a toothed pulley without a key
To replace the belt, we put the car on a lift.
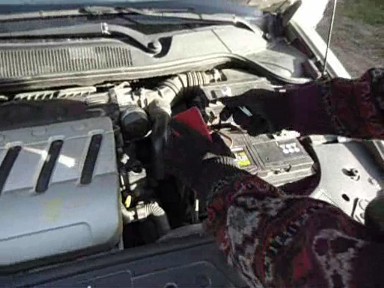
Disconnecting the battery
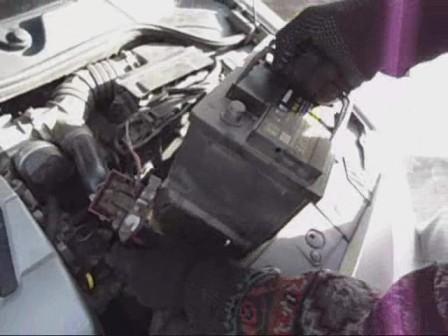
For a better approach, remove the battery
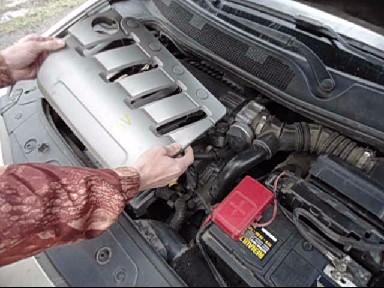
Removing the plastic protective cover

Remove the right front wheel
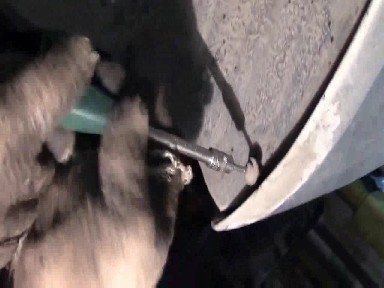
Remove the right front fender liner
Only the front part needs to be removed. It is screwed with two self-tapping screws and 5 clips.
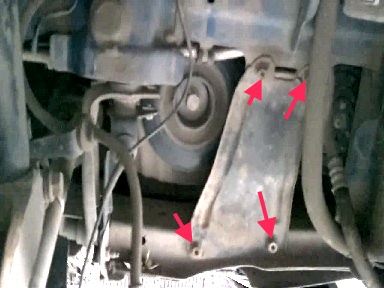
Using a 13 key, unscrew the four nuts securing the amplifier and remove it
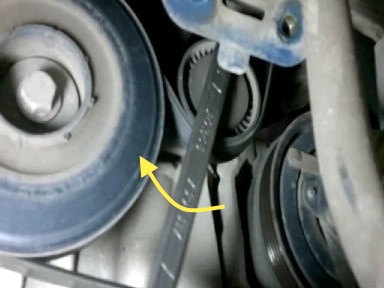
With a key of 16, turn the tensioner of the belt of additional drives and remove the belt (see the article on replacing the belt of additional devices).
We unscrew the bolt securing the accessory drive pulley (crankshaft pulley).
In order to unscrew the bolt, you need to block the crankshaft from turning.
To do this, the assistant must shift the manual transmission to the highest gear, press the brake pedal and apply the parking brake.
If at the same time it is not possible to unscrew the pulley mounting bolt due to crankshaft rotation, then the shaft must be locked.
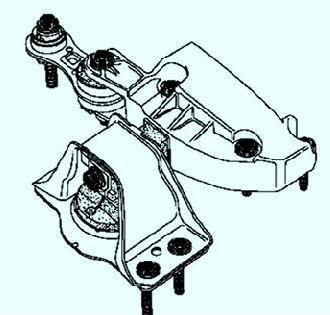
Remove the pendulum suspension support
To remove the support, you need to raise and lower the engine, otherwise the air conditioning pipe interferes.
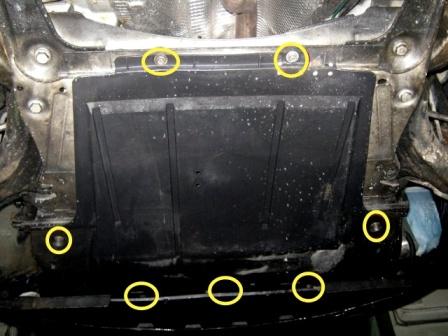
Remove the plastic protective covers, remove the crankcase protection
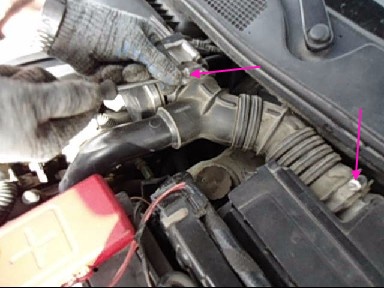
Remove the air filter duct
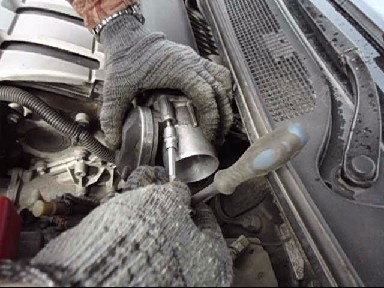
Remove the throttle body
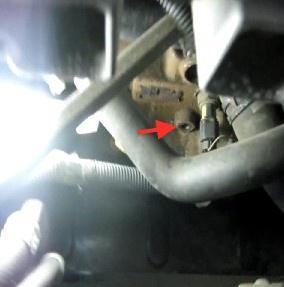
Unscrew the plug under the TDC lock
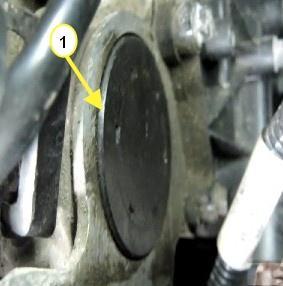
Pry off with a thin blade and take out the plugs of the camshafts
The plugs are thin aluminum covers covered with rubber.
There are rubber rounds in the middle of the plugs.
You can remove these plugs and through the hole formed, pry off and take out the plugs with a slotted screwdriver.
But in this case, you will have to select rubber plugs of the appropriate diameter and close these holes.
In order not to disturb the valve timing, before removing the F4R timing belt, it is necessary to set the crankshaft and camshafts to the TDC position (top dead center of the compression stroke of the 1st cylinder).
To rotate the crankshaft, we install the bolt securing the auxiliary drive pulley in place by installing a spacer (sleeve or set of washers) between the bolt and the end face.
The crankshaft can also be turned by turning the front right wheel in place in a clockwise direction with the highest gear engaged in the manual transmission.
In order to facilitate turning the shaft, we turn out the spark plugs.
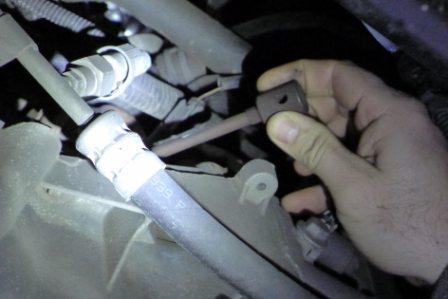
We insert tool Mot.1054, which should fix the crankshaft in the TDC position of the first cylinder.
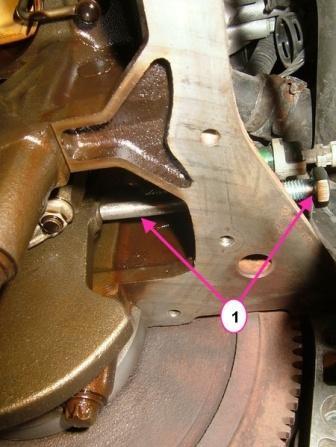
If there is no fixture, you can use a bolt or rod with a diameter of 8 mm and a length of at least 70 mm.
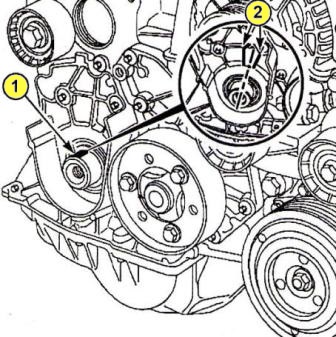
With the crankshaft properly locked, the keyway should be between the two ribs of the cylinder head cover.
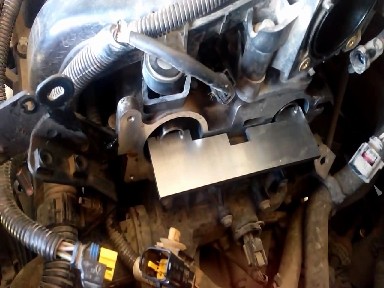
In the TDC position, you need to fix the tool Mot.1496 on the ends of the camshafts.
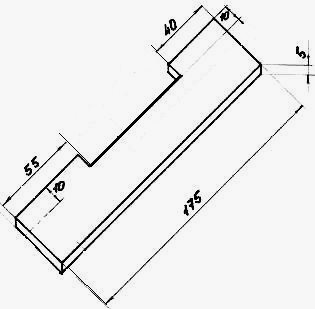
(If there is no fixture, then it can be made from a metal plate 5 mm thick according to the drawing).
Be sure to degrease the timing end of the crankshaft, the bore, and the bearing surfaces of the camshaft sprocket. bearing surfaces of the crankshaft pulley, ends of the camshafts on the drive side, bores and seating surfaces of the camshaft pulleys.
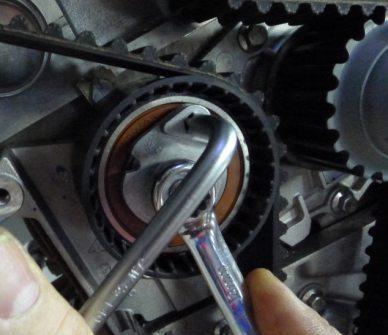
We loosen the camshaft nuts, but do not unscrew them (leave a gap of 0.5 - 1 mm between the nut and the pulley), the camshaft pulleys should rotate freely on the camshafts.
Loosening the tension roller, remove the old belt.
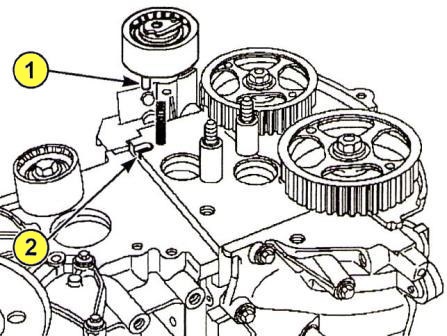
Install the new idler pulley by correctly inserting the lug (1) of the pulley into the groove (2)
When replacing the accessory drive belt within the time specified by the manufacturer, be sure to replace the belt, idler and bypass rollers, and the damper, which consists of two parts.
U installing a new belt
Pre-tighten the crankshaft pulley bolt.
Do not tighten the bolt, the gap between the bolt and the pulley should be 2 - 3 mm.
Belt tension
Before tightening, make sure that there is a gap of 0.5 - 1 mm between the nuts and the toothed pulleys of the camshafts. (Do not turn the tensioner counterclockwise).
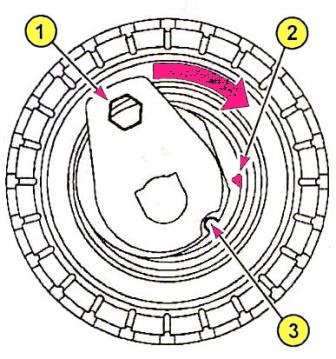
Combine the marks (2) and (3) on the tension roller by inserting a 6 mm hex wrench.
Tighten the tension roller in this position with a torque of 7 Nm.
Turn six turns on the exhaust camshaft sprocket to select the belt clearances (while the shafts are stationary).
Again, we combine the marks (2) and (3) on the tension roller, after loosening the axle nut, no more than one turn and finally tighten the tension roller axle nut with a torque of 28 Nm.
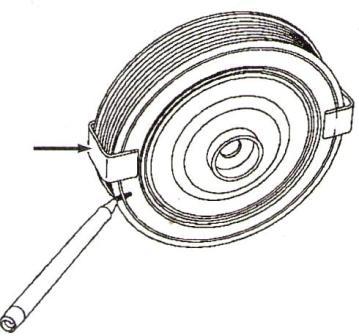
Before tightening the damper mounting bolt (if any), check the alignment of both halves of the damper.
Tighten the crankshaft pulley bolt to 20 Nm. (In this case, the TDC lock must be in the corresponding groove of the crankshaft).
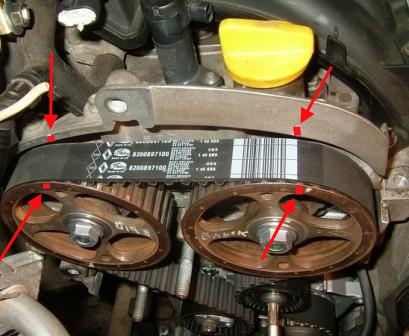
Apply with a felt-tip pen or quick-drying paint marks between the toothed pulleys of the camshafts and the cylinder head cover.
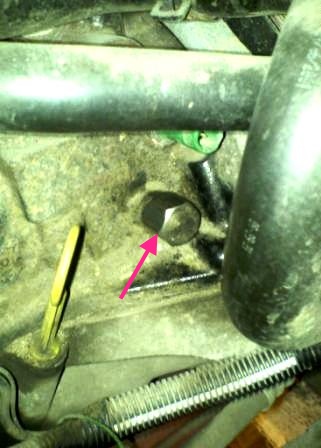
Remove the TDC lock Mot.1054.
Lock the flywheel (Can be locked with a screwdriver by inserting a screwdriver into the flywheel ring gear).
Tighten the crankshaft pulley bolt to the required torque.
Before installing the belt drive pulley with additional mechanisms and tightening the bolt, you need to put the lower plastic timing cover, then it will be impossible to put it.
Install the crankshaft according to the marks made earlier.
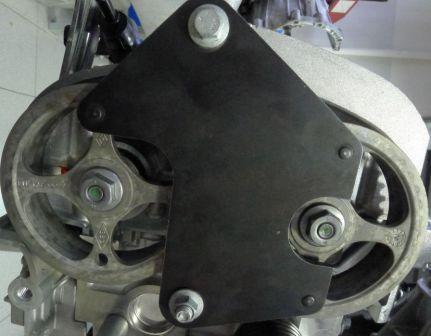
Install the camshaft pulley locking tool Mot. 1509.
The device prevents the pulleys from turning when tightened.
We wrap the nuts of the camshaft gears.
After carrying out all these operations, remove all the clamps and turn the crankshaft two turns.
We make sure that the TDC and the position of the camshafts match correctly.
Install parts in reverse order
Be sure to replace the mounting bolt and crankshaft pulley.
Lock the engine flywheel with a large screwdriver.
Tighten the crankshaft pulley bolt to a torque (40 Nm, then tighten by 110 ° + 10 °).
To prevent damage to the crankshaft pulley, do not start the engine unless the accessory drive belt is installed.
Install the accessory drive belt.
Install the top dead center plug with a small amount of sealant.
Install new inlet camshaft and exhaust camshaft plugs.
The rest of the components are installed in the reverse order of removal.


