To work, you will need tools: a wrench for 10, 13, a flat-blade screwdriver, a tester
Removing the starter is discussed in the article - Replacing the Renault Megane II starter.
Check starter
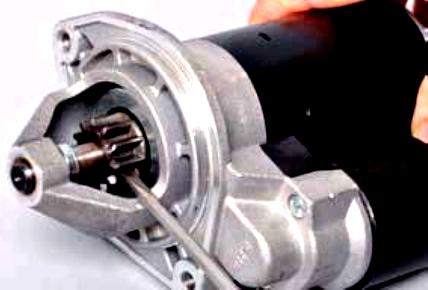
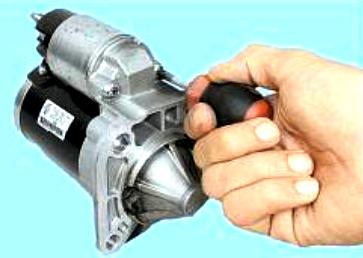
To check the health of the starter drive, turn the drive gear with a screwdriver.
The gear must turn in one direction with the drive shaft, and in the other direction on the drive shaft.
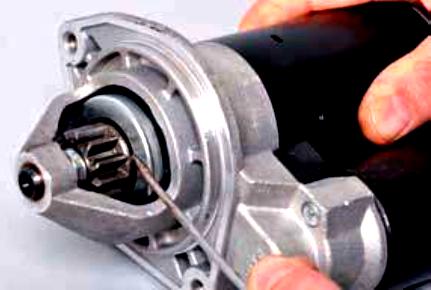
Use a screwdriver to move the drive gear along the shaft.
The gear should move easily along the shaft.
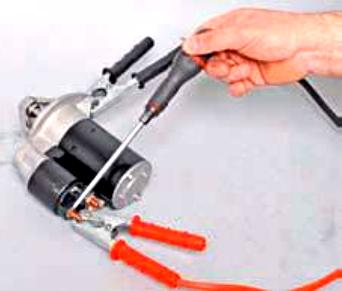
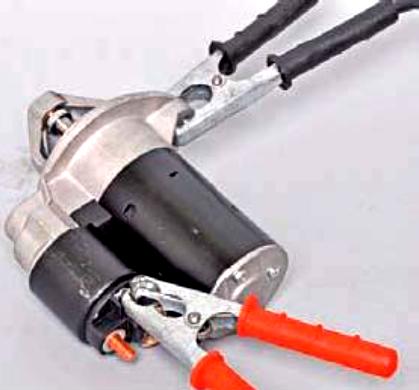
We check the operation of the starter itself, for this we connect the positive terminal of the battery to the upper contact bolt of the traction relay, and the negative terminal to the starter housing.
Use a screwdriver to bridge the upper contact bolt and the control output of the traction relay.
At this time, the drive gear should extend and the starter should engage.
If this does not happen, you need to check the traction relay and starter.
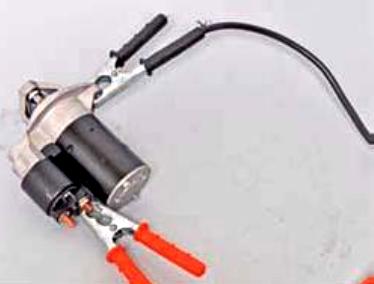
To check the electric motor, we connect the positive terminal of the battery with the lower contact bolt of the traction relay, and the negative terminal with the starter housing.
In this case, the motor shaft should begin to rotate.
If this does not happen, the electric motor is defective.
To check the traction relay, we connect the positive terminal of the battery to the control terminal of the traction relay, and the negative terminal to the starter housing.
The drive gear should pop out.
If this does not happen, the traction relay is faulty.
Starter disassembly
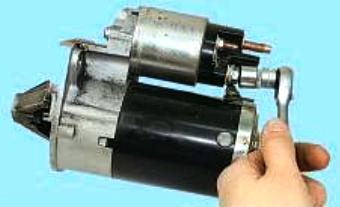
To repair the starter, unscrew the nut of the lower bolt of the traction relay
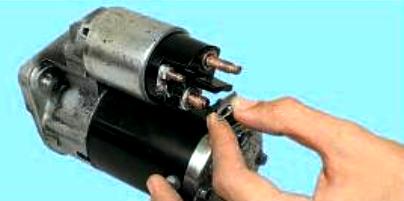
Remove the tire from the bolt
We unscrew the three screws securing the traction relay to the starter cover from the drive side
Remove the traction relay
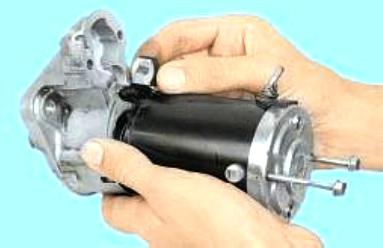
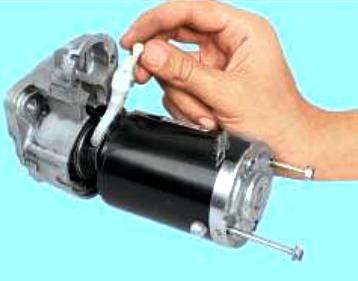
We unscrew the two bolts securing the cover on the drive side
We separate the cover and the starter housing, and then remove the lever support along with the rubber spacer
Remove the drive lever
Remove the drive side cover.
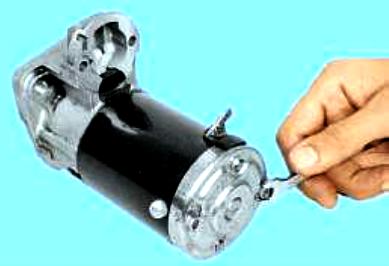
We unscrew the two screws securing the cover on the collector side
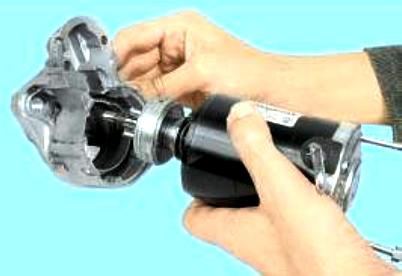
Remove the cover.
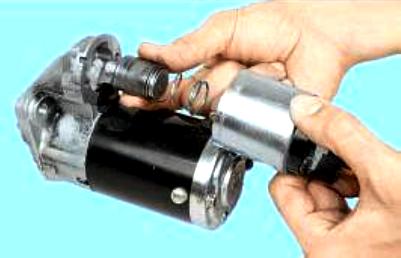
We remove the armature assembly with the brush holder from the stator.
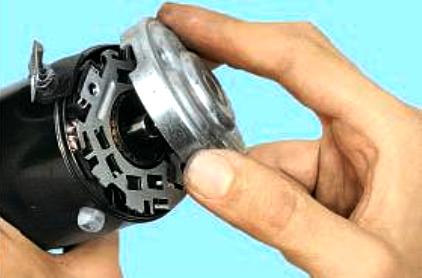
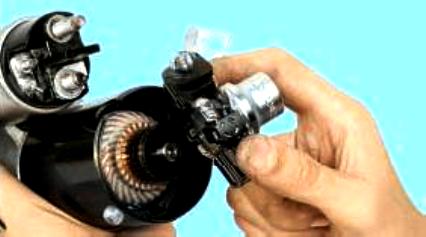
Remove the brush holder from the anchor
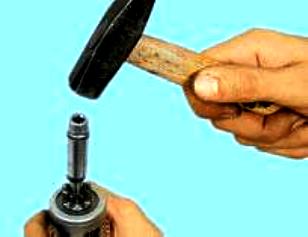
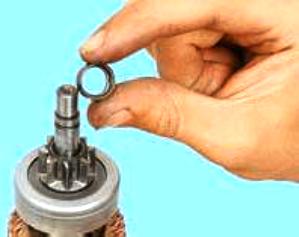
We shift the restrictive ring along the armature shaft using a mandrel
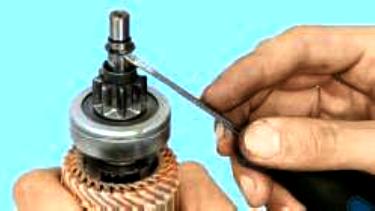
Use a screwdriver to pry off and remove the retaining ring
Remove the restrictive ring
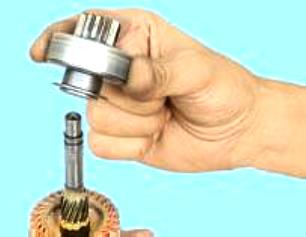
Removing the drive
Inspecting the brushes in the brush holders. The brushes must move in the brush holder without jamming.
The height of the brushes must be at least 7 mm.
Check the insulated holders for a short circuit with an ohmmeter.
The splines and trunnions of the armature shaft must not be damaged (nicks and scratches).
The anchor collector must not show signs of burning.
Remove minor burns with a rag soaked in gasoline and fine-grained emery cloth.
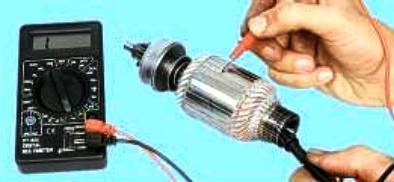
Check the armature winding for a short circuit with an ohmmeter.
Resistance should tend to infinity.
Check whether the armature of the starter traction relay moves easily, whether the contact bolts are closed by the contact plate (using an ohmmeter).
Check the drive.
The teeth of the drive gear should not show significant wear.
The gear should rotate easily relative to the clutch hub in the direction of rotation of the armature and should not rotate in the opposite direction.
If the gear teeth are worn or damaged, or the gear turns in both directions, replace the drive.
The starter drive lever must not show cracks or significant wear on the fork grooves.
Assemble the starter in the reverse order of disassembly, taking into account the following features.
During operation, the drive clutch does not need to be lubricated.
It is necessary to clean the clutch from dirt.
Do not use products to clean the drive that can wash out the lubricant embedded in its coupling.
Lubricate the splined surface of the armature shaft with silicone grease.
Lubricate the bearings (bushings) in the starter caps with engine oil.
Use sliding pliers to install the restrictive ring.
Before installing the traction relay, apply to the surface of the relay in contact with the starter cover on the side when water, a thin layer of silicone sealant.
Before installing the brush holder on the anchor, spread the brushes and fix in any way (for example, with a suitable mandrel).
