Removing and installing Mazda 3 upper control arm
Support the steering knuckle using a jack
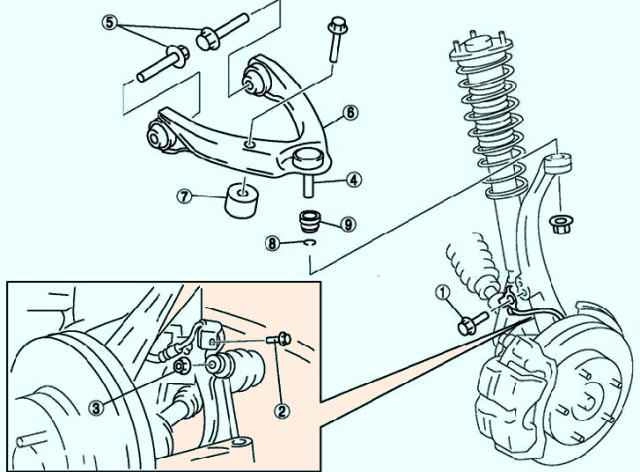
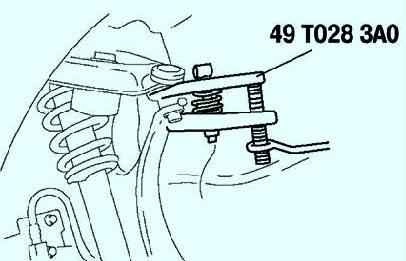
Separate the ball joint from the steering knuckle using a special tool (fig. 2).
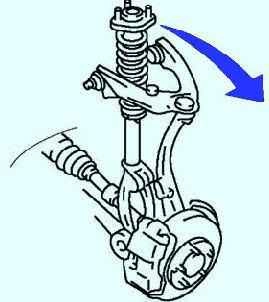
Remove the three nuts at the top of the front shock absorber.
Remove the front shock absorber and coil spring towards the outside of the vehicle.
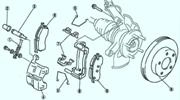
Remove the mounting bolts and remove the front upper arm (fig. 3).
Check
Check the lever for damage, cracks and deformation. Check the moment of resistance to rotation of the ball joint.
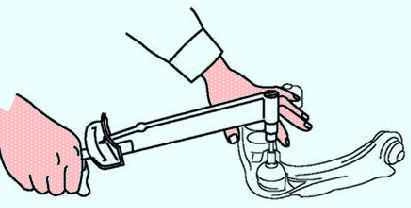
Turn the ball joint pin five turns.
Measure the torque resistance using a suitable socket wrench and torque wrench (fig. 4).
If the measurement is abnormal, replace the lower arm assembly. Maximum moment of resistance: 1.5 Nm.
Installation
Wipe grease off ball stud.
Fill the inside of the new protective boot with grease.
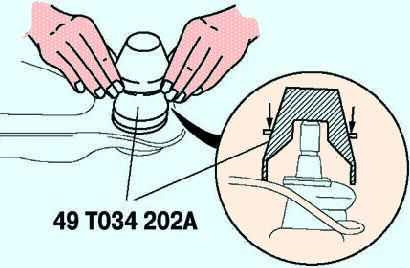
Place the cover on the ball joint.
Install the new clamp using the special tool (fig. 5).
Make sure the clip is securely seated in the slot.
Wipe up any remaining grease. Install the remaining components in the reverse order of removal.
More details
We remove the upper arm of the front suspension to replace silent blocks or to replace the entire arm when the ball joint is worn and the arm itself is deformed
To do the job, you will need tools: a hexagon for 6, a ball joint remover, keys for 14 and 17
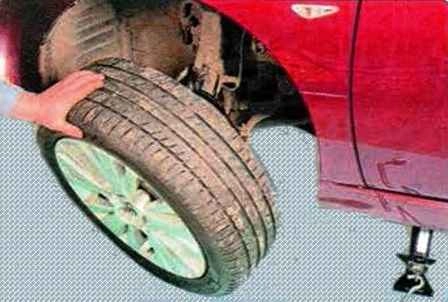
Remove the wheel from the side of the task being performed, jack up the steering knuckle to unload the upper arm
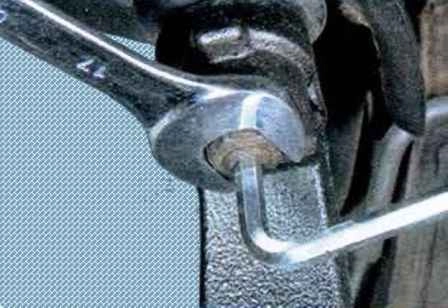
Unscrew the nut securing the ball joint pin to the steering knuckle of the front suspension, if necessary, holding the ball joint pin from turning with a hexagon
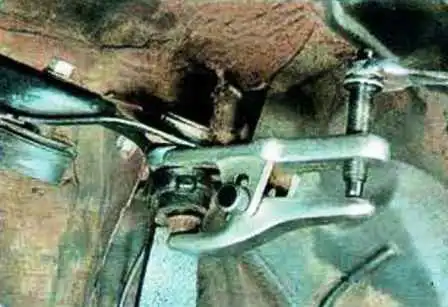
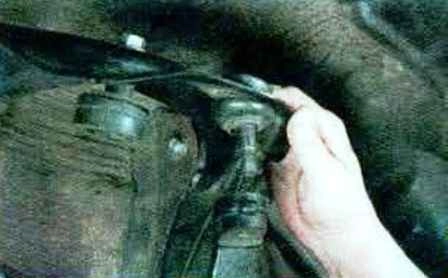
Install the ball joint puller and press the ball joint pin out of the steering knuckle
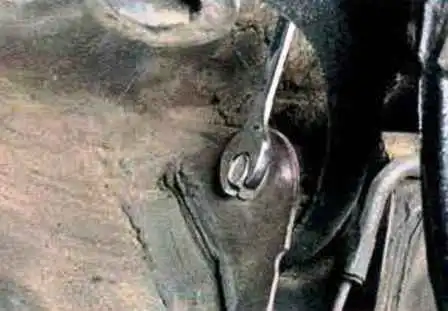
We unscrew and remove the two bolts securing the upper arm of the front suspension to the body brackets
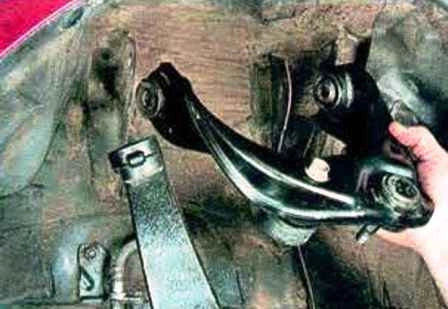
And remove the lever from the car assembly with a ball joint
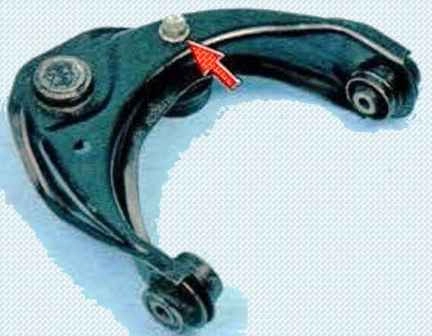
If necessary, unscrew the mounting bolt and remove the rubber damper
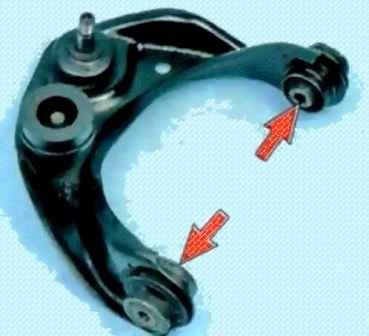
Inspect the lever, replace the deformed lever
Signs of wear of silent blocks are tears, one-sided bulging and delamination of rubber from a metal bushing
To replace the silent blocks, you will need pullers of a suitable size
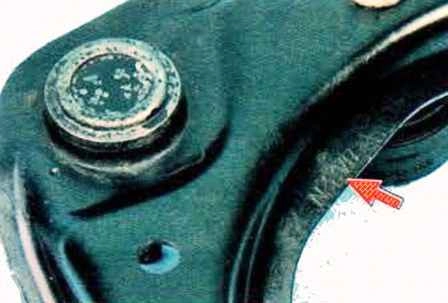
Pay attention to the marking of the lever. When replacing, we get the same lever
Install parts in reverse order
After replacing the upper arm of the front suspension, we check and, if necessary, adjust the wheel alignment, article - wheel alignment
Fastener tightening torques:
Top arm ball joint nut - 39-53 Nm
Wheel nut - 88-117 Nm


