Disconnect the negative cable from the battery
Remove the following items:
- - windshield wiper arm with brush;
- - front grille;
- – rearview mirror;
- - rain sensor (Vehicles with automatic windscreen cleaning system);
- - front pillar trim;
- - sun visor;
- - navigation light.
Pull aside the headlining.
Apply protective tape to the edge of the case.
Apply protective tape to the dashboard to prevent damage.
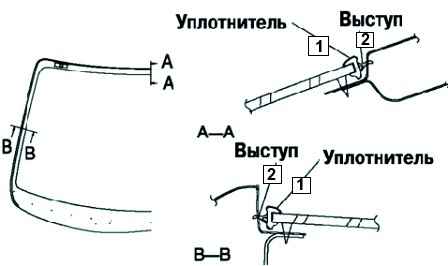
Cut off the protrusion of the windshield edging with a razor (fig. 1).
Vehicles with an automatic windshield wiper have a sensor that is built into the windshield.
If the sensor fails, it must be replaced along with the windshield.
Once the rain sensor has been set up for the first time, it cannot be used with another automatic windshield wiper sensor, so the rain sensor must also be replaced with a new one.
Windshield Reuse
Remove the base.
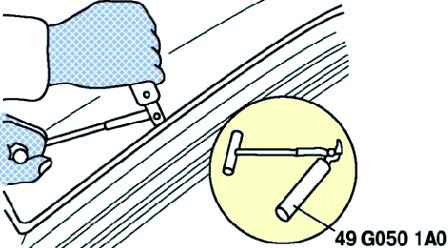
Cut off the seal around the perimeter of the glass using a seal remover (fig. 2).
Pull out the seal.
Remove the windshield.
Windshield Reuse
Before removing the windshield, mark the position of the glass by sticking tape to the windshield and body panels.
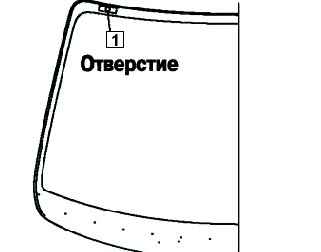
With an awl, make a hole in the seal, acting from the inside of the car (Fig. 3).
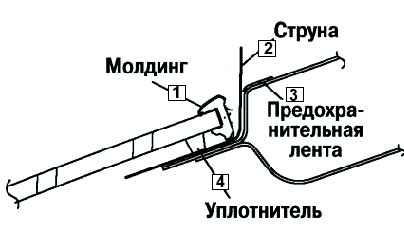
Pass a special device (string) through the hole, cutting it to the desired length (Fig. 4).
Wrap the ends of the special tool (string) around the rods.
Cut through the seal using the device as a saw, the string must work along the entire length in order to prevent it from breaking due to local overheating
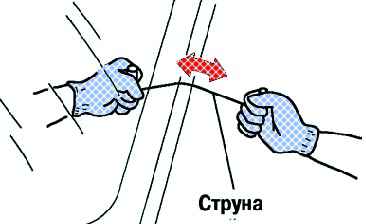
Holding one end of the special tool (string) and pulling the other, cut off the seal around the perimeter of the windshield.
Since the top of the pin is glued to the seal, cut it off with a special tool (string).
Cut out the pins.
Remove the windshield
Mark pin positions and remove pins from windshield.
Remove the windscreen surround.
Installing the windshield
The windshield may not be installed correctly if the seal is damaged or if the windshield is pushed out by air pressure when opening and closing the doors with the sliding windows up.
Leave all windows open until the windshield is installed.
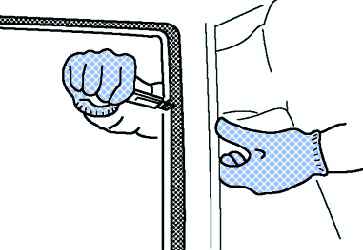
Cut off the old sealant with a razor so that the thickness of the remaining sealant layer along the perimeter of the frame is 1-2 mm (Fig. 6).
If the seal in some place has completely separated from the body, apply a certain amount of primer to this place after degreasing and let it dry for about 30 minutes.
After that, apply a 2 mm thick layer of sealant.
Clean and degrease a strip approximately 50 mm wide around the perimeter of the windshield and the contact surface on the body.
When installing a reusable windshield, follow the procedure below:
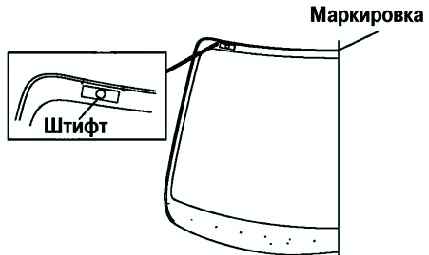
Attach the pins in the places marked during removal (Fig. 7).
Install the windscreen surround.
Apply glass primer to glass and body primer to body and frame, allow primer to dry for approximately 30 minutes.
Keep the contact surfaces free from dirt and grease, and do not touch the contact surfaces.
Otherwise, the primer will not have sufficient adhesion to glass and body surfaces, which may lead to leakage.
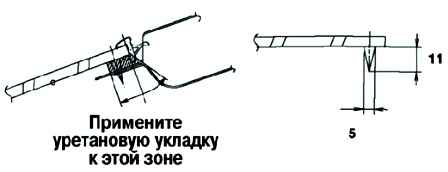
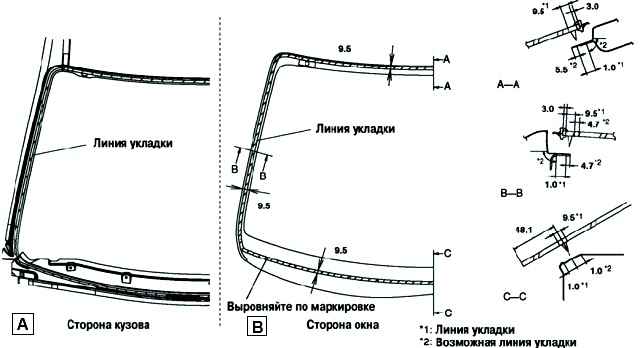
Apply sealant to the glass surface as shown in Figure 9.
Insert the pins into the body, then install the windshield. Press the pins on the windshield until they engage the tabs on the body.
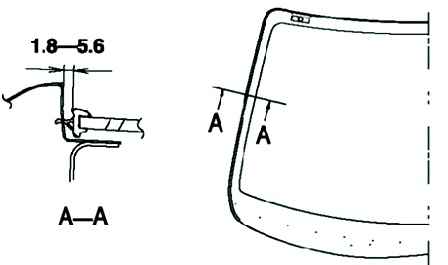
Create pressure along the perimeter of the glass so that the clearance of the protrusion of the glass edging corresponds to the norm (Fig. 10).
Install the components in the reverse order of removal
Allow the sealant to fully cure. Sealant cure time: 24 hours
Details
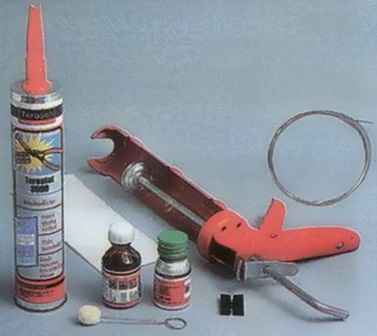
You will need a glass bonding kit to complete the job
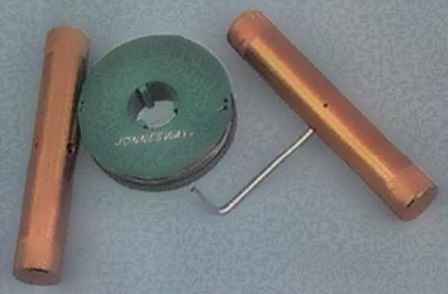
The kits can be supplemented with spacers for glass and a string for cutting the glue line
Preparing the car
Remove the ventilation grill
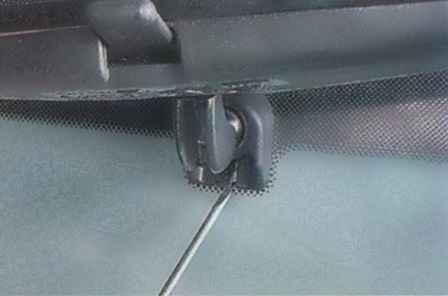
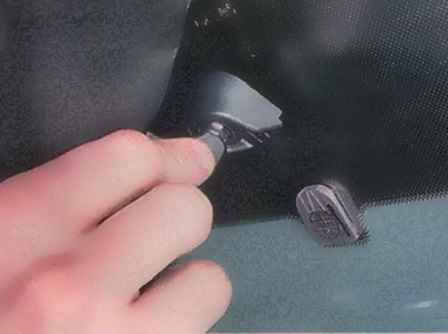
Use a thin slotted screwdriver to pry off the retainer for mounting the internal rear-view mirror, move the mirror up and remove it from the bracket
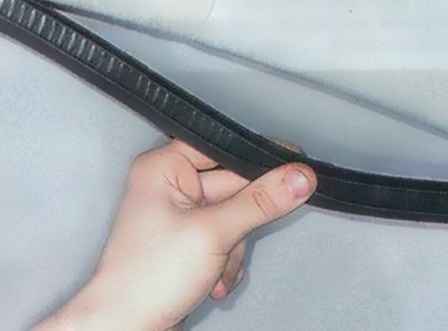
Remove the seal of the left doorway along the A-pillar
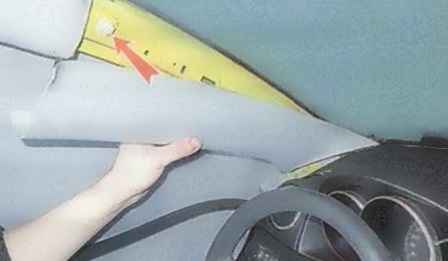
Remove the upper edge of the front pillar trim and disconnect it from the upper holder
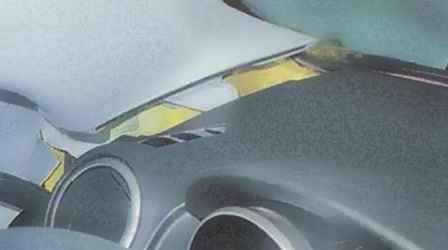
We overcome the resistance of the two holders and remove the trim, removing its lower edge from the instrument panel lining
Also remove the trim of the right front pillar
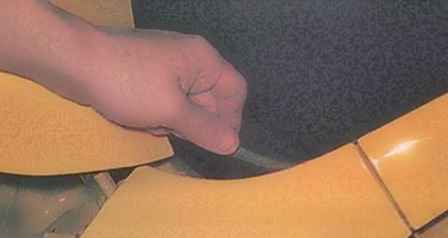
We pry off with a flat-tip screwdriver and remove the glass seal around the entire perimeter
Using wire cutters, we bite off a string about a meter long
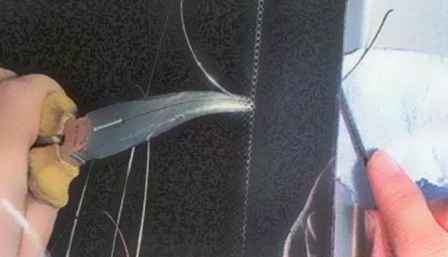
We pierce the adhesive-sealant with a string and put the end of the string into the salon
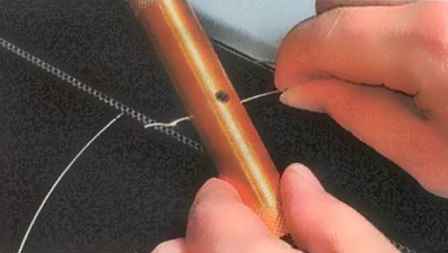
We put handles on the ends of the string
If there are no special handles, the string can be tied to the handles of screwdrivers or wooden bars
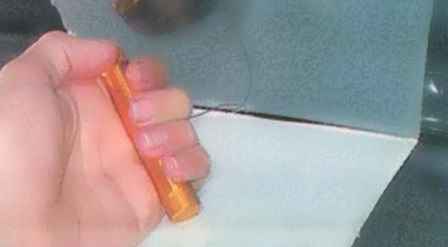
Together with an assistant, we cut with a string, like a two-handed saw, a seam of glue along the entire perimeter of the glass
In order not to damage the instrument panel when cutting the adhesive sealant in the lower part of the glass, lay a rag between the panel and the string
Remove the glass from the car
Using a sharp knife, we cut off the remains of the adhesive seam from the body (the permissible residual thickness of the seam is not more than 2 mm)
Opening the windows of the front doors
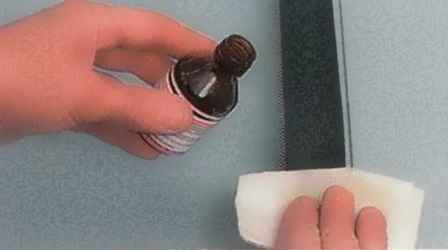
Laying the new glass on a flat surface, degrease the painted edges of the inner surface of the glass with an activator (from the repair kit)
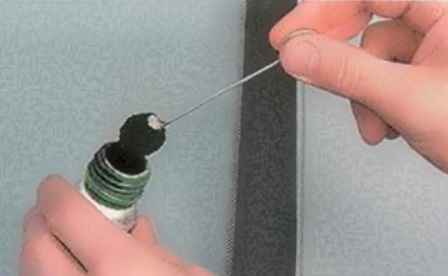
Using a swab, apply a primer around the perimeter of the glass
We repeat the same operations on the window opening of the body
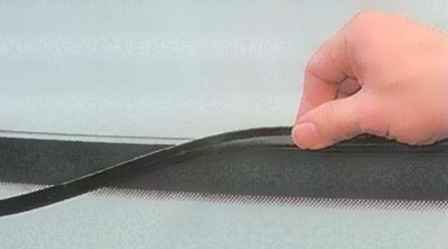
We put a seal on the glass
Apply adhesive sealant evenly along the perimeter of the glass, retreating from the edge of the glass 8-10 mm.
Adhesive sealant is applied with a roller 10-12 mm high
Install the windshield so that its seal fits evenly against the A-pillars and the roof panel
We press the glass to the windshield frame and fix it in any way possible (for example, with masking tape)
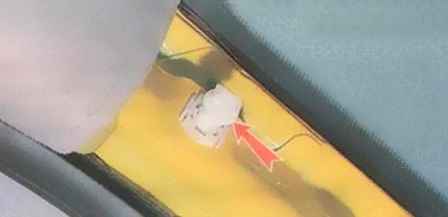
To remove the A-pillar trim, you need to remove the holder from the retainer on the A-pillar
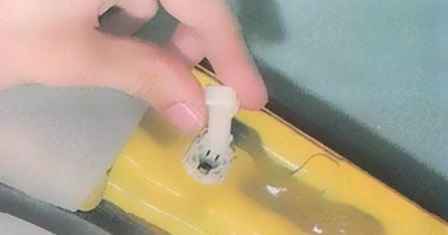
To do this, turn the holder 45 degrees and remove it from the retainer
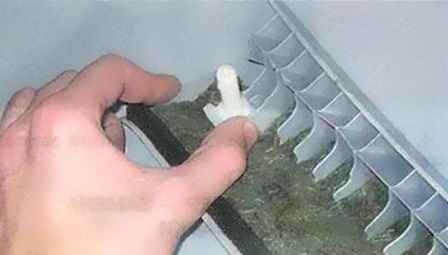
Install the holder in the groove of the front pillar lining
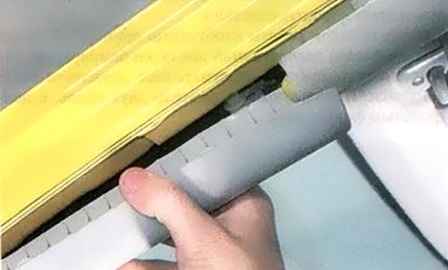
Installing the overlay
Also install the overlay on the other side
Further assembly is carried out in reverse order


