Install the camshaft in the bed of the cylinder head
Measure the axial clearance with an indicator when moving the camshafts back and forth (Fig. 1)
Checking the camshaft end play
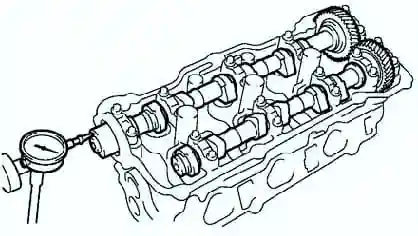
Axial clearance of camshafts:
- standard - 0.040-0.090 mm;
- the maximum allowable is 0.12 mm.
Maximum allowed:
- inlet - 0.12 mm;
- Graduation - 0.10 mm.
If the axial clearance is greater than the maximum, replace the camshaft.
If necessary, replace bearing caps and cylinder head.
Measuring the clearance in the gearing of the camshafts
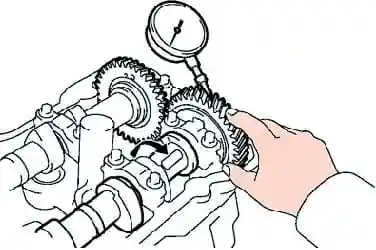
Install both camshafts in the cylinder head without installing the exhaust camshaft auxiliary gear.
Use a dial indicator to measure the backlash in the gearing (fig. 2).
- Nominal clearance - 0.02-0.20 mm;
- The maximum clearance is 0.30 mm.
If the clearance is greater than the maximum, replace the camshafts.
Checking the tappet bore in the cylinder head housing
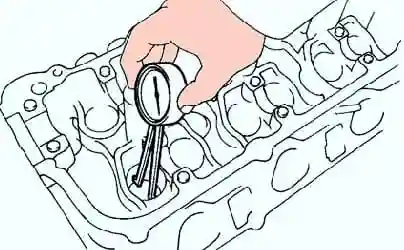
Measure the diameters of the bores for the pushers in the cylinder head with an indicator-caliper (Fig. 3).
The diameter of the boring for the pusher in the head of the block is 31.000–31.018 mm.
Checking the oil clearance in the camshaft bearings
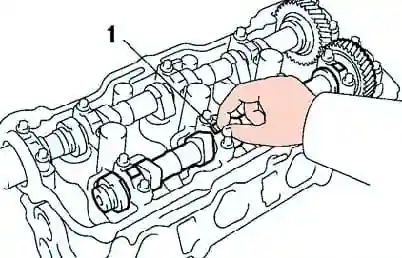
Clean the running surfaces of the camshaft journals and bearing caps.
Lay the camshafts in the bed of the cylinder head.
Place a piece of plastic gauge on each camshaft journal (fig. 4).
Install the bearing caps.
Tighten the cover screws to 16 Nm.
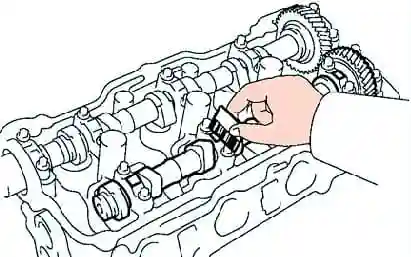
Measure the width of the flattened plastic gauges at the widest part and determine the gap (Fig. 5).
The radial clearance in the camshaft bearings is shown below.
Standard:
- inlet - 0.035–0.072 mm;
- graduation - 0.025–0.062 mm.
Maximum allowed:
- inlet - 0.10 mm;
- graduation - 0.09 mm.
If the clearance is greater than the maximum, replace the camshaft.
Replace bearing caps and cylinder head if necessary


