Lapping valves ZMZ-402 step by step with illustrations
We take a 22 socket wrench or a suitable piece of pipe
Insert a piece of rag from the end of the tube or key (so that the crackers do not fly out during dismantling)
With sharp, gentle blows of a hammer, we loosen the springs (this is the easiest and most reliable way)
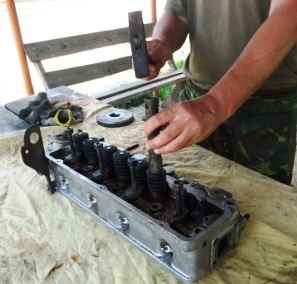
You can of course use a special lever puller
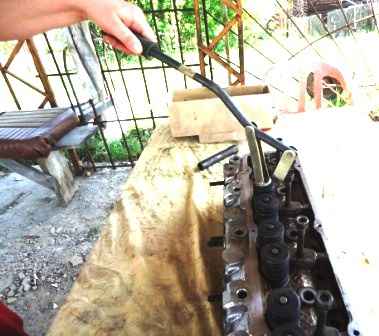
We take out the springs and valves (we put them in order so as not to confuse)
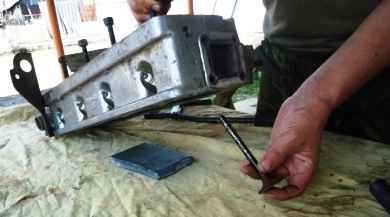
With the help of pliers, carefully, with scrolling, take out the valve stem seals
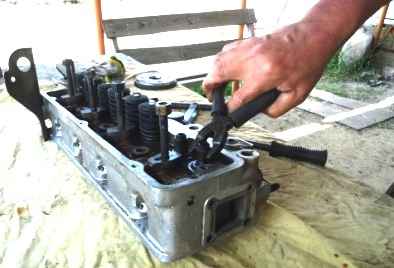
You need to be careful when dismantling the valve stem seals, the valve guides are very fragile.
Careless movements can damage them!
We find a suitable piece of hose into which the valve is inserted with an interference fit.
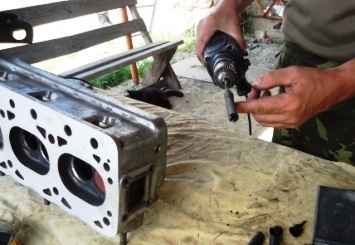
On the other side of the hose, insert the drill and clamp the chuck of the electric drill
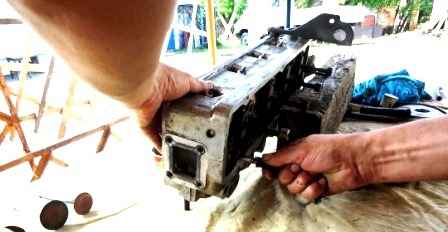
Apply lapping paste to the valve seat and the valve itself
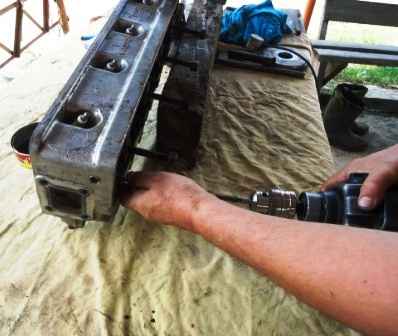
You can make your own lapping paste.
We take a sand mixture from under the emery and mix it with oil.
Turn on the electric drill at low speed and grind the valve with reciprocating movements.
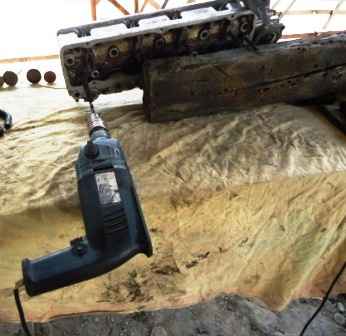
In the process of lapping, it is necessary to wipe the valve and look at the mating surfaces of the valve and seat.
There should be a clean line on the valve and socket. What indicates proper lapping
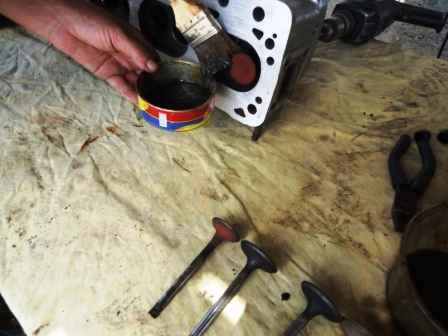
After grinding the valves, we wash and blow the head.
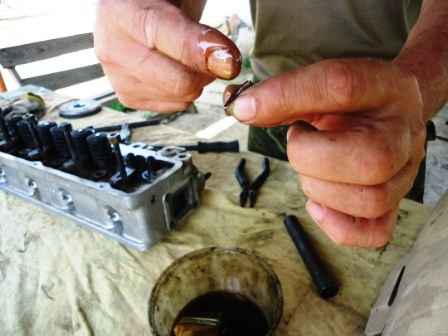
We lubricate new valve stem seals with clean engine oil before installation.
To prevent deformation of the valve stem seal, we put a thin plastic tube on the valve or wrap it with a piece of tape.
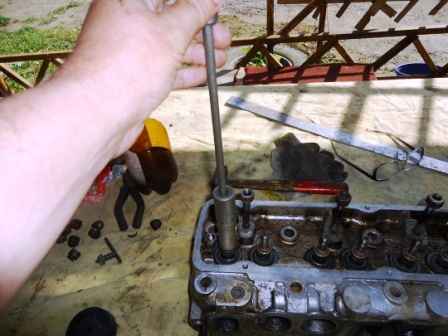
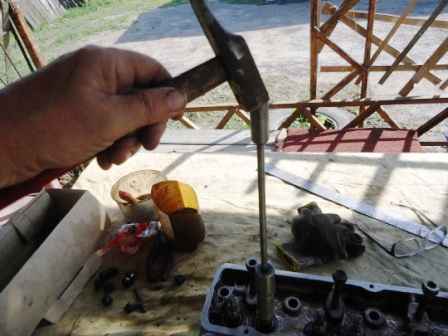
We put the cap on the valve and, using a suitable aluminum tube or a puller, lightly hammer the caps onto the valve sleeves.
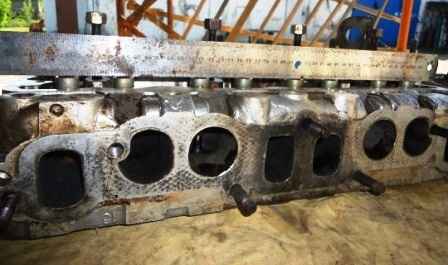
Using a metal ruler, check the fit of the valve stem seals
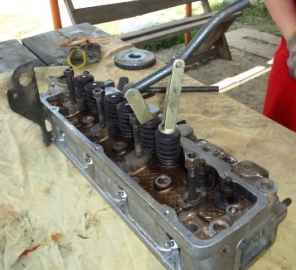
Insert the springs and dry the valves with a lever puller
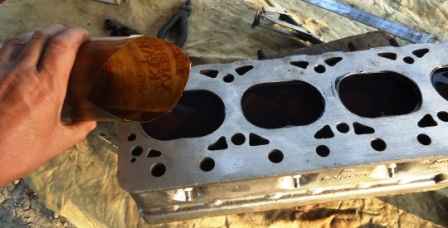
Turning the head over and pouring kerosene into the combustion chambers to control the tightness of the valves.
5-10 minutes are enough to determine the quality of valve grinding.


