We replace the rear suspension spring in case of its drawdown or breakage
Springs must be replaced at the same time
To complete the task, you will need 16 wrenches and a spring compressor.
Preparing the car for work.
We brake with a parking brake and install wheel chocks under the front wheels.
Raise the rear of the car and set it on reliable stops.
We mark the position of the spring, in case we install the same spring.
When removing, remember the colors of the markings of shock absorbers and springs so as not to confuse them during installation.
Remove
Install the spring compressor and compress the spring.
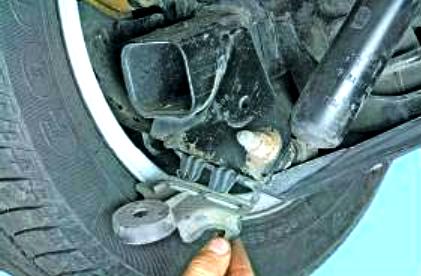
Remove the rear suspension beam mudguard.
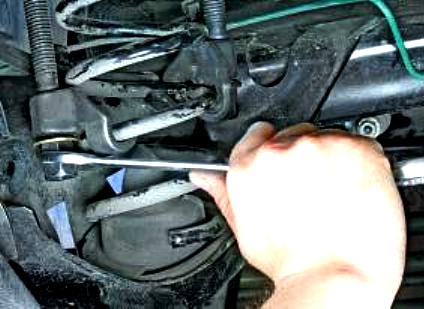
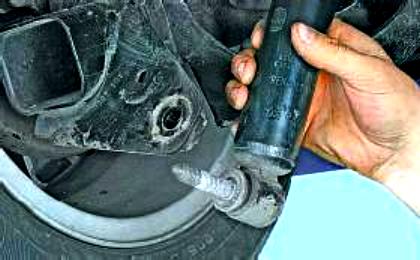
Unscrew the lower shock absorber support and remove the shock absorber from the trailing arm bracket
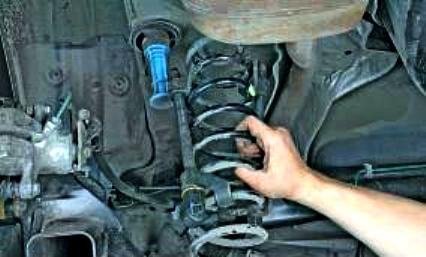
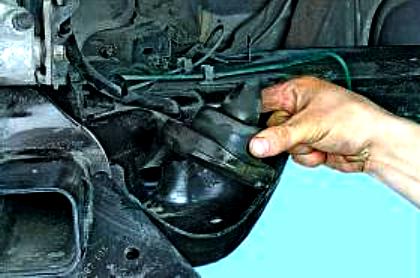
Remove the rear suspension spring along with the lower cup
Remove the spring rubber pad from the platform of the trailing arm
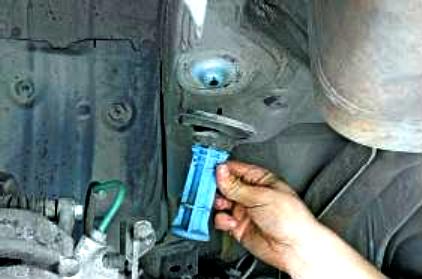
Remove the compression stroke buffer from the body.
It is advisable to replace the rubber gasket and compression buffer with new ones
Install the spring and all parts in the reverse order.
We also replace the second spring of the rear suspension
If the top spring cup has come loose from its seat, replace it.
Installation
Install the lower spring cup onto the rear suspension beam (position the guide correctly).
Install the spring with the top cup in the position marked earlier, starting from the top.
Install a hydraulic jack with a wooden pad under the spring cup.
To pre-tighten the lower shock mount bolt, compress the rear suspension.
The final tightening of the shock absorber mounting bolts is done when the car is on wheels.
Remove the hydraulic jack.
Install the rear wheel.
Lower the lift and put the car on its wheels.
Tighten to 105 Nm the shock absorber lower mounting bolt and wheel bolts.
