We remove the bumper for various types of repairs. When repairing the bumper itself, also for approaching the radiators, when replacing the engine cooling fluid
We install the car on a lift or on a viewing ditch.
To do the job, you will need a TORX T20 wrench, socket 13, screwdrivers.
Disconnect the negative battery terminal.
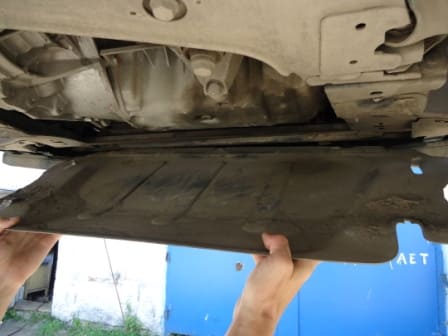
Remove the crankcase protection
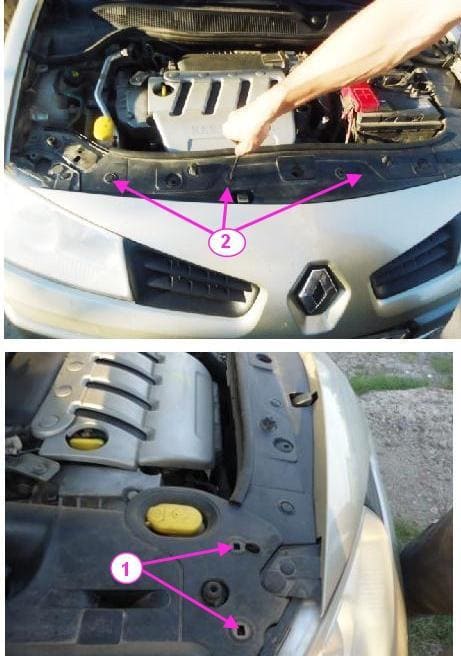
Removing the top trim
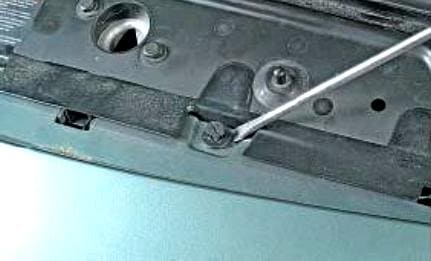
Unscrew the piston core, pry it with a screwdriver
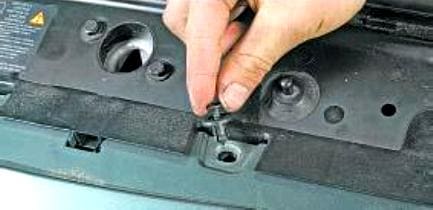
Remove the piston from the hole in the bumper
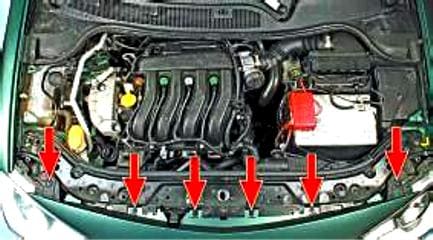
The location of the clips for fastening the bumper to the upper cross member of the radiator frame
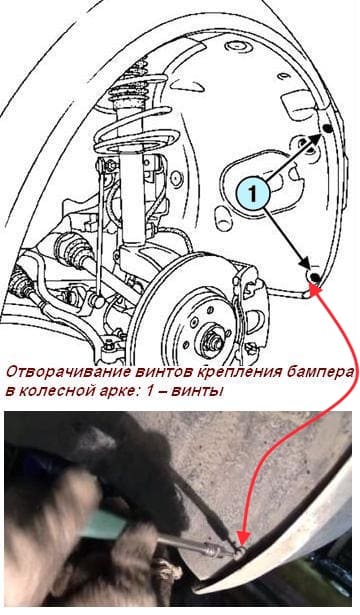
Remove the screws (fig. 6).
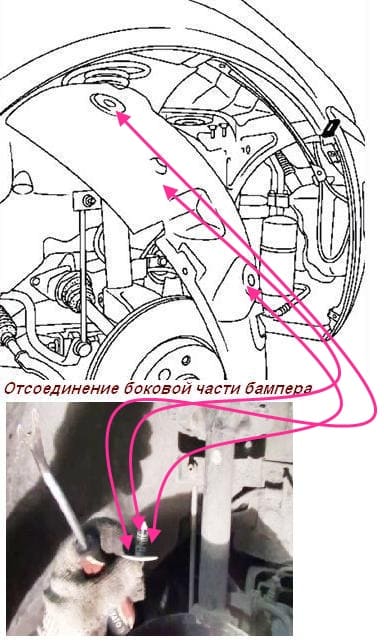
Remove the side of the bumper (fig. 7).
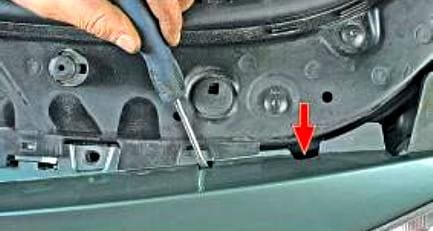
Move the bumper forward, squeeze the latches of its fastening (two on each side)
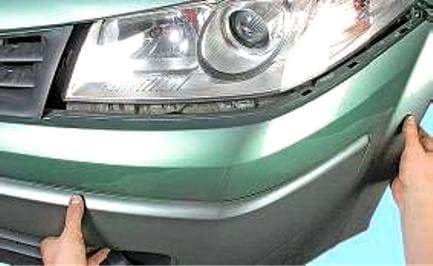
Together with an assistant, pull the bumper on the right and left sides, forward and up, move it from the holders
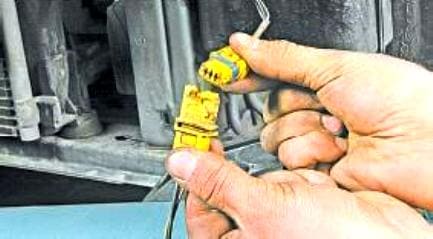
Disconnect the wiring harness pads from the fog lamp connectors
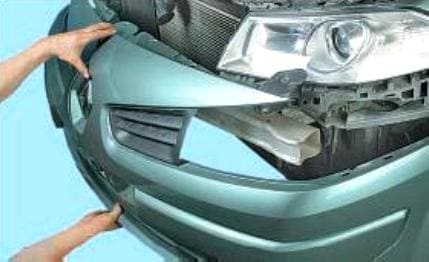
Remove the bumper
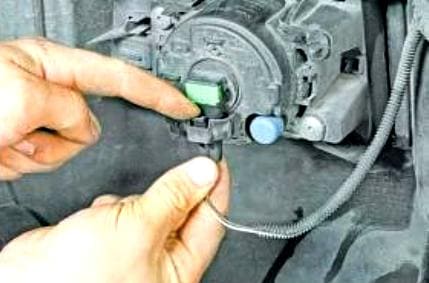
If you need to disassemble the bumper, press the fog lamp connector retainer
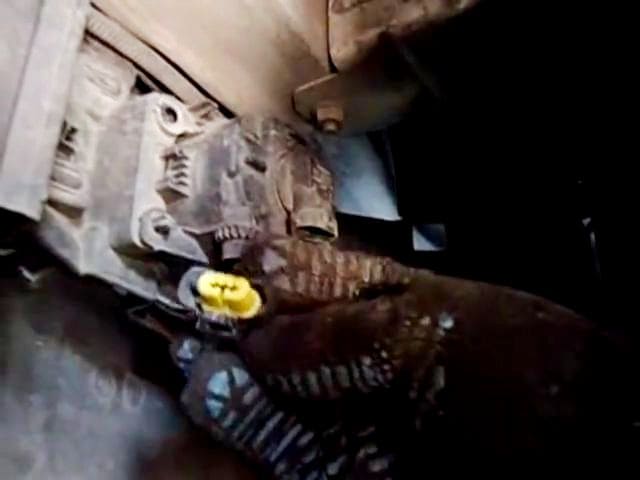
Disconnect the wiring harness pads from the fog lamp connectors
Disconnect the fluid supply pipes to the headlight washer jets.
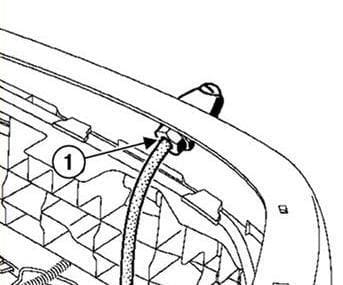
Unscrew the nut securing the headlight washer jet and remove it (Fig. 14).
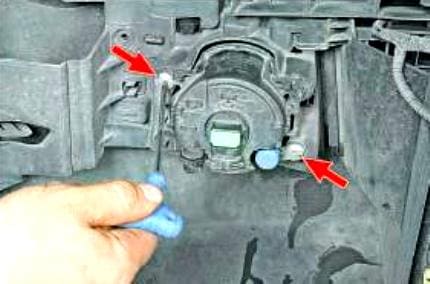
We unscrew the two screws securing the fog lamp to the bumper
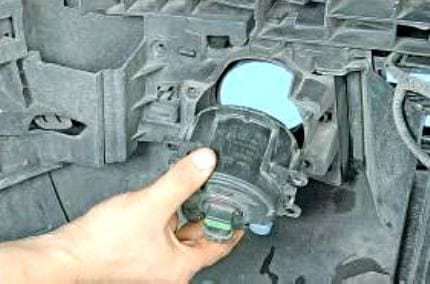
Overcoming the resistance of the clamps, remove the fog lamp
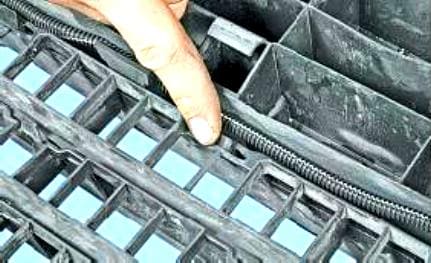
We press the latches securing the internal air intake grille
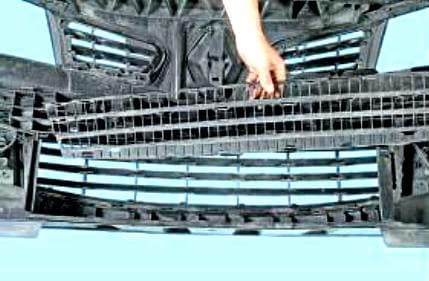
Remove the inner air intake grille
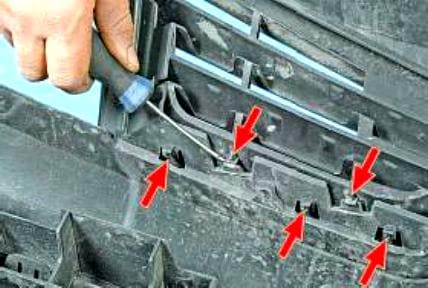
We press the fasteners of the right radiator grille
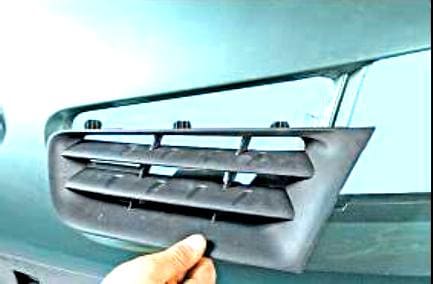
Remove it. We also remove the left radiator grille.
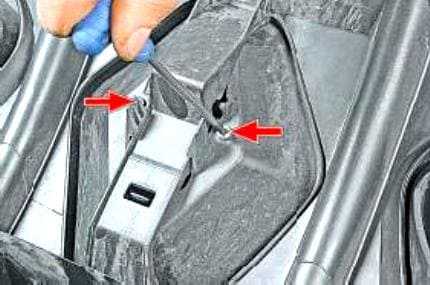
Unscrew the two screws securing the emblem
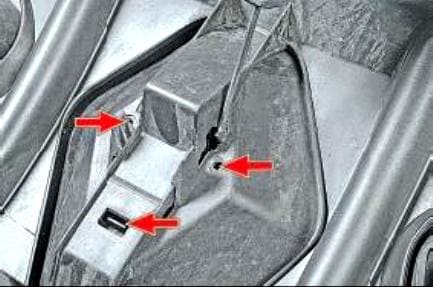
Press out the three emblem fasteners
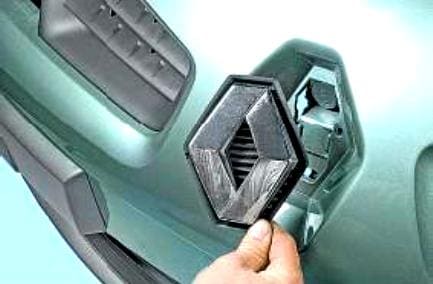
Removing the emblem
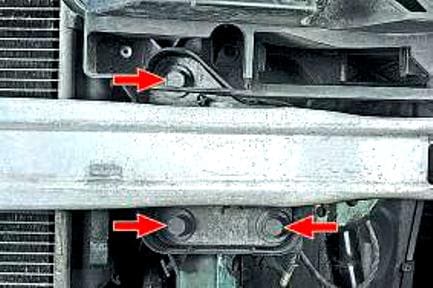
We unscrew three bolts securing the bumper amplifier to the body side members on each side and remove the amplifier
Installing the bumper
Before installing a new bumper, on the bumper of the headlight washer jets, drill the bumper according to the preliminary marking.
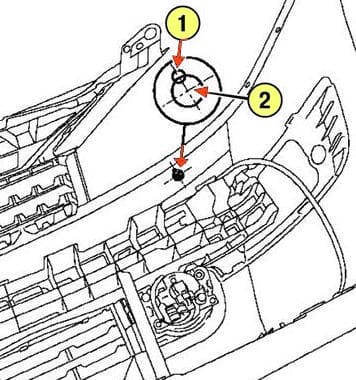
Use a 3 mm drill bit to drill the mounting hole as well as the pilot hole, which is then enlarged to the diameter of the jet using a conical drill (fig. 25).
Before installing the jets, make sure the seal is in place.
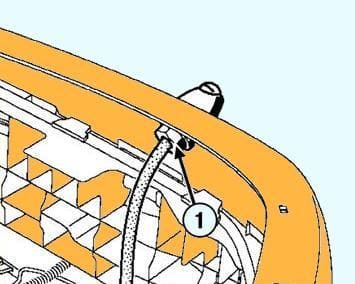
Tighten the nut with a little force (fig. 26).
Connect:
- – fluid supply tube;
- - a block of wires for fog lights.
The rest of the components are installed in the reverse order of removal.


