Replace the shock absorber if there is a leak of shock absorber fluid or loss of damping efficiency
Repair of shock absorbers by replacing incoming parts is quite complicated and requires the appropriate skills of the performer and the use of a special tool.
Therefore, we recommend repairing a faulty shock absorber in a specialized workshop or replacing it as an assembly and always in pairs, replacing the second suspension shock absorber at the same time, even if it is serviceable, since the characteristics of a new and working shock absorber can vary significantly.
It is more convenient to work on a lift.
You will need two "19" keys.
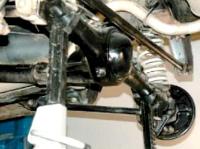
If you are replacing the shock absorber on a lift, place jack stands under the rear axle beam and lower the vehicle with a slight load on the suspension.
When working on a pit, this operation is not required.
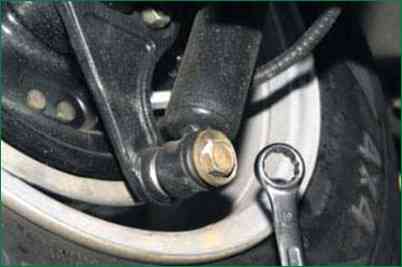
Using a 19 key, we unscrew the bolt of the lower shock absorber mounting to the bracket
Hanging out the wheel
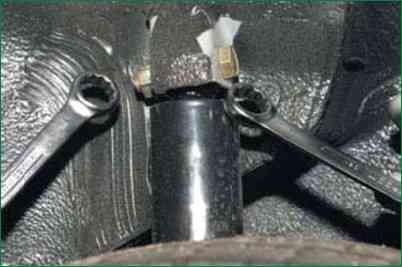
Using a 19 spanner wrench, unscrew the nut of the shock absorber upper mounting bolt, holding the bolt with a 19 wrench
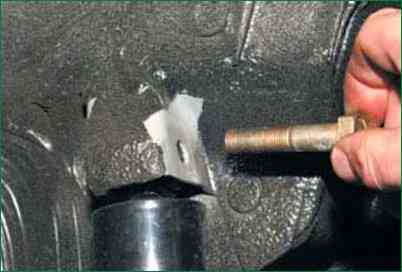
Remove the bolt
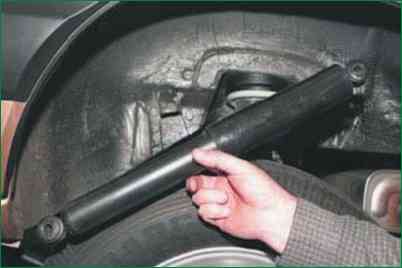
And remove the rear shock absorber
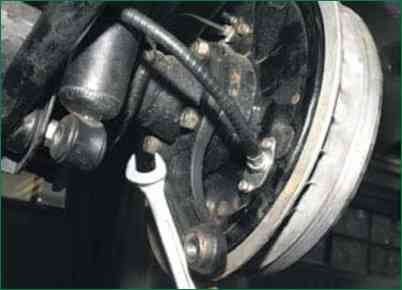
To remove the shock absorber bracket, use a 17 key to unscrew the three nuts securing the bracket to the flange of the rear axle beam
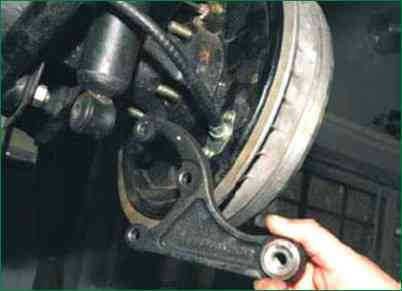
Remove the bracket
Install the bracket and shock absorber in reverse order.
If, when installing the bracket, the bolts move inside the brake mechanism and it is impossible to tighten the nuts, you must remove the brake drum and hold the bolts.
Tighten the shock absorber pivot nuts when the suspension is loaded with the mass of the car (on a viewing ditch or overpass).
When working on a lift, place a support under the rear axle and lower the vehicle slightly (when working on a platform, raise the axle with a jack) so that the position of the shock absorbers approximately corresponds to their position under load.


