In the article, we will consider the repair of the brake mechanisms of the rear wheels
Brake Disc Brake Repair
Withdrawal
We prepare the car, loosen the wheel nuts on the side of the task being performed.
We raise the rear of the car and place it on reliable supports.
Remove the wheel
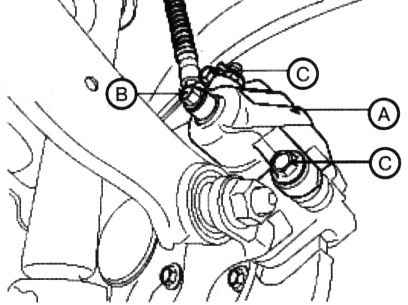
Unscrew the brake hose bolt (B)
Then unscrew the guide bolts (C) from the brake caliper assembly (A)
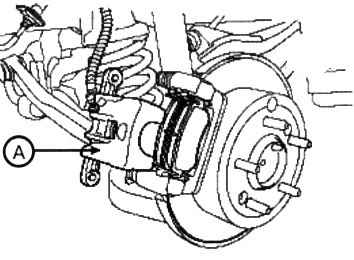
Remove the brake caliper (A) as shown.
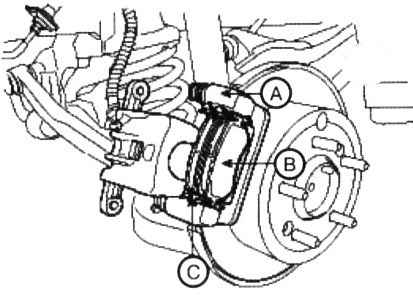
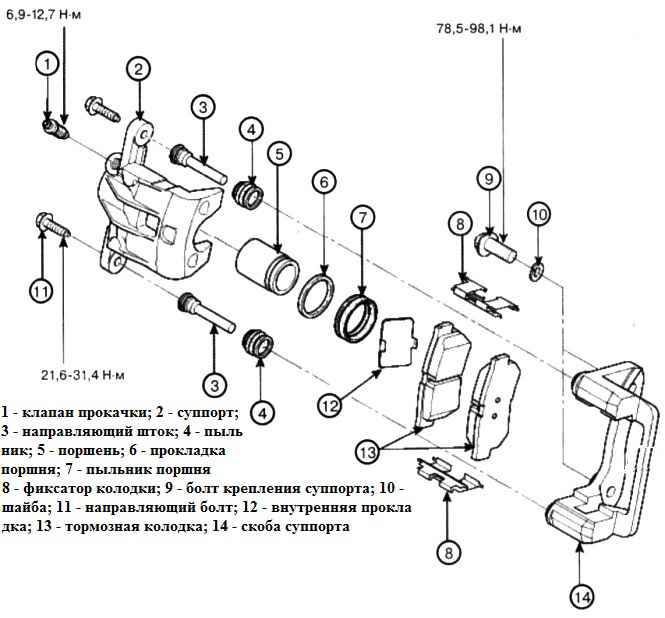
Remove the brake pads (B), pad spacers (C), and pad retainers from the caliper bracket (A)
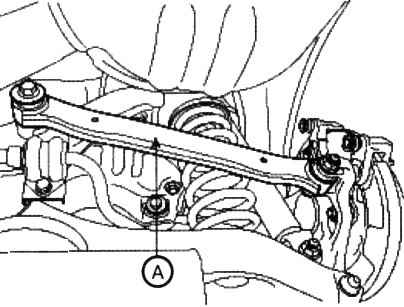
Remove the upper rear suspension arm (A)
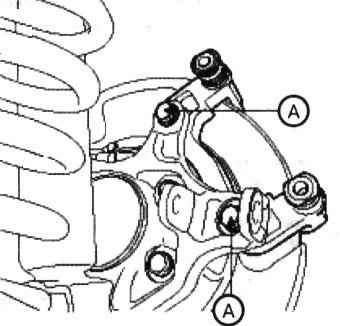
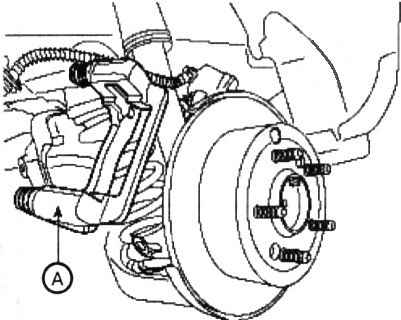
Unscrew the mounting bolts (A) and remove the brake caliper bracket
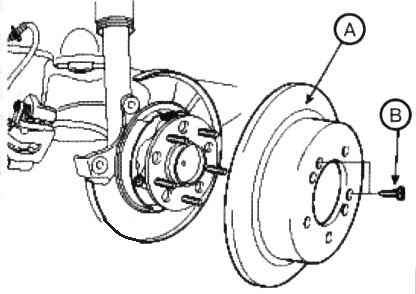
Unscrew the mounting screws (B) and remove the brake disc
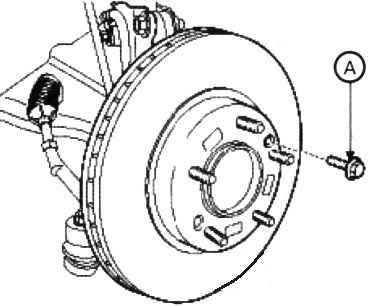
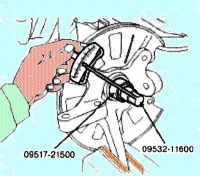
If the brake disc has stuck to the wheel hub and cannot be removed, you need to tighten the M8 bolt and compress the disc
Replacing pads
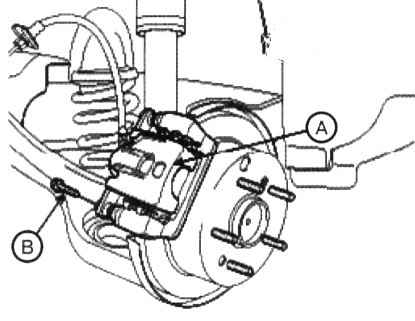
Unscrew the guide bolt (B) and lift the brake caliper (A)
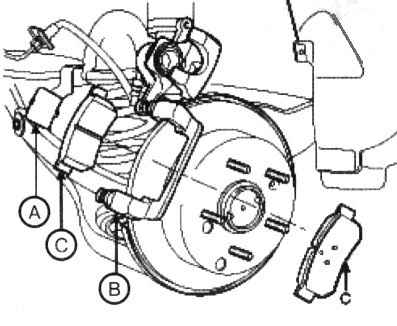
Remove the brake pads (B) from the brake caliper bracket together with the gaskets (C) and the retainer
Installing new brake pads
Installing the brake mechanism
We install the brake disc on the wheel hub, then tighten the fastening screws with a tightening torque of 4.9-5.9 Nm
Install the brake caliper bracket and tighten the mounting bolts with a tightening torque of 49.0-58.8 Nm
Installing the upper rear suspension arm, tightening the nut and mounting bolt
Installing the brake pad retainers and brake caliper bracket
We install the brake pads together with the gaskets on the clamps.
The brake pad with wear indicator must be installed on the inside.
If the brake pads have not been replaced, they must be installed in the original position to prevent loss of brake efficiency.
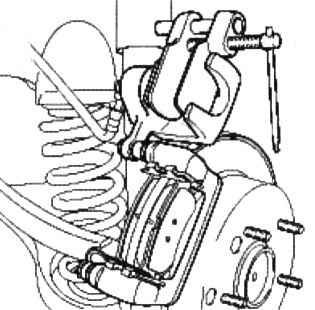
Using tool 09581-11000, move the caliper piston inside the cylinder
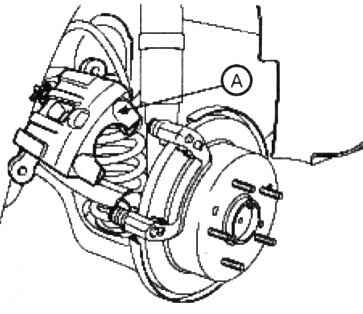
Install the caliper assembly (A)
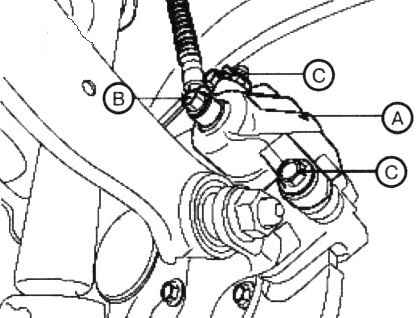
Connect the brake hose to the caliper by tightening the mounting bolt (B). Then install and tighten the guide bolt (C).
The tightening torques of the mounting bolts: bolt (B) 24.5-29.4 Nm; bolt (C) 21.6-31.4 Nm.
Fill the reservoir of the main brake cylinder to the maximum mark
Bleeding the brake system, article - Bleeding the hydraulic brake system of a Kia car Magentis
After we check the effectiveness of the brakes and the presence of brake fluid leaks
Drum mechanism repair
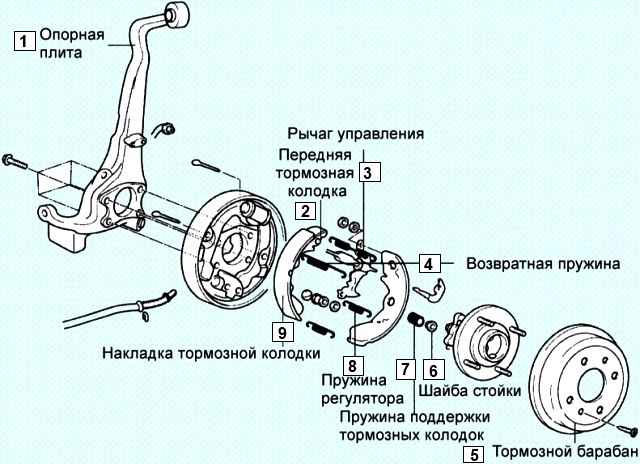
Remove the wheel and brake drum
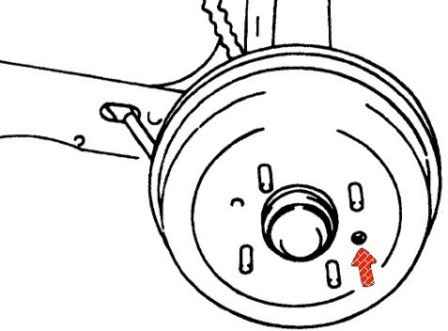
If the brake drum is difficult to remove, evenly screw the bolts into the threaded holes for the brake drum fastening screws and compress the drum
After unscrewing the nuts, remove the rear hub with the brake drum
Remove the lower and upper return springs
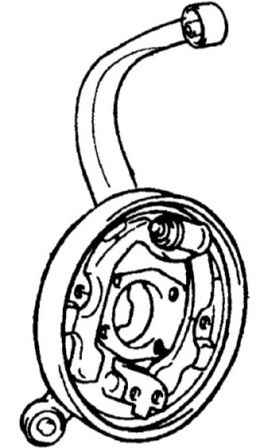
Remove the brake pads and regulator assembly
Check
Measure the inner diameter of the brake drum
Replace the brake drum if the inner diameter exceeds the limits
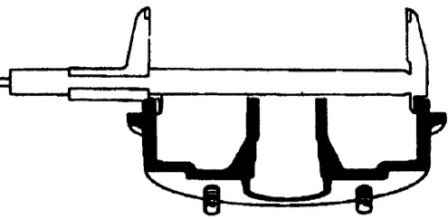
Brake drum diameter 228.6 mm. Maximum allowable brake drum diameter 229.6 mm
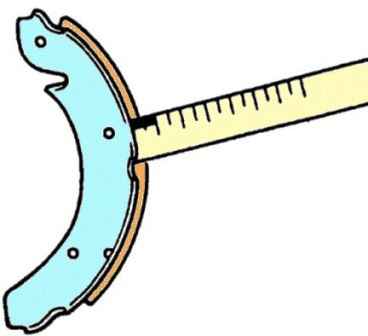
Measuring the thickness of the rear brake pads
The thickness of the brake pads is 4.45 mm.
Minimum allowable thickness of brake pads 1.5 mm
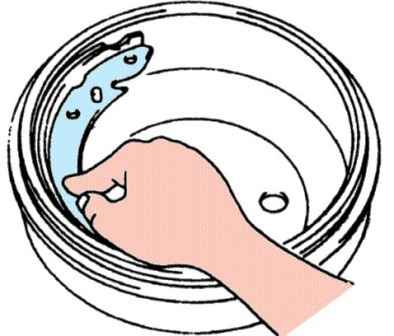
Checking the evenness of the fit of the brake pad to the brake drum
The outside of the drum must not show excessive corrosion and damage
Check the base plate for wear or damage
Installation
Lubricate the following brake pad contact points with grease:
- -points of contact between brake pads and brake shield;
- - points of contact between the brake pads and the anchor plate.
Recommended lubricant: SAE J310, NLGI #2
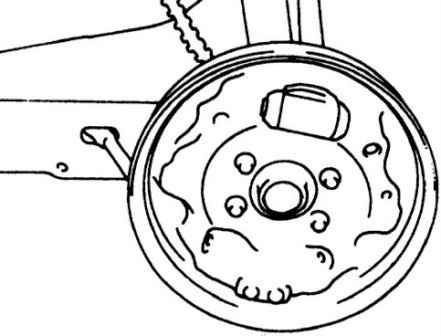
Installing the brake pad support strut
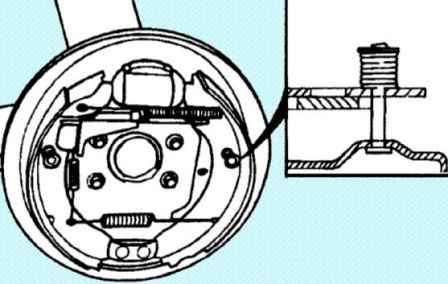
Install the return springs on the brake pads
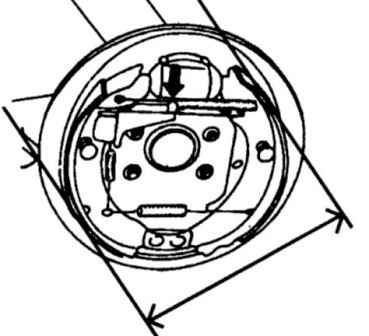
We measure the outer diameter of the installed brake pads and the regulator, you need to adjust the size 227.6-228.1 mm
After installing the brake drum, tighten the parking brake lever several times


