We replace the brake pads simultaneously on both front wheels of the car with a decrease in the lining thickness to 3 mm
The first 80-100 km of run after installing new linings, while they have not run in, you should be careful when braking, as the braking distance of the car may be slightly increased.
During this period, prolonged braking should be avoided so as not to overheat the brake linings during the running-in process.
Remove the front wheel.
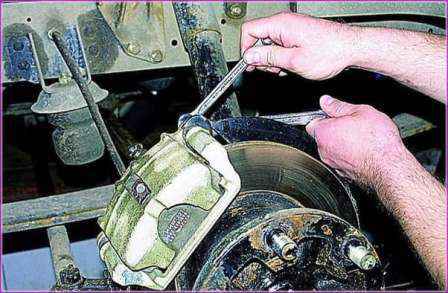
Holding the guide finger with the “17” key, unscrew and remove the bracket fastening bolt.
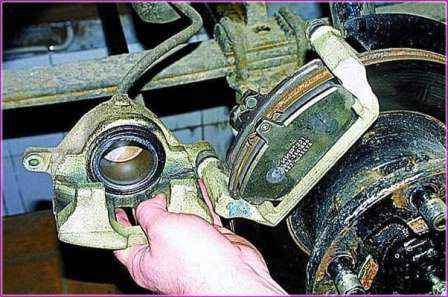
Turn the brake caliper body around the second guide pin, while accessing the pads
WARNING: Do not press the brake pedal with the caliper retracted.
- - carefully check;
- - state of the piston protective cover.
If gaps or cracks are found on it, it must be replaced with a new one (see Replacing the brake caliper of the front wheel of a Gazelle car);
- - state of guide pin covers. If damage is found, the cover must be replaced;
- - moving fingers at the base. The movement should be easy, without sticking.
If you find it difficult to move the fingers, disassemble them and replace them if necessary.
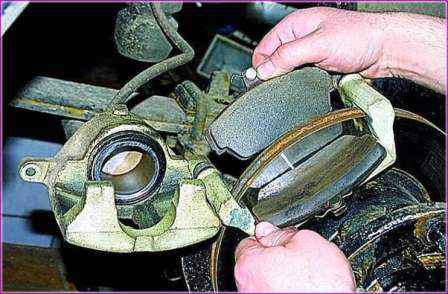
We take out the old and install new brake pads, having previously cleaned the guide grooves and ledges of the base on which the pads rest from dirt.
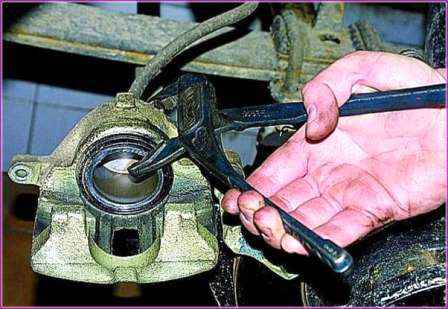
With sliding pliers we sink the piston into the bracket.
To facilitate the expulsion of brake fluid from the body cylinder, it is allowed to open the bleeding valve, first put a rubber hose on it.
Close the bleed valve as soon as the piston is fully immersed in the body cylinder.
We turn and install the bracket in the reverse order, making sure that the springs of the pads are correctly positioned and the finger covers are installed.
We wrap the pin fastening bolt and tighten it with a torque of 32-39 Nm (3.2-3.9 kgf m);
Similarly, we replace the brake pads of the other front wheel.
Before starting to move, press the brake pedal several times until resistance is felt on it to self-adjust the front brakes.


