Put the car on a lift
To complete the work, you will need keys for 7, torx t-30, a head for 10, pliers, screwdrivers and a container for draining the coolant
Disconnect the wires from the battery terminals, starting with the negative terminal.
Remove:
- - top engine covers;
- - front wheels;
- - protection of the engine oil pan;
- - fender liner.
Detach:
- - a block of wires from the fog lights (if installed);
- - pipes for supplying fluid to the headlight washers (if installed).
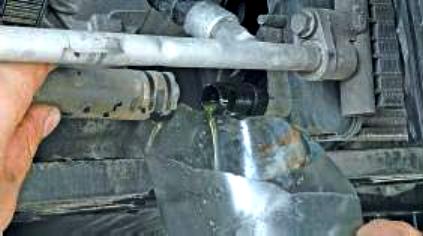
Drain the coolant. Article – Replacement method for Renault Megan 2 coolant
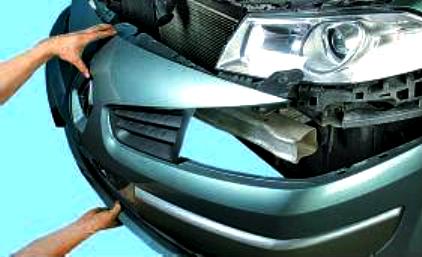
Removing the front bumper - article How to remove and install the front bumper of a Renault Megane 2
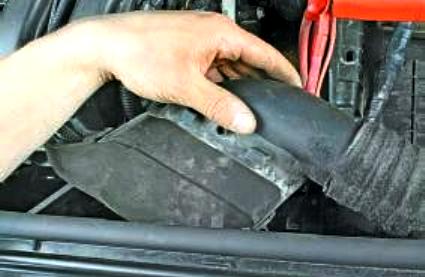
Disconnect the air intake sleeve from the upper cross member of the radiator frame
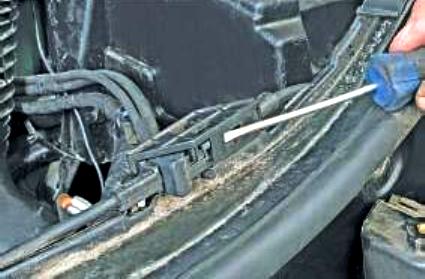
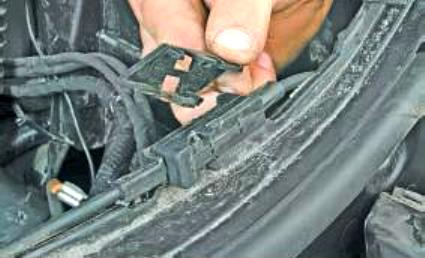
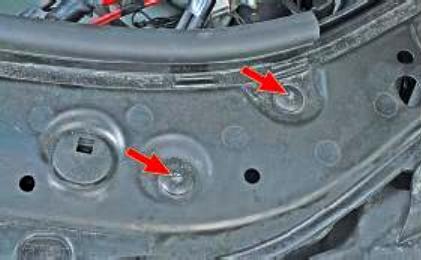
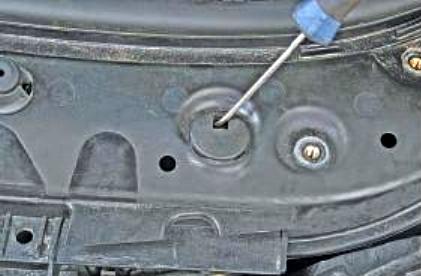
Pry off the cover of the hood cable bracket with a screwdriver
Remove the bracket cover
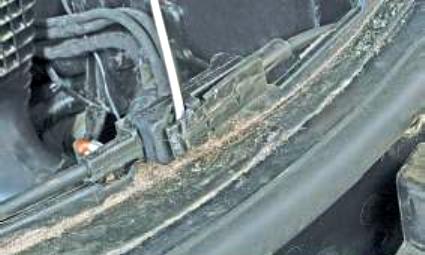
Next
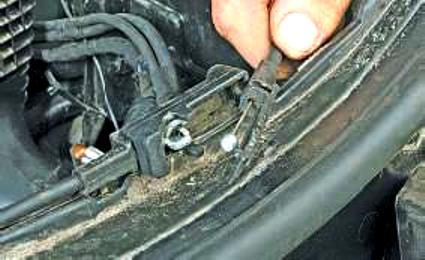
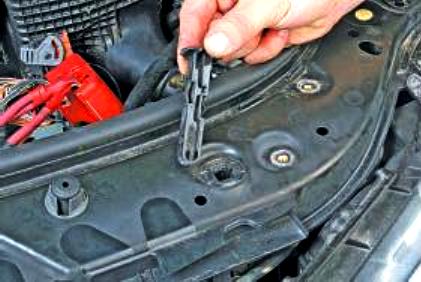
Pry off the hood cable bracket with a screwdriver
Remove the bracket with the cable to the side
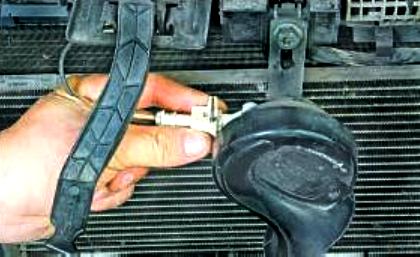
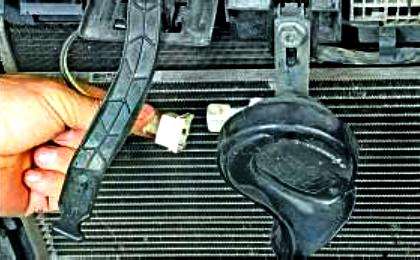
We press the clamp of the horn wire block
Disconnecting the horn
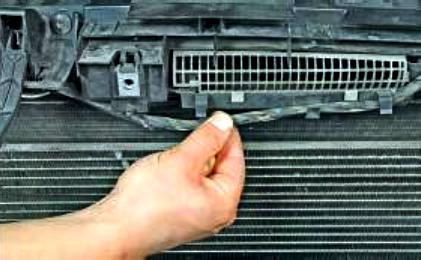
Disconnect the wiring harness from the bracket on the upper cross member of the radiator frame
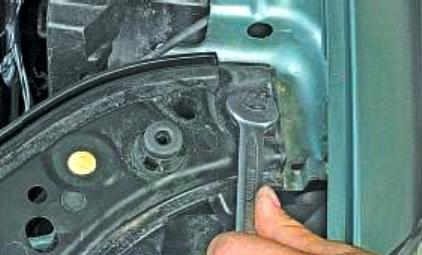
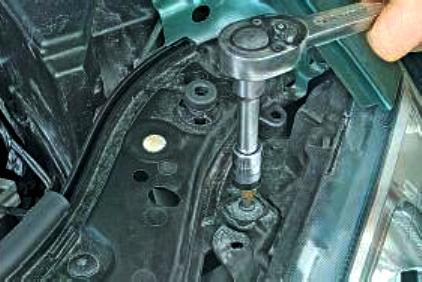
Remove the left and right cross member bolts
We unscrew the left and right screws securing the cross member of the radiator frame to the brackets of the headlight unit
We unscrew the left and right two screws securing the cross member of the radiator frame
We press the latches of the radiator mounting caps
Removing the radiator caps
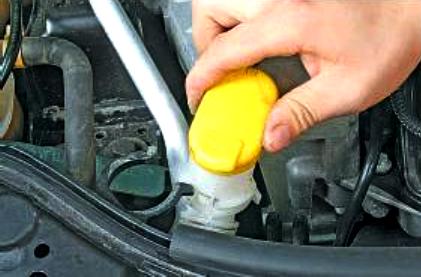
Disconnect the windshield washer reservoir neck from the bracket
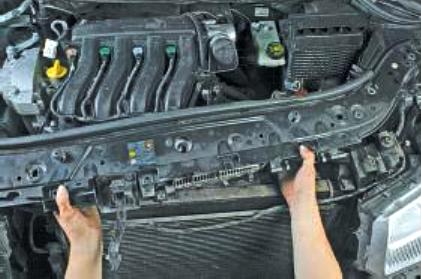
Remove the upper cross member of the radiator frame to the side
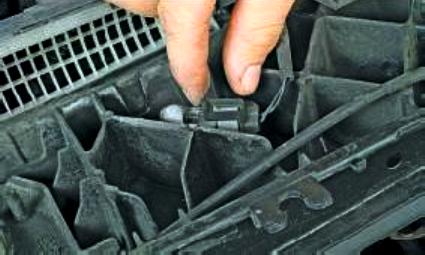
On the reverse side of the radiator frame, we press the clamp of the wire block
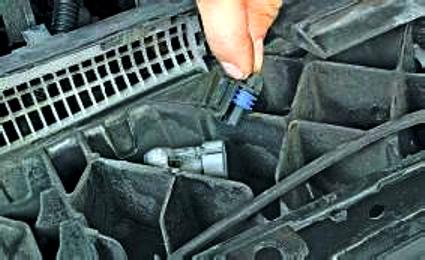
Disconnect the block from the limit switch
Remove the upper cross member of the radiator frame.
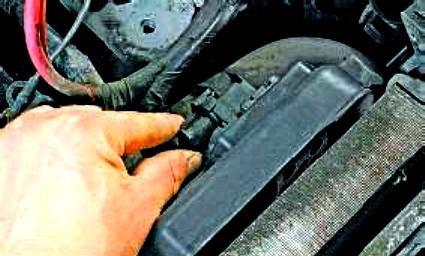
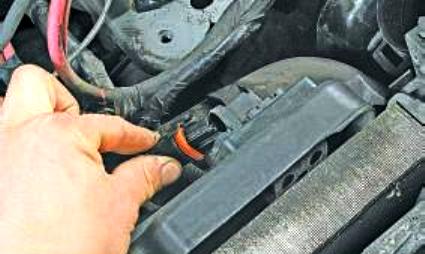
We press the clamp of the wiring harness block
Disconnect the block from the additional resistance
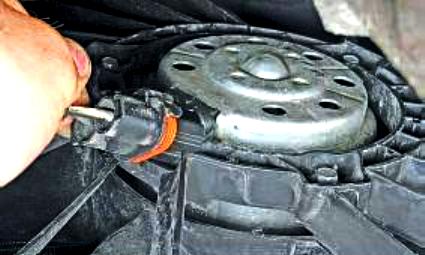
We press the lock of the wiring harness block, and disconnect the block from the electric fan connector
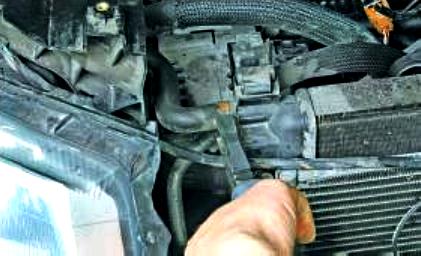
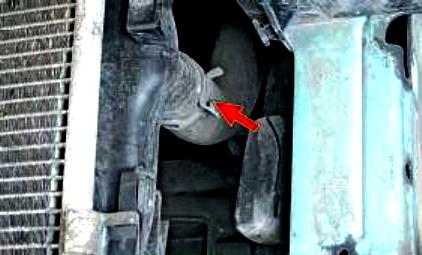
Squeeze the bent ears of the mounting clamp and slide the clamp along the return hose of the expansion tank
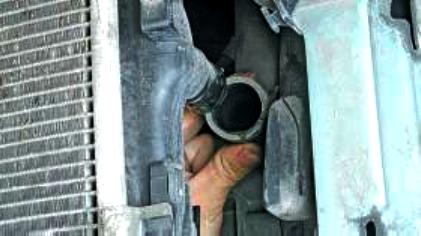
Disconnect the hose from the radiator pipe
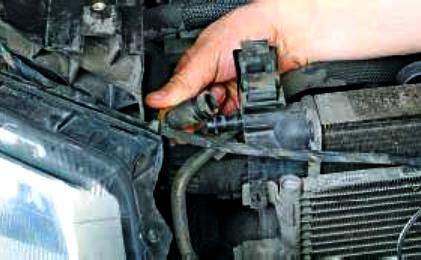
Squeeze the bent ears of the fastening clamp and slide the clamp along the radiator inlet hose
Disconnect the hose from the radiator pipe.
Also disconnect the radiator outlet hose
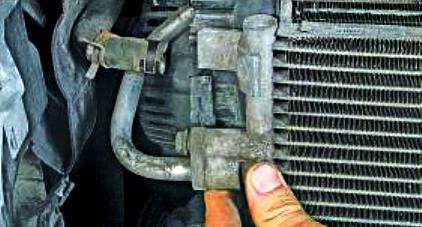
Remove the brackets of the air conditioner radiator from the eyes of the radiator of the cooling system
We take the air conditioner radiator to the side and fix it with a wire to the front bumper amplifier
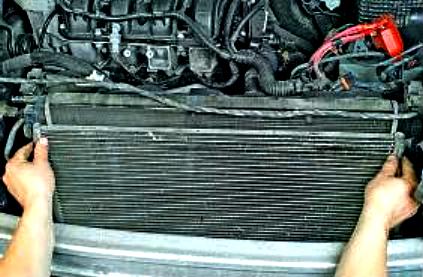
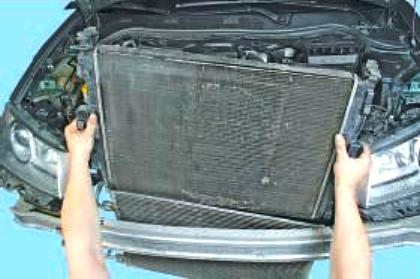
Remove the radiator from the engine compartment
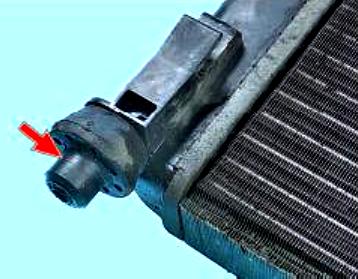
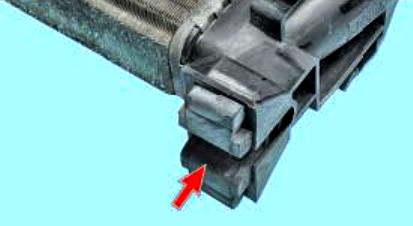
We inspect the rubber pads of the lower supports, replace the hardened pads
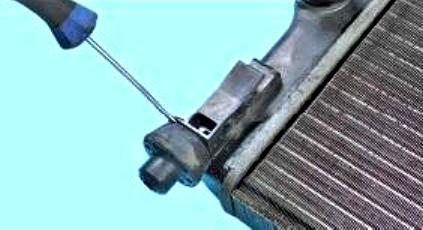
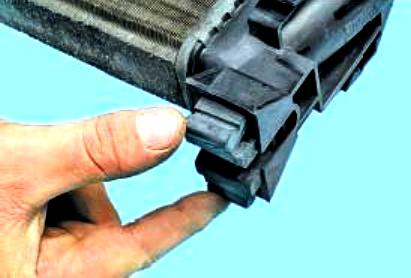
To replace the rubber pads, pry with a screwdriver
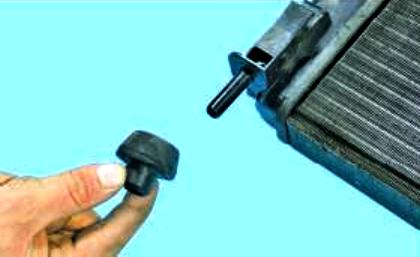
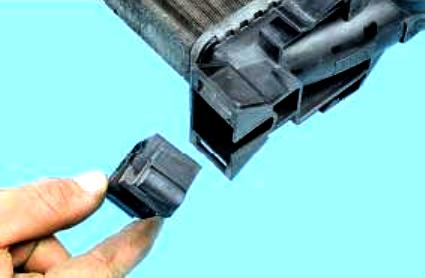
Remove the pillow
Inspecting the top pads of the radiator mounting brackets
To replace the top cushions, compress the bent ears
Remove the top cushion from the holder
Rinse the radiator from the outside with a jet of water and dry it.
If cracks appear on the plastic radiator tanks, replace the radiator.
We check the tightness of the radiator, for which we turn off three radiator pipes, and supply air at a pressure of 1 kgf / cm 2 to the unplugged one, and lower it into a container of water.
Leakage is determined by emerging air bubbles.
Install the radiator in reverse order.
Before installation, we lubricate the pipes with a thin layer of sealant.
Torque tighten (5.5 Nm) the air-to-air cooler hose clamp.
Use the elastic band pliers (Mot. 1202-01) to install the elastic bands.
When performing the operation, take care not to damage the fins of the cooling units (radiator, condenser).
Connect the wires to the battery terminals, starting with the positive terminal.
Fill in coolant and remove air pockets from the cooling system.
