Problems with starting a car engine can be divided into two main groups, depending on the degree of engine heating
Engine cold
At least 6 hours have passed since the engine was turned off at an outside air temperature of +20°C and at least 3 hours at -20°C, the temperature of the oil in the engine crankcase coincides with the ambient temperature.
Techniques for starting an engine with a fuel injection system are the same at any outside temperature.
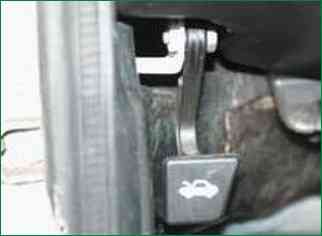
Open the hood by pulling the hood lock handle.
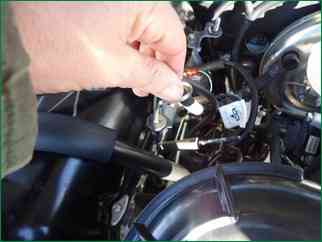
Measure the oil level with a dipstick.
It should be between the "MAX" and "MIN" labels.
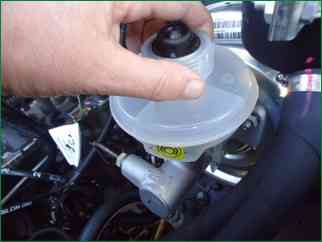
Check the brake fluid level
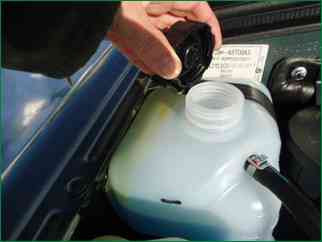
Check the coolant level.
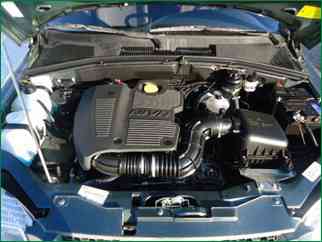
Carefully inspect the engine and engine compartment.
Pay attention to smudges of gasoline, oil, brake fluid and coolant.
Make sure the electrical wiring is intact.
Check the fit of the high-voltage wires in the sockets of the ignition module, on the candles.
Turn the ignition on by turning the key in the ignition switch to the "I" position. This will turn on the electric fuel pump. Without closing the hood (in case of rain or snow cover the hood), get behind the wheel
Start the engine.
It is better to close the hood after the engine starts.
Before that, it is advisable to inspect the engine again, make sure that there are no leaks of fuel, oil, coolant, as well as extraneous sounds in its operation.
If the engine does not start, there are three main reasons:
- - start system not working;
- - the ignition system does not work;
- - the power system is not working.
Engine warm or hot
The temperature of the oil in the crankcase is higher than the ambient temperature.
To start, just turn on the starter without touching the accelerator pedal. The engine management system will independently set the fuel supply and ignition parameters necessary for starting.
If, for any reason, during an unsuccessful start attempt, the spark plugs are “flooded”, use the “purge” mode of the cylinders.
To do this, press the accelerator pedal all the way and turn on the starter.
In this mode, there is no fuel supply and excess gasoline is removed from the cylinders by a stream of fresh air, while the spark plugs are dried.
After purging, try starting again in the normal way.
If the engine does not start, there are three main reasons:
- - start system not working;
- - the ignition system does not work;
- - the power system is not working.
Start system malfunctions
Faults in the starting system are manifested in the abnormal operation of the starter. There are five main starter malfunctions:
- 1. The starter does not turn on. The reason is a violation of the contact connections, an open or short circuit in the starter switching circuits, a malfunction of the traction relay.
- 2. Multiple clicks are heard when the starter is turned on.
The reason is a malfunction of the holding winding of the traction relay, the battery is very discharged, the contact connections in the starter circuit are loose.
- 3. The starter turns on, but its armature either does not rotate or rotates slowly.
The reason is the battery is discharged, the contact connections are broken, the traction relay contacts are burned, the collector is dirty or the brushes are worn out, the interturn or short circuit in the windings.
- 4. The starter turns on, its armature rotates, but the flywheel remains stationary.
The reason is the weakening of the fastening of the starter to the crankcase Damage, damage to the teeth of the flywheel or drive gear, slipping of the drive freewheel, breakage of the lever, drive ring or buffer spring of the starter drive.
5. The starter does not turn off after starting the engine. The reason is a malfunction of the starter freewheel, sintering of the contacts of the traction relay. In the event of such a malfunction, stop the engine immediately!
The indicated malfunctions require qualified intervention at a car service center or upon arrival at the garage
Previously, you can only check the degree of rarefaction of the battery using a voltmeter in the instrument cluster and the tightness of the contact connections in the starter circuit.
Checking the ignition system
Your vehicle is equipped with a microprocessor based <MPS> high energy ignition system.
A voltage of about 40,000 volts is applied to high-voltage wires, and although it is not life-threatening at a low current value, a possible electric shock when checking the ignition system can lead to serious consequences.
Therefore, if you are handling a high-voltage wire with the ignition on, use a thick rubber glove or, in extreme cases, pliers with insulated handles.
You will need: slotted and Phillips screwdrivers, pliers with insulated handles and a tester.
Before checking the ignition system, place the shift lever in neutral and leave the parking brake applied.
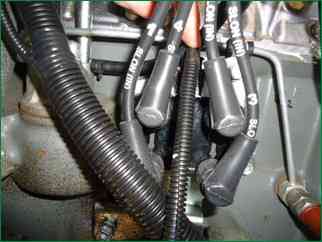
With the ignition off, check the integrity and fit of the high-voltage wires in the ignition module.
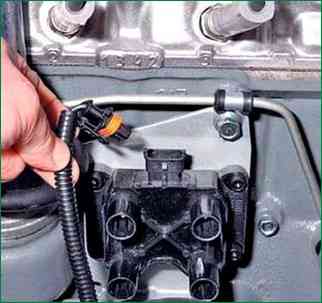
Disconnect the harness connector from the ignition module low voltage circuit block.
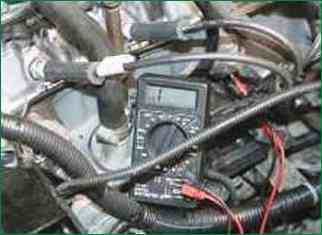
And check with a tester turned on in the low current measurement mode (mA). open the low-voltage circuit of the module by connecting the tester probes to the contacts "C" and "B" of the block.
If the ignition module's low voltage circuit is good, check for a spark at the spark plugs to test the module's high voltage circuit and high voltage wires.
Remove the high voltage wire from any spark plug.
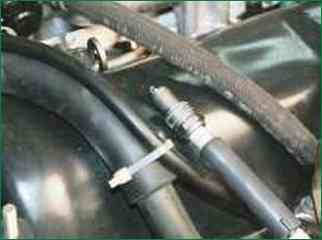
Insert a spare spark plug into the end of the wire and press it with the metal part to the "mass" of the car.
Crank the engine with the starter.
If there is no spark, replace the high voltage wires with new ones. You can first try to install not new, but proven high-voltage wires, “from a working machine”.
If no spark appears after replacing the wires, replace the ignition module (see "Replacing the Niva Chevrolet Ignition Module"). If there is a spark, but the engine does not start, replace the spark plugs with new ones.
You can also try to install not new, but proven, candles "from a working machine" beforehand.
If after that the engine does not start, check the engine control system (see "Replacing the Niva Chevrolet engine control sensors").


