The air flows in the cabin are distributed by air ducts located inside the dashboard
Air is supplied to the windshield through the upper slit-like nozzles on the instrument panel, to the side windows - through the side and, partially, central nozzles (with air flow guides), to the legs - through the holes in the heater casing.
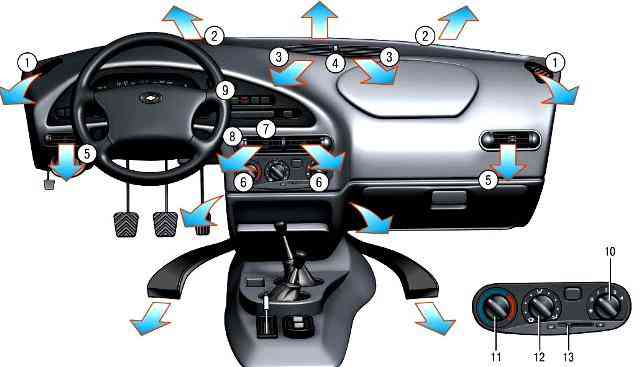
Controls for heating and ventilation of the interior: 1 - nozzles for blowing windows of the front doors; 2 - air duct for blowing the windshield; 3 - upper nozzles; 4 - regulator of additional air supply through the upper nozzles; 5 - side nozzles; 6 - central nozzles; 7 - lever for adjusting the direction of air flow; 8 - handle of the air flow intensity regulator; 9 - switch for electric heating of the tailgate glass; 10 - heater fan mode switch; 11 - supply air temperature controller; 12 - air flow distribution regulator; 13 - outdoor air supply regulator
Outside air can enter the passenger compartment through the door windows with the windows down and the air intake located in front of the windshield and equipped, depending on the configuration, with a dust filter that cleans the air entering the passenger compartment from dust, soot, plant pollen, etc.
The air entering the passenger compartment through the air intake passes through the heater.
Depending on the position of the handles of the regulators of the heating and ventilation control unit 12, either heated or cold air enters the car interior.
The location of the heating and ventilation controls is shown in Figure 1.
You will need a screwdriver.
Disconnect the negative terminal from the battery.
Remove the instrument panel together with the heater (see "Removing and instrument panel installation).
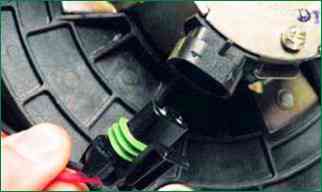
Disconnect the heater blower harness connector.
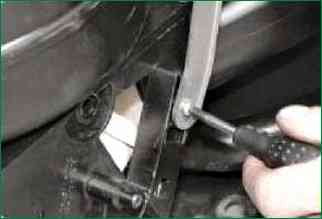
Remove the two screws securing the air intake box and remove the box assembly with the electric fan.
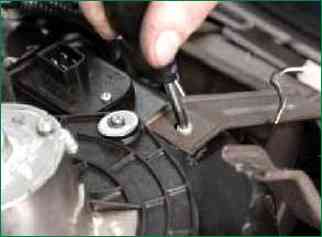
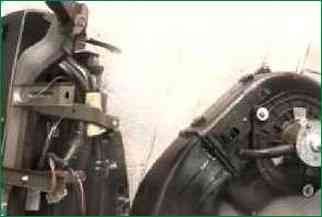
Remove the trim panel of the heater control levers (see "Removing and installing the Niva heater Chevrolet")
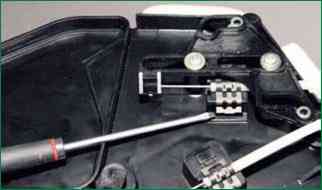
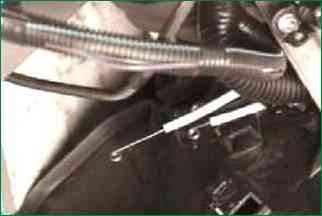
Remove the screws of the tie rod brackets and disconnect the tie rods
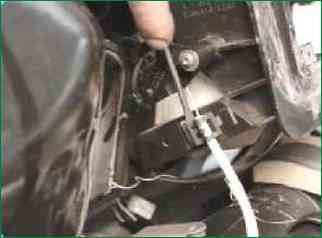
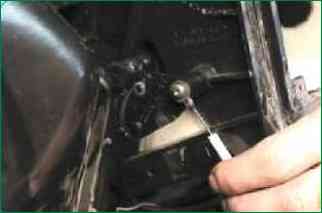
Remove the screw of the fastening bracket of the recirculation damper drive rod and disconnect the rod.
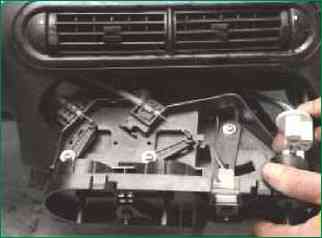
Remove the arm bracket and disconnect the wiring harness block from the heater blower switch.
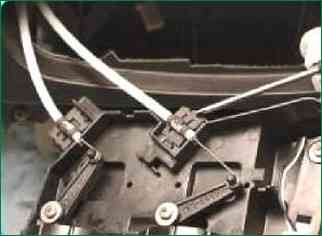
Remove the screws of the tie rod brackets and disconnect the tie rods.
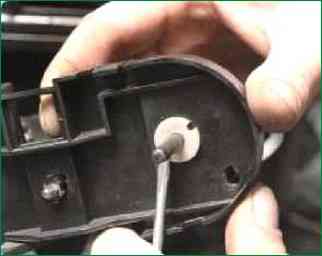
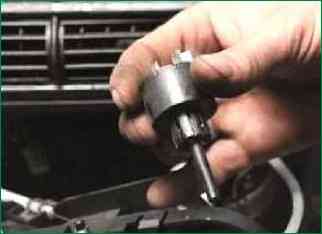
Unscrew the plastic nut securing the heater fan switch and remove the switch
Install all removed parts in the reverse order of removal.


