Replace the spring if it has mechanical damage or significant settlement
Signs of precipitation:
- - deteriorating ride, frequent breakdowns of the suspension;
- - a visible skew of the rear of the car or a significant difference in the height of the front and rear parts that appeared during operation;
- - strongly pronounced traces of the collision of the coils of the spring.
Replace springs as a set.
The springs are divided into two groups along the length under a load of 6276 N (640 kgf):
- group "A" - length more than 192 mm;
- group "B" - length equal to or less than 102 mm.
Class "A" springs can be unmarked or marked with white paint on the outside of the coils, class "B" springs are marked with black paint.
You will need two "19" keys.
It is more convenient to work on a lift with an assistant.
If you are replacing the springs on a lift, place jack stands under the rear axle beam and lower the vehicle with a slight load on the suspension.
When working on a pit, this operation is not required.
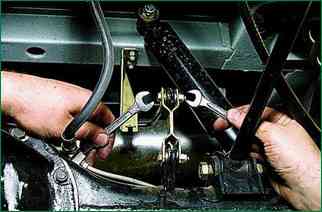
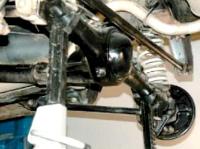
Using two 10 wrenches, unscrew the nut securing the brake pressure regulator lever to the rear axle bracket rod.
Remove the bolt and remove the tip of the lever from the eye of the thrust
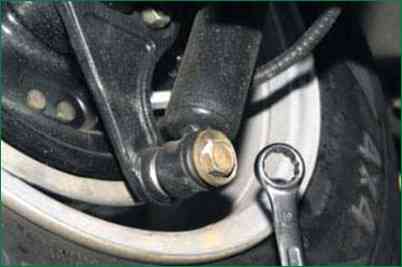
Remove the lower shock absorber mount
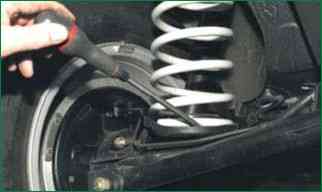
We pry the spring with a screwdriver for the lower coil
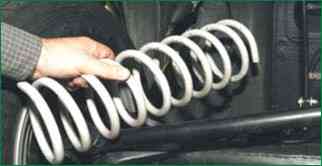
Remove the spring
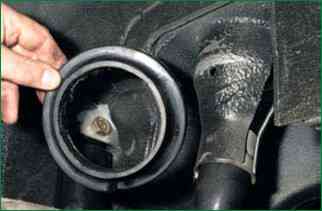
Remove the top rubber pad
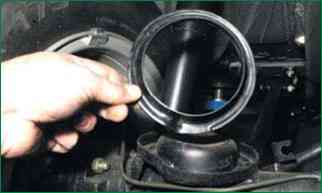
Remove the bottom plastic pad
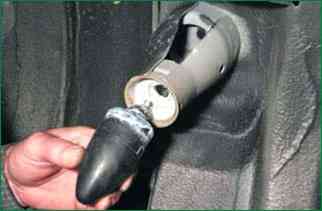
To replace the compression stroke buffer, remove it from the limiter hole by prying it with a screwdriver
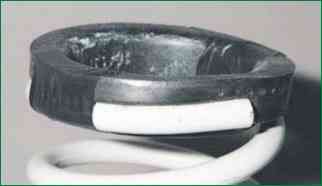
When installing the spring, we attach the upper gasket to it with electrical tape
When installing the spring, the end of its lower coil should abut through the plastic gasket against the flange of the lower support cup
Install in reverse order


