When the cylinder body is open, do not press the brake pedal, otherwise the piston will pop out.
Do not damage the piston boot and do not allow oil to get on the brake disc
Always replace pads with gaskets
If the gaskets show signs of rust or peeling of the rubber coating, replace them with new ones
Unscrew the connecting bolt only when disassembling and replacing the caliper assembly.
In these cases, hang the cylinder body on a wire so as not to stretch the brake hose.
Burn in the friction surfaces of the brakes in case of boring or replacing drums or discs, after replacing the brake pads or friction linings, and also if the pedal begins to “fall through” after a short run.
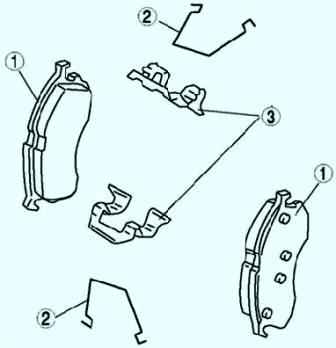
Removing the brake pads
When replacing brake pads, always change the inner and outer gaskets and gasket covers in the kit.
Drain the brake fluid.
Remove the front wheel and temporarily secure the rim with two nuts.
Remove the bolt and detach the brake hose bracket.
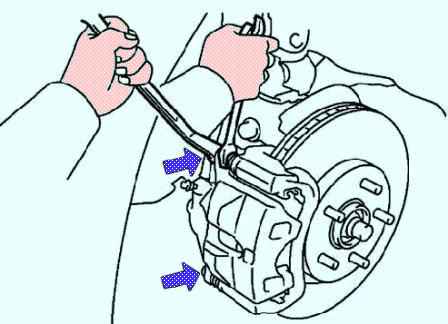
While holding the guide pins, unscrew the caliper mounting bolts (Fig. 2).
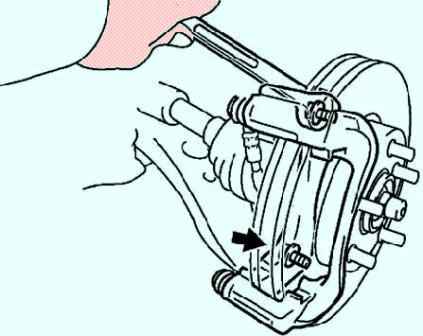
Unscrew the mounting bolts of the caliper body and remove the caliper (Fig. 3).
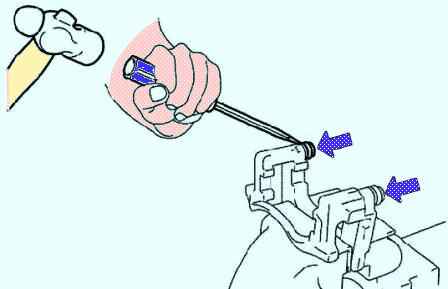
Holding the caliper in a soft-jawed vise, use a screwdriver and hammer to remove the guide pin boots (fig. 4).
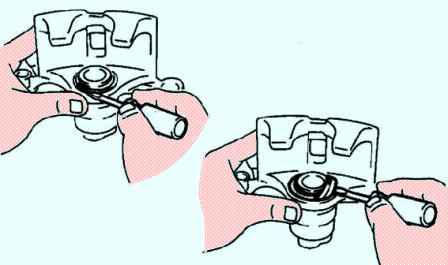
Using a screwdriver, remove the brake cylinder boot spring ring and boot (fig. 5).
Place a rag between piston and cylinder.
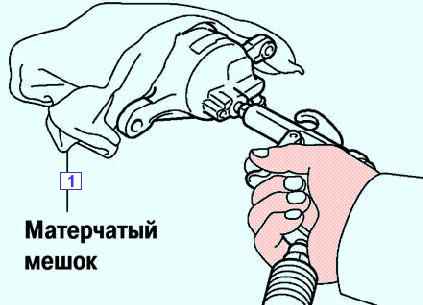
Using compressed air, remove the piston from the cylinder (fig. 6).
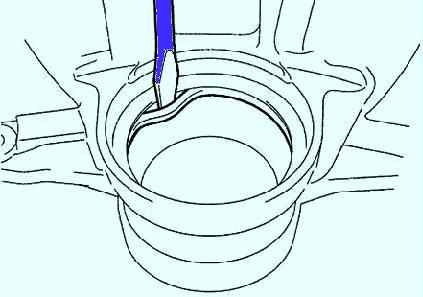
Using a screwdriver, remove the oil seal (fig. 7).
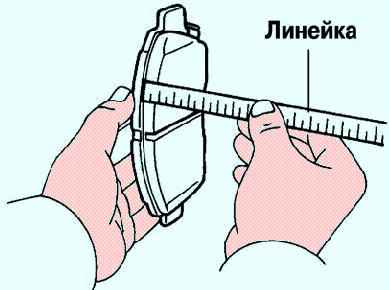
Measure the thickness of the brake pads with a ruler (fig. 8). Standard thickness: 12mm
Read more
Preparing the car
We install stops under the rear wheels and hang out the front of the car
Remove the wheel
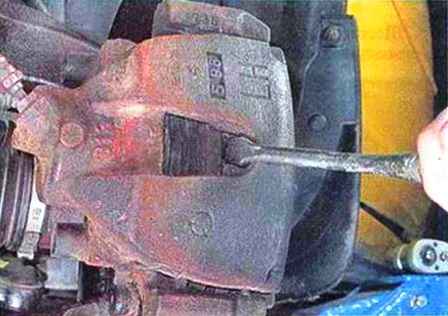
Using a screwdriver, press the piston into the brake cylinder
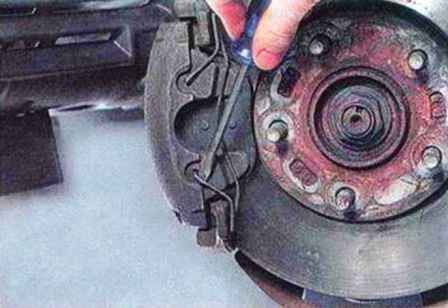
Pry off with a slotted screwdriver and remove the caliper retaining spring
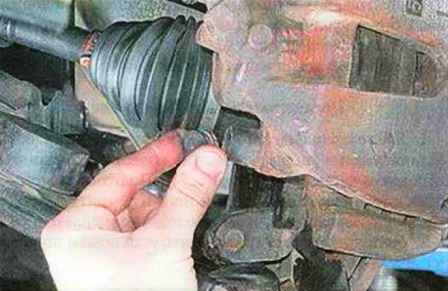
Remove the plugs of the bushings of the guide pins
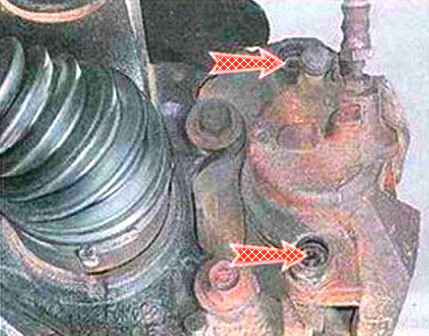
Using a 7 hex wrench, unscrew the guide pins of the caliper
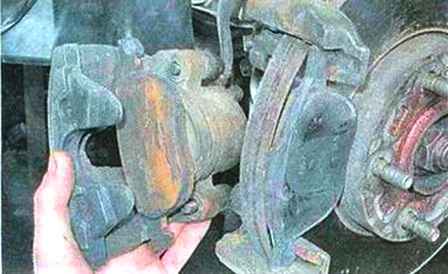
Remove the caliper without disconnecting the brake hose
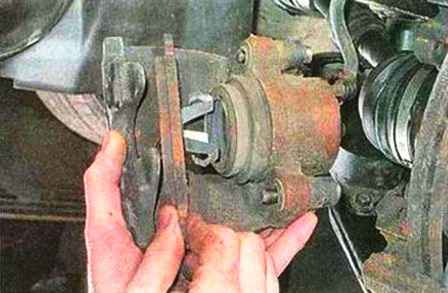
Remove the inner brake pad
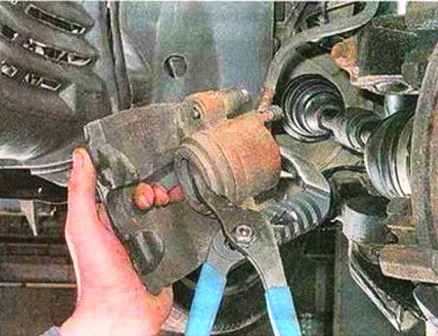
Insert the piston into the brake cylinder
We sink the piston gradually, controlling the fluid level in the reservoir of the main brake cylinder. If necessary, we pump out the liquid from the reservoir using a rubber bulb or syringe
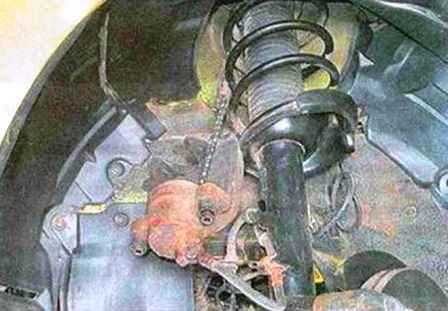
We tie up the caliper so as not to load the brake hose
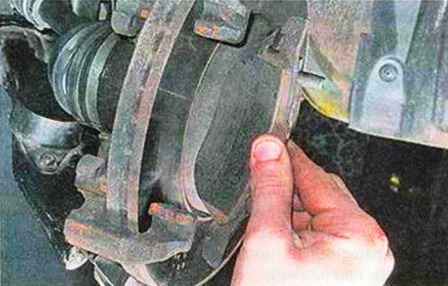
Remove the outer brake pad
After that, you need to check the thickness and condition of the brake disc
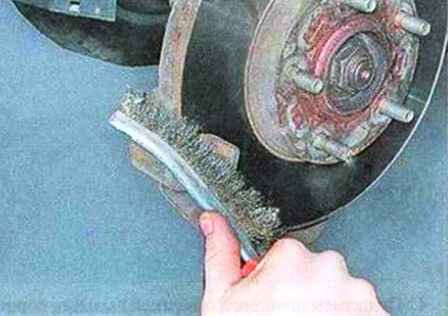
Wet with brake cleaner, clean the pad guide and the edge of the brake disc
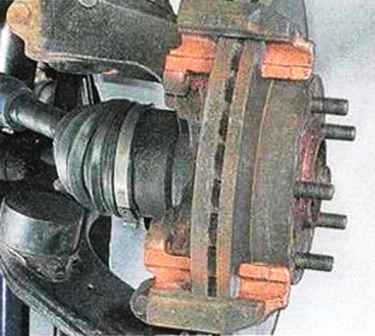
Lubricate the shoe guide with copper grease
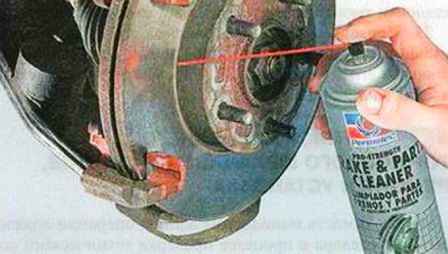
We clean the working surface of the brake disc on both sides with a special brake cleaner.
This tool easily copes with brake dust, dirt, traces of oil and soot. It restores brake and ABS function by providing movement to parts and dries without leaving marks on work surfaces.
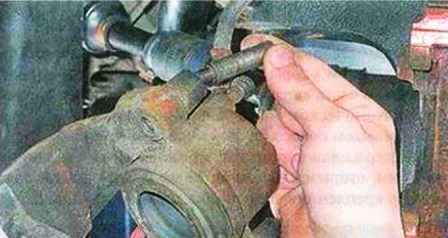
Remove the caliper guide pins
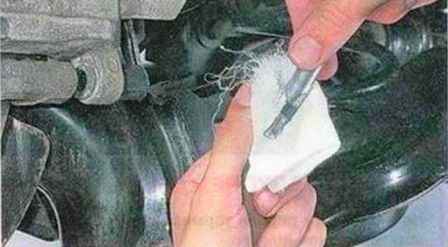
We clean our fingers from dirt. If there are signs of heavy wear, replace the guide pins
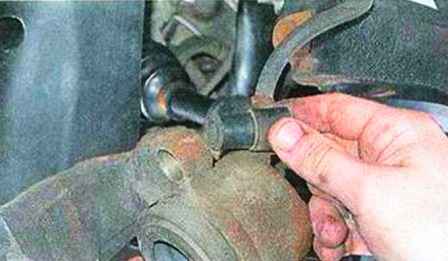
Check the condition of the bushings of the guide pins. If damage is found, we will replace them
Install the brake pads in reverse order
Tighten the guide pins of the caliper with a torque of 25-30 Nm
Installing the wheel
In the same way, we replace the brake pads on the other side of the car
We press the brake pedal several times to self-adjust the gaps between the brake pads and the disc
Check the brake fluid level and top it up if necessary


