Remove the master brake cylinder reservoir for flushing, remove the brake master cylinder for replacement in case of failure
Removing the master cylinder reservoir
We prepare the car and disconnect the negative battery terminal
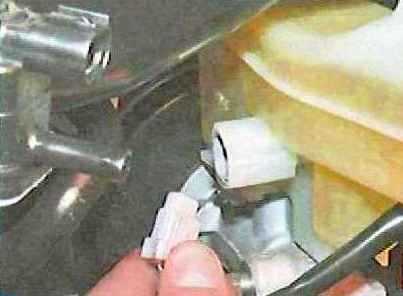
Disconnect the wiring harness from the brake fluid level sensor
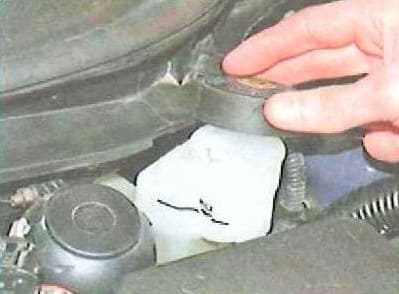
Remove the reservoir cap and pump out the brake fluid using a syringe or a rubber bulb
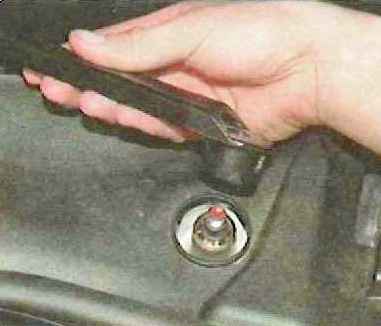
Remove the wiper trapezoid
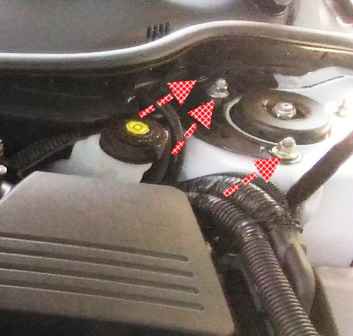
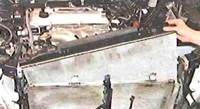
Remove the front panel of the air box
Remove the air filter as described in the article - "Removing and installing the engine air filter"
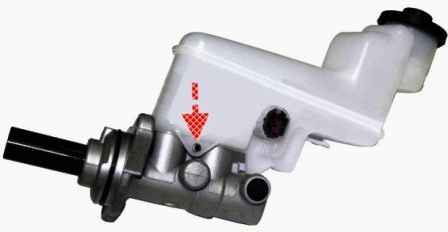
Knock out the tank fastening pin
Remove the tank, removing its nozzles from the connecting sleeves
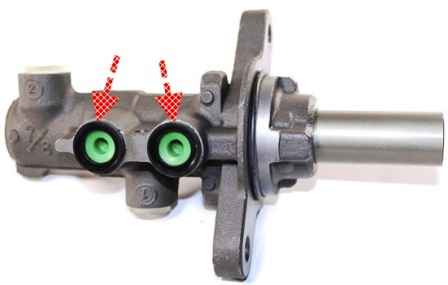
The connecting sleeves must be replaced when removing and installing the tank
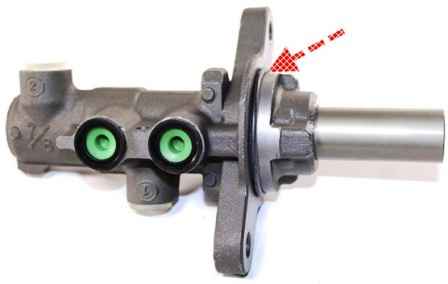
Remove the rubber sealing ring from the brake master cylinder body
Before installing the reservoir, we insert connecting sleeves into the holes of the master brake cylinder
Then we install the tank, inserting its nozzles into the connecting sleeves by hand until it stops, and fix it with a pin
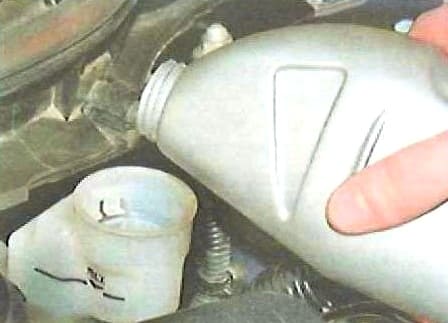
Fill in brake fluid
Replacing the brake master cylinder

Disconnect the wiring harness from the brake fluid level sensor

Remove the reservoir cap and pump out the brake fluid using a syringe or a rubber bulb
Remove the air filter
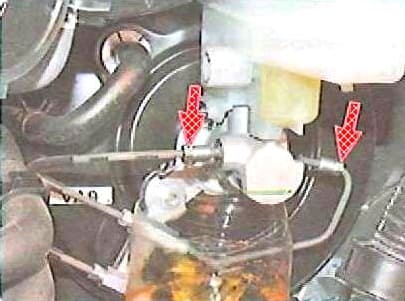
Unscrew the nuts securing the two tubes from the master cylinder and move the tubes to the side
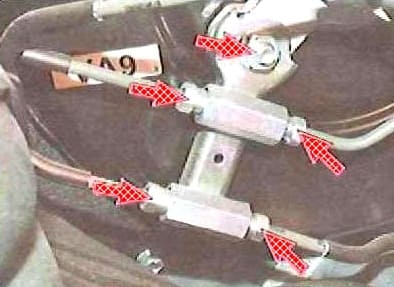
Disconnect the four tubes from the adapter block
We unscrew the nut that secures the adapter block to the vacuum booster (this nut also fastens the head brake cylinder) and remove the adapter block
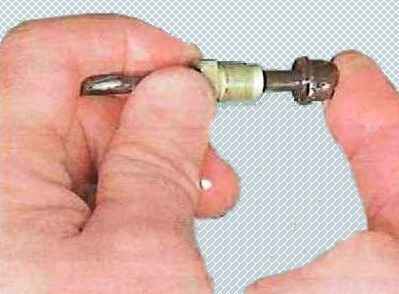
We put plugs on the tubes, putting on their ends the protective caps of the valves to release air
Unscrew the second nut securing the brake cylinder to the vacuum booster
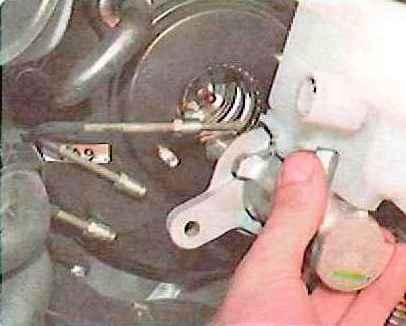
Remove the brake master cylinder and the O-ring installed underneath
Install the brake master cylinder in reverse order
Pumping the brake system


