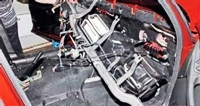
Removing the front bumper of a Chevrolet Niva car is not difficult
It is advisable to remove the front bumper at least once or twice, especially in the summer, regardless of the condition of the car
Because even with a good wash, a lot of insects and remnants of grass and dust accumulate on the combs of the radiators of the air conditioner and engine, which subsequently interferes with heat transfer.
We also remove the bumper when repairing the sound signal and for other types of maintenance.
We install the car on a lift or an inspection ditch, if it is not possible, then you can remove the bumper on a standing car.
Open and raise the hood.
Turn the front wheel in the right direction to approach the self-tapping screws that attach the bumper to the mudguard on the side.
You can, of course, remove the mudguards, but if there is no such need, then it is better not to do this operation.
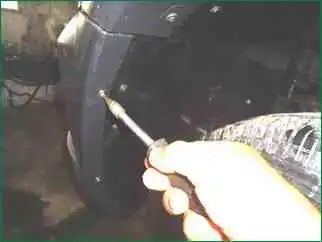
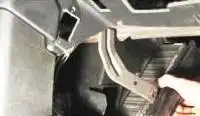
Using the T-20 key, we unscrew the two screws on the right and left sides (Fig. 1), and two screws each from the bottom.
Unscrew and remove the front license plate.
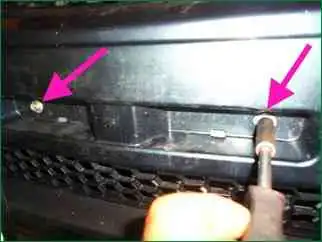
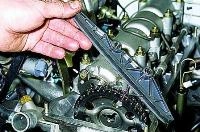
Under the license plate, unscrew the two bolts with a 10 head (Fig. 2)
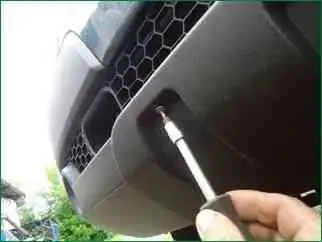
Using the T-20 key, unscrew the four screws securing the lower part of the bumper cover (Fig. 3) and remove it.
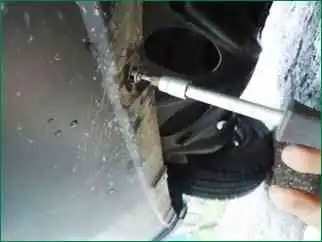
Under this overlay we unscrew three self-tapping screws (Fig. 4)
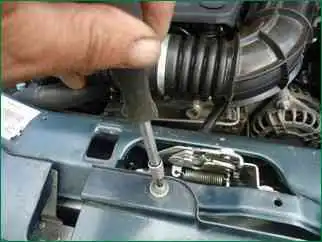
After that, using the torxT-30 wrench, unscrew the three screws that secure the upper part of the bumper (Fig. 5)
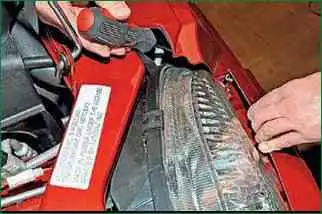
Now you need to press the upper part of the bumper a little forward and inserting a thin, long screwdriver into the gap, we squeeze the plastic tab of the decorative trim covering the lower part of the headlight (Fig. 6)
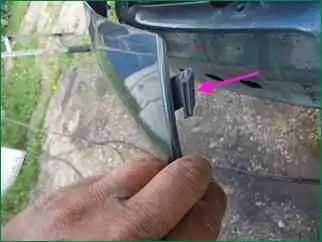
This latch (tab) looks like this, you can see it in Figure 7.
This decorative trim is also glued with double-sided tape, but in some cases it is attached at the factory with glue for gluing windshields.
This glue or tape is applied in the middle of this overlay.
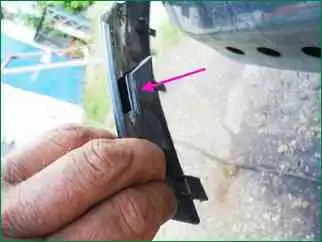
The arrow in figure 8 shows the place where this layer was applied.
Pressing this pad, you can see two screws on one side and the other, which secure the bumper.
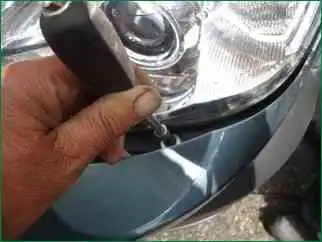
We unscrew these screws with the T-30 key (Fig. 9)
After that, carefully remove the bumper.
Install bamperes in reverse order.
When installing the decorative panels under the headlights, you need to make sure that the lower clips are in the appropriate holes.
When installing the bumper, you must first bait and secure the four screws under the headlights.
After that, the lower part of the bumper, you must first make all the screws, only then tighten them all.


