The failure of the main brake cylinder is due to wear of the pistons, sealing rings, and also the working surface of the cylinder
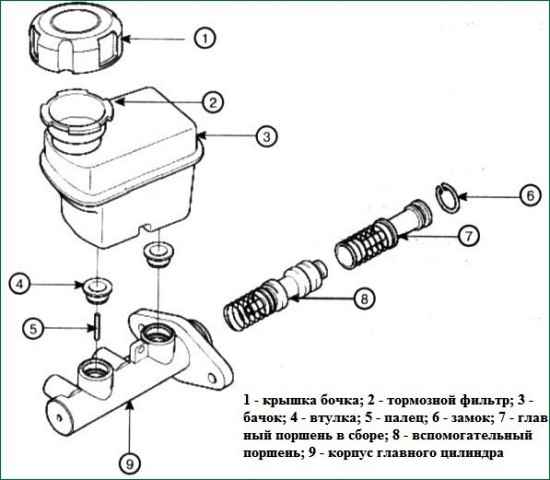
Removing the brake master cylinder
Preparing the car for the task.
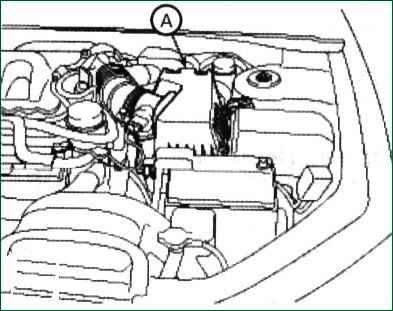
Remove the air filter assembly
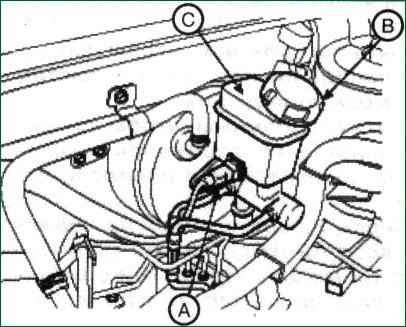
Disconnect the connector (A) of the brake fluid level sensor and remove the barrel cover (B)
Using a rubber bulb or syringe, we pump out the fluid from the brake master cylinder reservoir
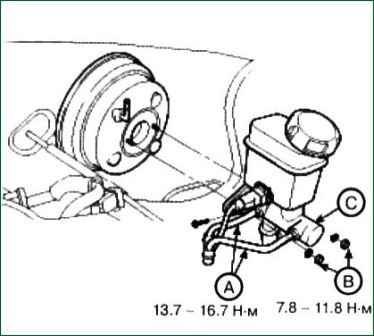
Disconnect the brake pipe (A) from the brake master cylinder.
We close the brake pipe with a plug to prevent dirt from getting in
Unscrew the fixing nuts (B) of the brake master cylinder and remove the washer
Remove the brake master cylinder from the hydraulic booster
Install the master cylinder in reverse order and bleed the brake system, article - Bleeding the hydraulic brake system of a Kia Magentis
Disassembly and assembly of the brake master cylinder
Drain the remaining fluid from the master cylinder reservoir
Remove the brake fluid level sensor
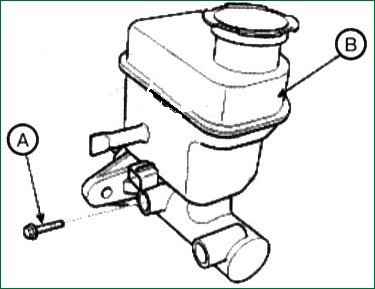
Remove the reservoir from the brake master cylinder and unscrew the screws (A)
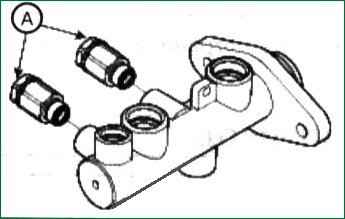
Remove the pressure limiter
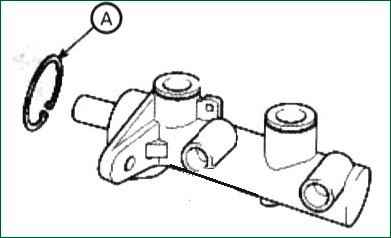
Remove the retaining ring using circlip pliers
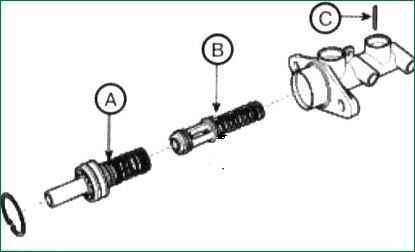
Remove the main piston assembly (A)
Remove the pin (C) with the auxiliary piston (B), squeezing it out with a screwdriver
After disassembly, we check the working surface of the cylinder for scratches and corrosion
Checking the brake master cylinder for wear and damage
If the cylinder is damaged, then we replace it
Assembling the brake master cylinder
We wash the parts of the brake master cylinder with clean brake fluid or alcohol
Apply brake fluid to the rubber parts of the cylinder and bushing
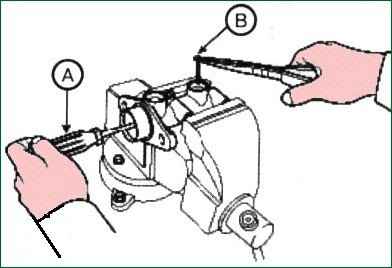
Carefully insert the springs and pistons
Pressing the piston with a screwdriver (A), install the pin (B)
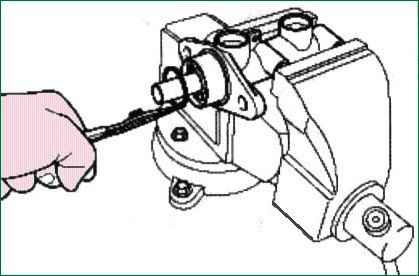
We press on the piston with a screwdriver and install the locking ring
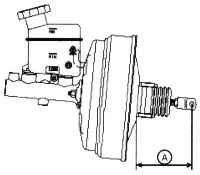
We measure the protrusion of the pusher and adjust it (8.25 ± 0.125 mm).
Installing the pressure limiter
Install two bushings, and then the tank


