Replacement of springs is required in case of settling or breakage of spring sheets
The vehicle can be equipped with three-leaf springs with single-leaf additional springs or five-leaf springs with three-leaf additional springs.
Three-leaf springs have plastic spacers between the leaves.
The front end of the spring is attached through a rubber-metal hinge to the bracket on the frame, and the rear end to the earring.
The spring is attached to the rear axle using stepladders.
There is a plastic spacer between the main and additional springs.
Removing the spring
You will need: a key “22”, a head “24”, a hammer, a beard, a drift.
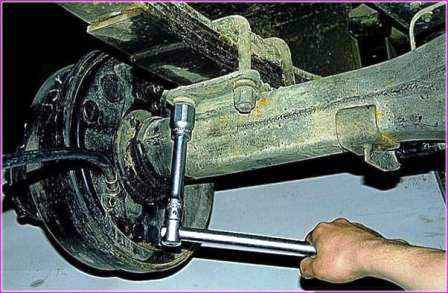
Loosen the four nuts securing the ladders.
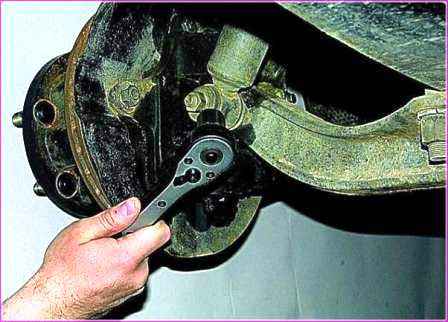
Disconnect the lower shock absorber mount, for this, with a 19 head, unscrew the nut of the lower shock absorber mount
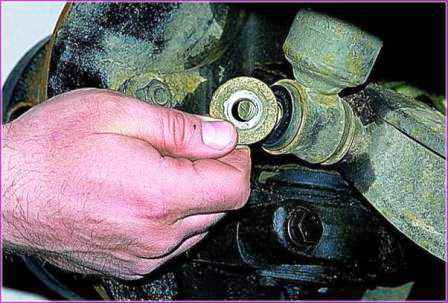
Remove the washer
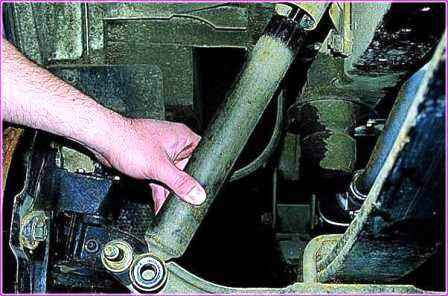
Remove the lower part of the shock absorber.
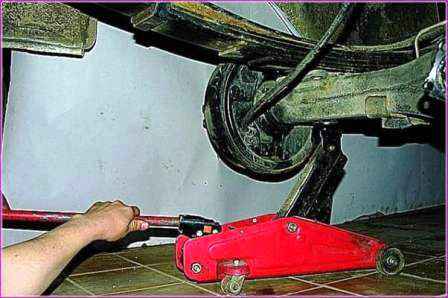
Unload the spring by raising the rear of the vehicle and place a support under the rear of the frame.
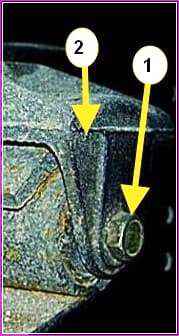
Remove the nut of pin 1 securing the front end of the spring to the bracket on the frame so that it remains flush on pin 1.
Wet the joint and pin liberally with soapy water or brake fluid and use a drift to drive the pin through the mounting hole in the frame until it touches the bracket nut 2.
Unscrew the nut and finally knock out pin 1 with a beard, applying force to the end of the pin.
Together with your finger, remove two spring washers and one thrust washer.
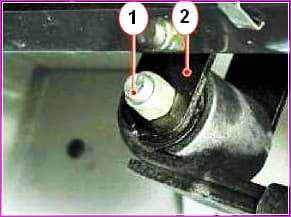
Unscrew the nut of the pin 1 that secures the rear end of the spring to the earring 2.
Soak the joint and pin 1 liberally with soapy water or brake fluid.
Knock out bottom pin 2 without damaging the threads.
Using a jack, lift the rear of the car by the frame so that the ends of the spring come out of the bracket and clevis.
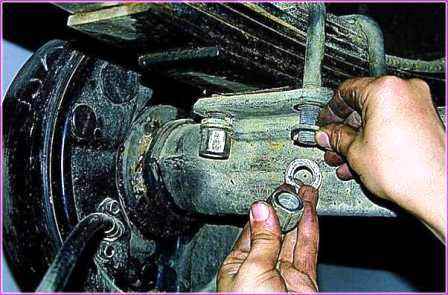
Remove the four nuts of the spring ladders.
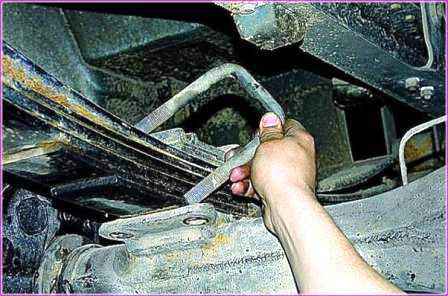
Remove ladders
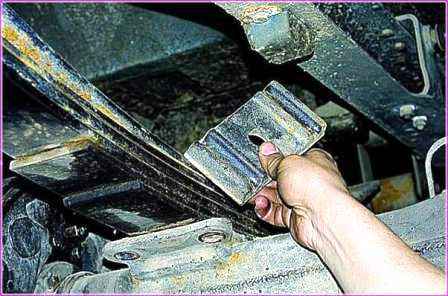
Remove the overlay
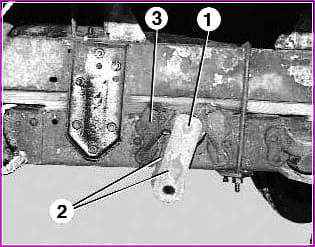
Remove the spring.
Remove the rubber mounts from the spring eyes.
If it is necessary to replace the rubber-metal hinge of the earring, unscrew the nut of the fastening pin 1, knock out the upper pin 1, remove the cheeks 2 of the earrings and remove the hinge 3 from the bracket
Clean the spring from dirt. Remove any rust from the spring eyes.
Be sure to replace the spring hinges.
Examine your fingers.
They should not have visible signs of wear, deformation, rust, dirt.
The threaded part of the fingers must not be damaged.
The spring lugs and front pin washer must not be deformed.
Inspect the springs. The leaf springs must not be cracked.
If these defects are found, replace the spring assembly or, after disassembling the spring, replace the defective sheets.

Check the free deflection of the spring.
To do this, stretch a thin rope or wire between the centers of the holes of the spring eyes and measure the distance "a" from the upper surface of the first sheet at the central bolt to the stretched rope.
For three-leaf springs, the measured distance "a" should be 140-160 mm, and for five-leaf springs - 130-140 mm.
The deflection difference of both rear springs should be no more than 10 mm.
To check the deflection of the additional spring, stretch a thin rope or wire between the ends of the upper leaf of the spring and measure the distance "b" from the upper surface of the first sheet at the central bolt to the tensioned rope.
For single-leaf springs, the measured distance "b" should be 111-121 mm, for three-leaf springs - 76-86 mm.
The difference between the deflection of both additional springs should be no more than 10 mm.
Install the spring in the reverse order of removal. To facilitate the pressing of rubber-metal joints, lubricate them with a thick soapy solution.
When installing, note that the short end of the spring should be directed forward in the direction of the vehicle.
Finally tighten the spring mounting bolts with the vehicle on the ground to 120–150 Nm (12–15 kgcm).
Tighten the two nuts of the earring fingers evenly to avoid distortion.
Disassembly and assembly of the rear spring
You will need: 17 wrench, hammer.
Mark the orientation of the sheets in the spring.
Clamp the spring in a vise as close as possible to the center bolt.
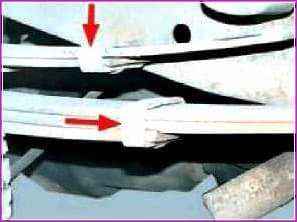
Unbend and remove the tie-down straps from the main and additional springs.
Remove the center bolt nut and remove the center bolt.
Slowly open the vise to release the load from the spring gradually.
Assemble the spring in the reverse order of disassembly, having previously lubricated the sheets of the five-leaf spring with graphite grease (on the three-leaf springs, plastic spacers are installed between the sheets).
Insert a plastic spacer between the main and additional springs.
At the same time, center the holes of the sheets of the main and additional springs with a metal bar, and then, after compressing the entire package, replace the bar with a center bolt.
The head of the bolt must be at the bottom of the spring.
If the springs "sagged"
If the springs of the rear suspension “sag”, but there are no new ones, you should not edit the sheets with rollers, a press or a sledgehammer, or put additional sheets from the Volga, UAZ and other cars.
It is much better to make and install 30–40 mm long earring plates.
The car will rise noticeably and the old springs will still serve.


