Preparing the car for work. Disconnecting the negative battery terminal
Remove the overlay of the instrument panel console (see the article - How to remove the VAZ-2123 instrument panel from 2009)
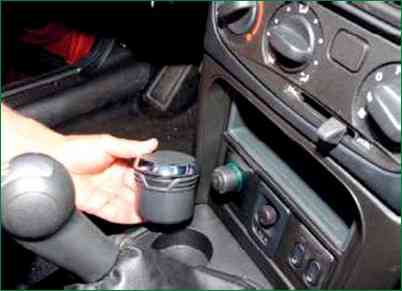
Removing the ashtray from the lining of the floor tunnel
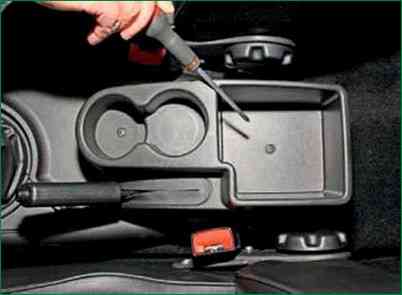
Use a Phillips screwdriver to unscrew the two screws
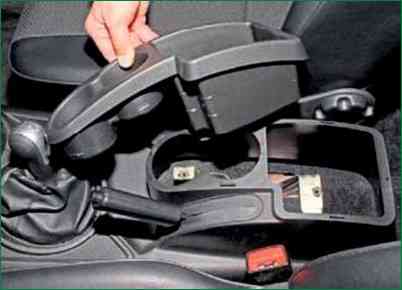
Remove the glove box with cup holders from the lining of the floor tunnel
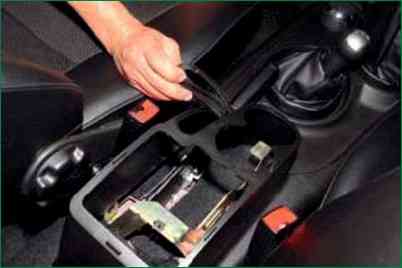
Remove the parking brake lever seal from the tunnel lining
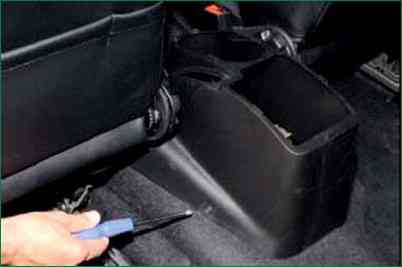
Using a Phillips screwdriver, unscrew the screw of the rear fastening of the tunnel lining on the left side.
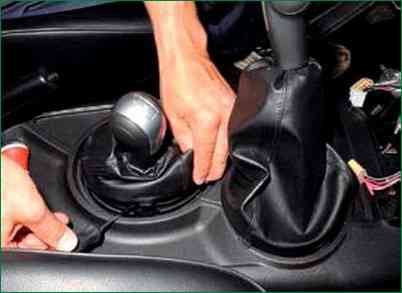
Also unscrew the screw on the other side
We pry off with a screwdriver and remove the cover of the transfer case control lever from the lining
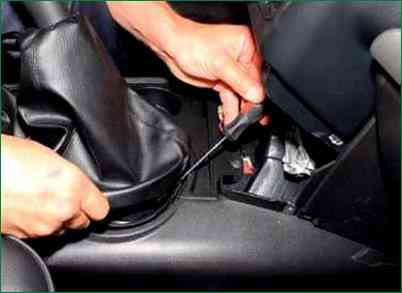
Remove the cover of the gear lever
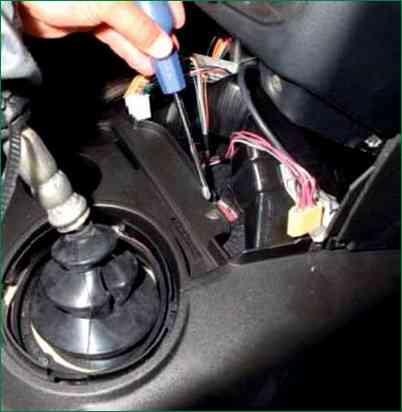
Using a Phillips screwdriver, unscrew the screw of the upper fastening of the tunnel lining
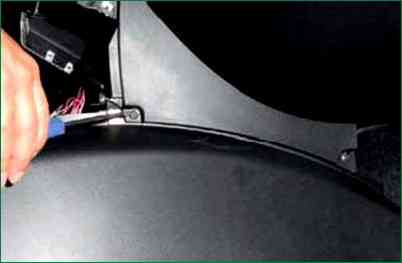
Using a Phillips screwdriver, we unscrew the two screws of the lower fastening of the glove box and the self-tapping screw of the front fastening of the floor tunnel lining.
We also unscrew the self-tapping screw of the front fastening of the tunnel lining on the left side.
Remove the glove box
We remove the screen of the instrument panel console (see the article - How to remove the VAZ-2123 instrument panel from 2009)
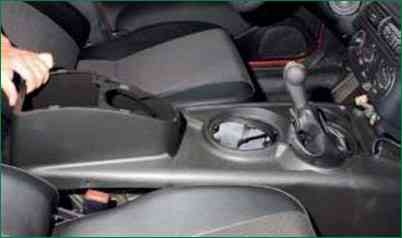
Raise the lining of the tunnel, push the cover of the transfer case control lever and the cover of the gearbox control lever into the hole in the lining.
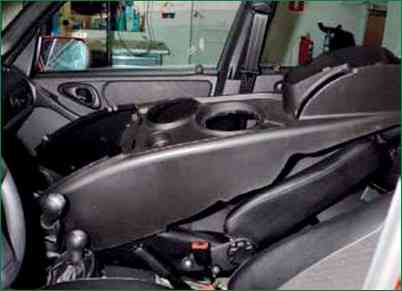
Remove the lining of the floor tunnel.
Install the cladding in reverse order.


