We remove the lining of the floor tunnel when dismantling the instrument panel, removing the parking brake lever
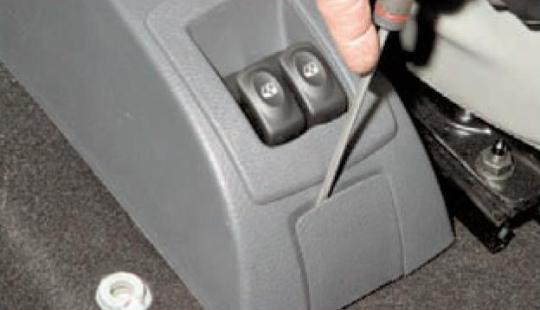
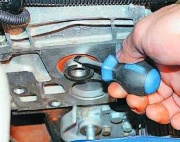
Use a flat screwdriver to open the plug on the back of the floor tunnel lining
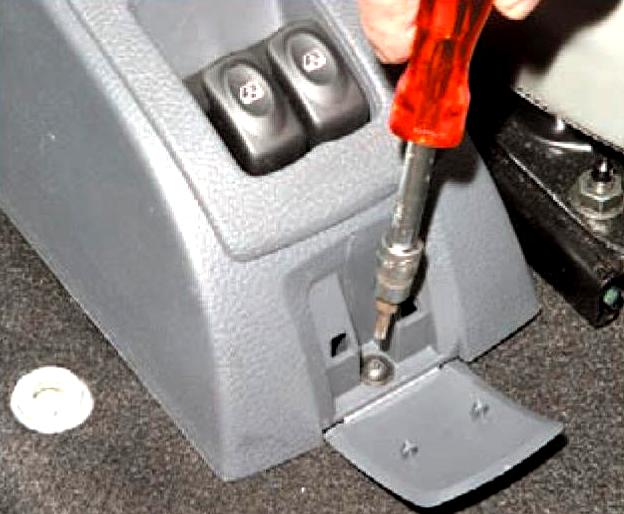
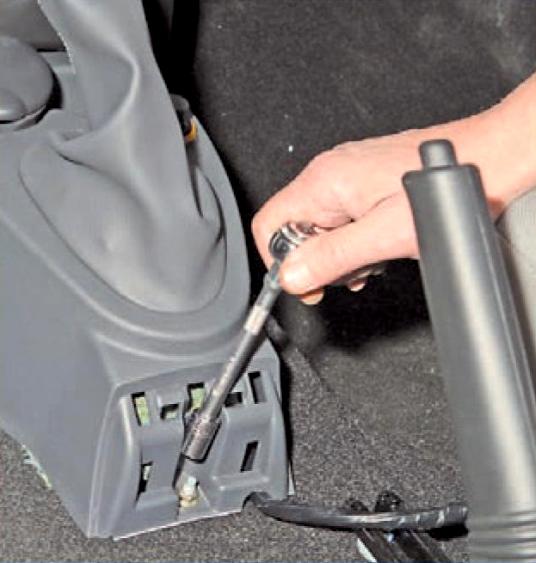
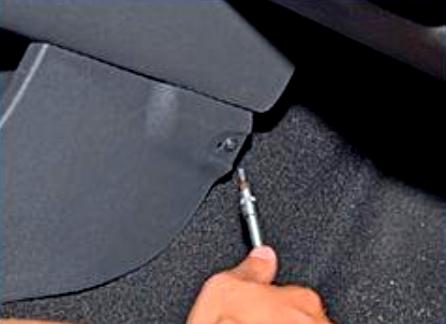
Using a Torx T-20 wrench, unscrew the self-tapping screw securing the rear of the cladding
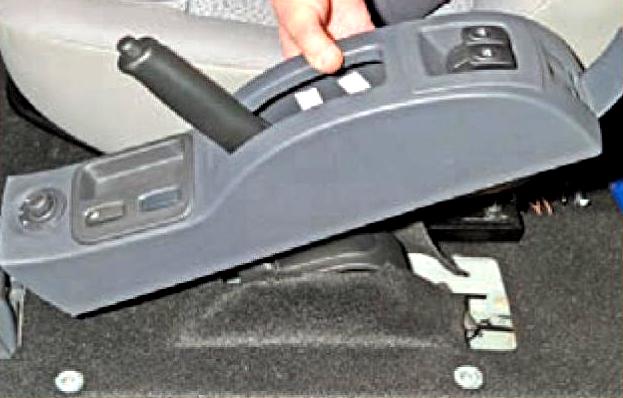
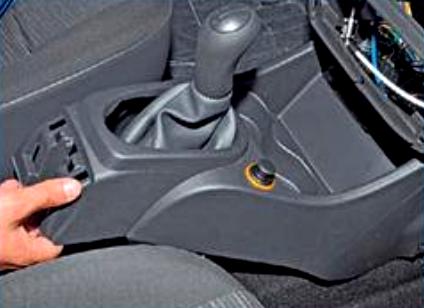
Move the back of the floor tunnel lining back, disengaging the latches connecting it to the front.
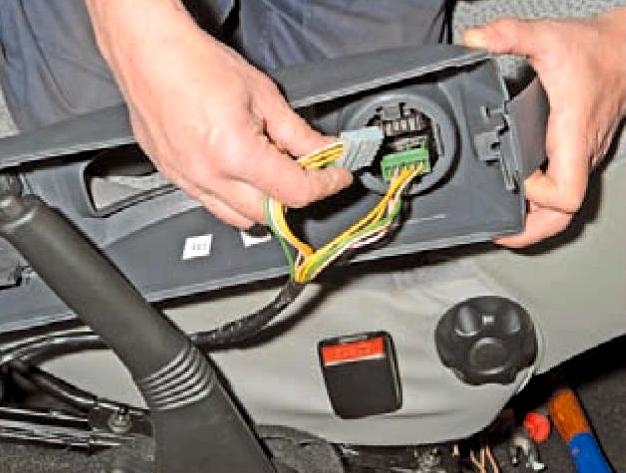
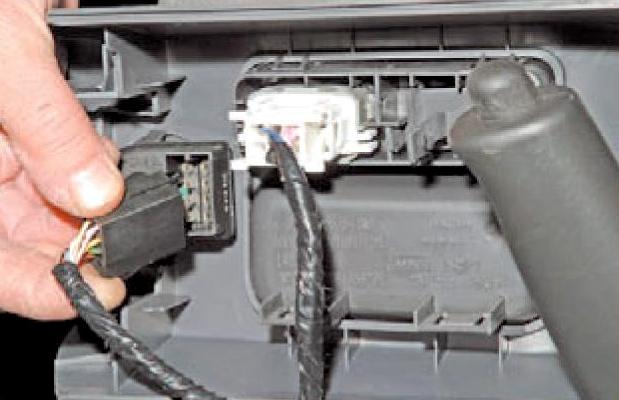
Disconnect the wire blocks from the power window switches
Disconnect the wire blocks from the electric exterior mirrors and the rear door window lock switch and remove the rear part of the floor tunnel lining
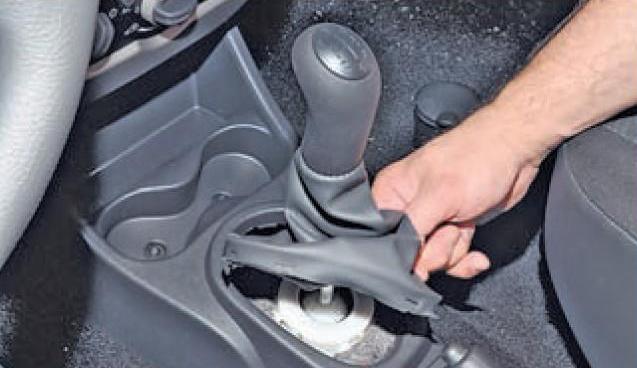
We take out the frame with the gear lever cover from the hole in the front of the lining
With a 10 head, unscrew the nut securing the front of the floor tunnel lining
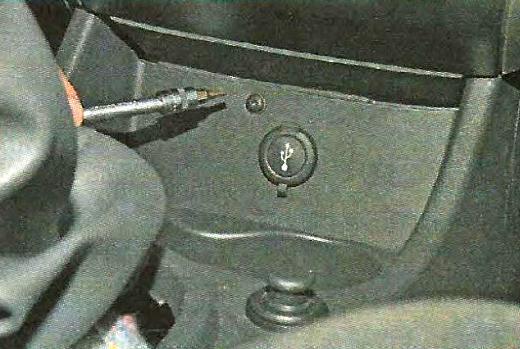
Using a Torx T-20 wrench, unscrew the self-tapping screw securing the front of the floor tunnel lining, located next to the AUX and USB connector
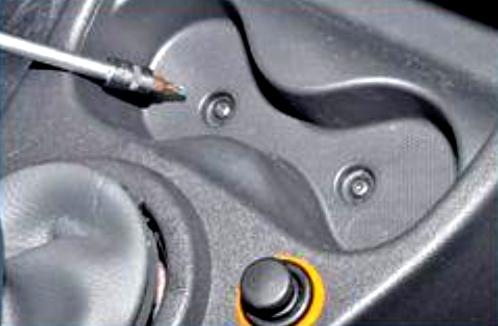
Using a Torx T-20 wrench, we unscrew the two screws securing the front part of the floor tunnel lining in the niche for the ashtray and cup holder.
Using the Torx T-20 wrench, we unscrew the side fastening screws of the front part of the floor tunnel cladding on the right and left sides
Remove the lining from the gear lever by pushing the lever boot into the hole in the lining
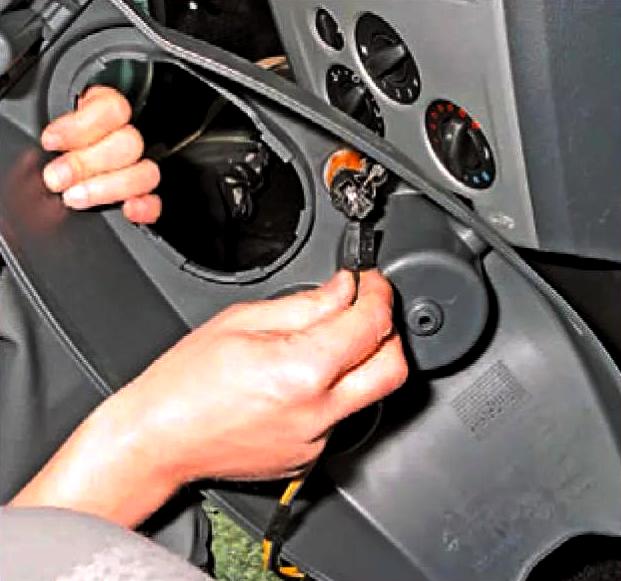
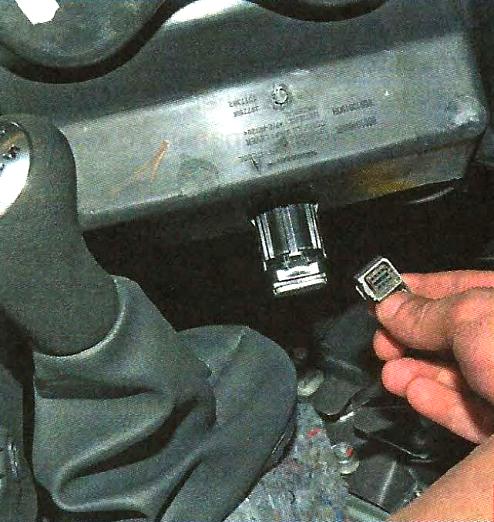
By pressing the latch, disconnect the wire block from the cigarette lighter
Pressing the latch, disconnect the wire block from the AUX and USB connectors and remove the front part of the floor tunnel lining.
Install both parts of the floor tunnel lining in reverse order.


