When a fuel leak is detected from a tank, it is recommended to replace the tank. If the fuel pump screen is often clogged, remove and flush the tank
If a leak is found along the junction of the upper and lower parts of the tank, these places can be soldered (it is recommended to do it in specialized workshops).
To do this, pour out the remaining gasoline, thoroughly rinse and dry the tank. Then solder the leak with soft solder.
Only a thoroughly washed and dried tank that does not contain gasoline vapors can be soldered, otherwise the vapors may ignite when soldering.
To flush the fuel tank, use detergents: Lobomid, MS or ML.
Then, to remove any remaining detergent, rinse and steam the tank with hot water. Dry the tank thoroughly.
Reduce the pressure in the fuel system (see "Niva Chevrolet fuel pressure reduction").
Disconnect the wire from the "-" terminal of the battery.
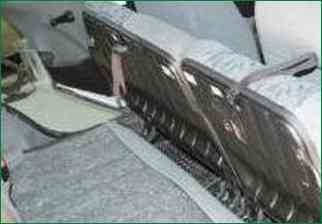
Flip forward both parts of the rear seat cushion.
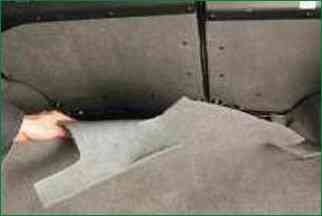
Remove the boot mat.
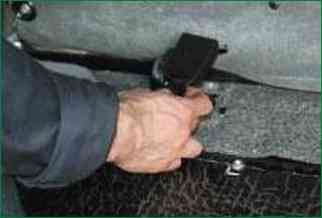
Move the rear seat belt buckles to the trunk, passing them under the back of the rear seat
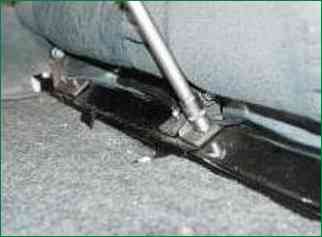
Remove the six nuts securing the rear seatbacks, remove the backrests
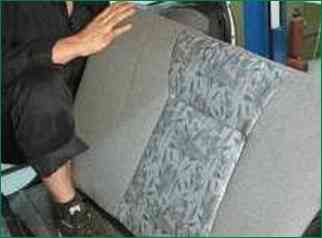
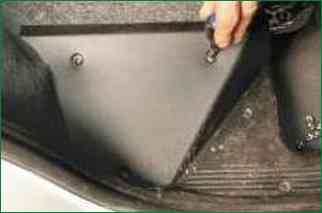
Remove the screws securing the rear upholstery pads on both sides and remove the padding
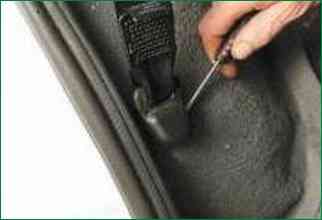
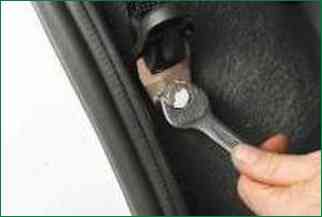
Remove the decorative trims of the side bolts of the rear seat belts, unscrew the bolts and move the belts to the side.
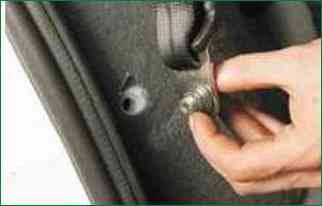
Please note: the bolts are equipped with spacers and anti-noise washers. Don't lose them
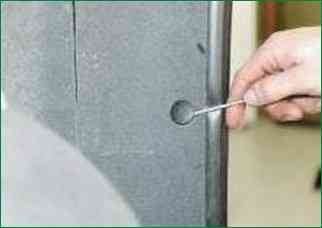
Remove the fastening clips of the right trunk upholstery, unscrew the screws of its fastening
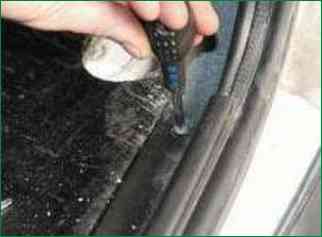
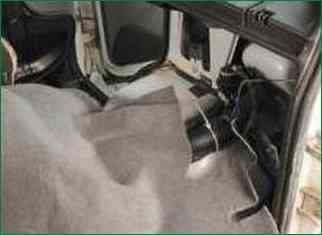
Remove the upholstery.
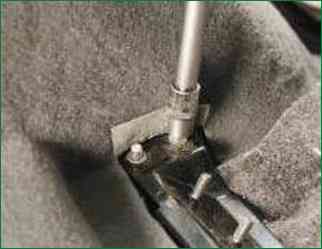
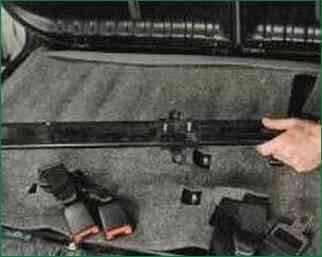
Remove the six nuts securing the rear seatback crossbar, remove the washers, the crossbar
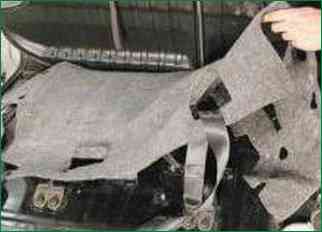
Remove the boot floor soundproofing mat.
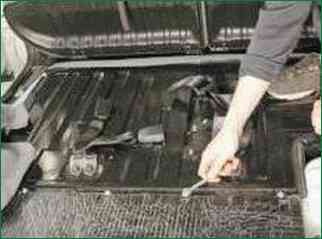
Remove the nuts securing the fuel tank cover.
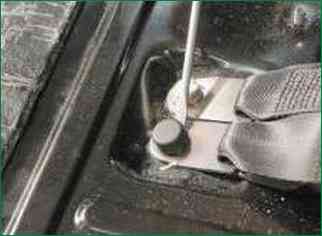
Remove the decorative caps of the bolts of the middle anchorage of the rear seat belts
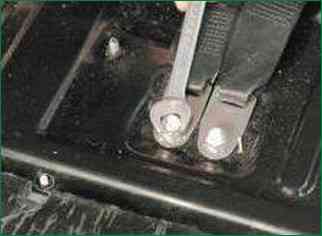
Remove the bolts and remove the fuel tank cover.
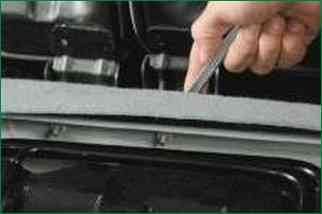
Remove the rear seat cushion mounting bolts
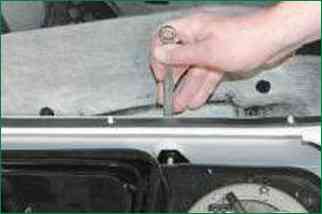
Pull the floor mat aside and remove the bolts securing the front fuel tank supports
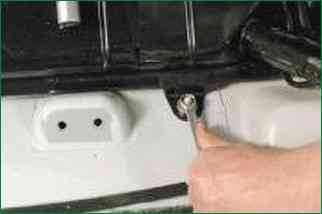
Remove the nuts securing the rear fuel tank supports.
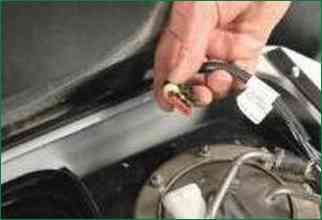
Disconnect the wires and hoses from the fuel pump (see "How to replace the Niva Chevrolet fuel pump").
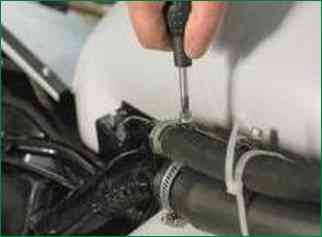
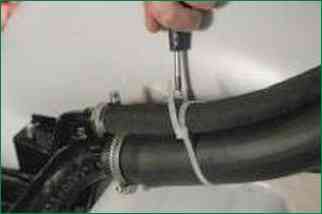
Loosen the clamps securing the supply and air outlet hoses of the filler pipe of the evaporative emission system hose, remove the hoses from the fuel tank nozzles and remove the tank.
Install the fuel tank and all removed parts in the reverse order of removal.


