The fuel tank is removed for preventive flushing or to fix a leak
In addition, sometimes it may be necessary to remove the fuel tank to gain access to other parts when repairing or replacing them
The fuel tank in operation does not require regular special maintenance, however, periodically (about once every 2-3 years) it is recommended to remove it from the car, drain the sediment and rinse with clean gasoline
As a preventive measure, in order to reduce the intensity of sludge formation, it is recommended to fill the tank with gasoline through a fine brass mesh that retains water.
In addition, in winter, as well as during long-term storage of the car, it is recommended to keep the tank as full as possible so that when the ambient temperature drops, condensation or frost does not form on its walls, which turns into water during a thaw.
Removing the fuel tank
To remove the truck tank, do the following.
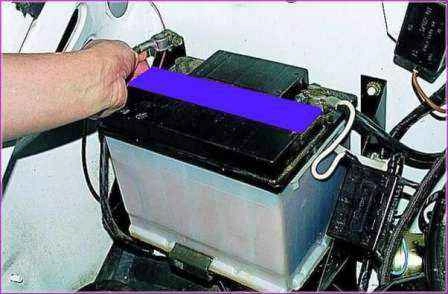
Disconnect the wire from the negative battery terminal.
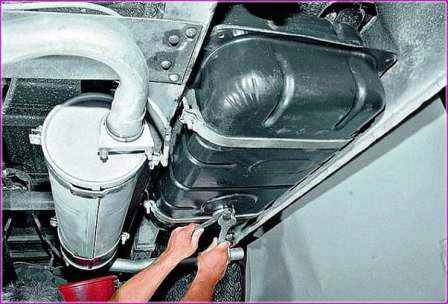
Drain the gasoline from the tank by unscrewing the drain plug from the bottom.
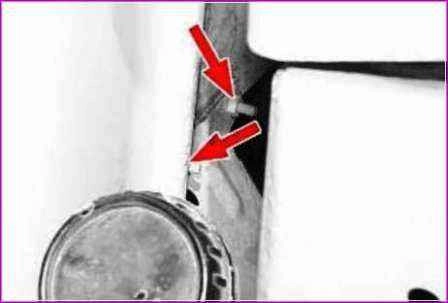
We unscrew the two nuts securing the fuel tank filler pipe to the rear wall of the cab.
Disconnect the wires from the fuel level sensor by unscrewing the two nuts 1.
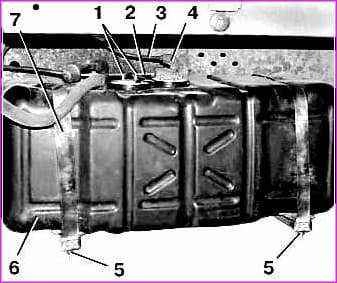
Disconnect the fuel supply lines 2 and fuel drain 3 from the intake pipe 4.
Unscrew the two nuts 5 and remove the fuel tank 6 by sliding it towards you.
If you need to remove the clamps 7, remove the lock washer and remove the clamp fastening pin from the bracket.
To remove the fuel tank of a van, follow steps 1 and 2, and then follow these steps.
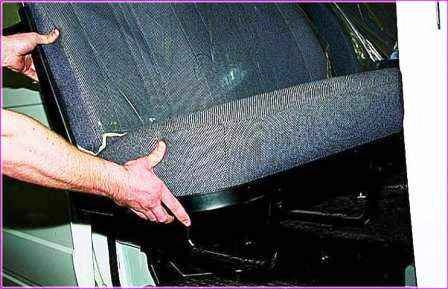
Remove the rear passenger seats
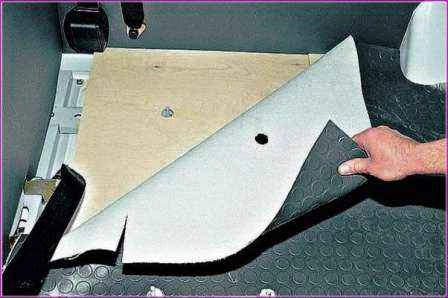
Wrap the edge of the floor mat
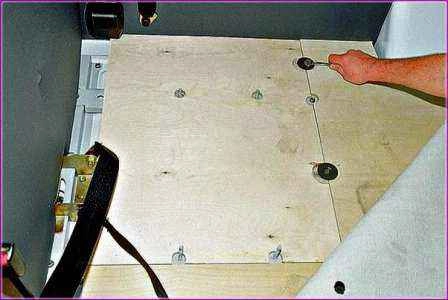
Using a 10 key, we unscrew the two bolts securing the plywood to the floor
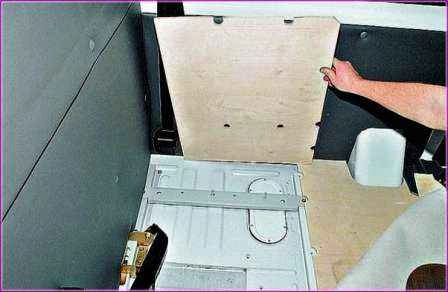
Removing part of the plywood flooring
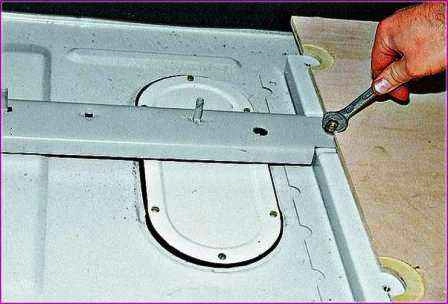
Using the “12” key, we unscrew the two bolts of the seat beam.
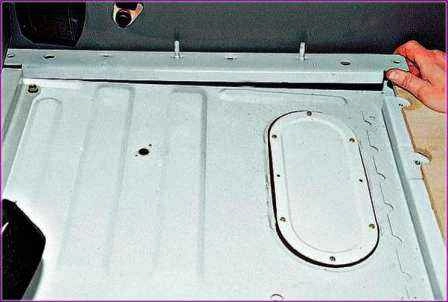
Move the beam and remove it
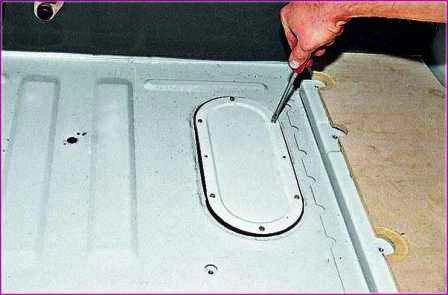
Use a slotted screwdriver to unscrew the eight screws securing the floor hatch
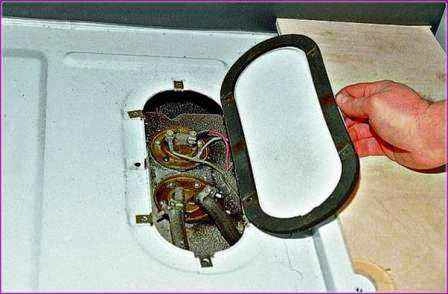
Remove the hatch together with the gasket
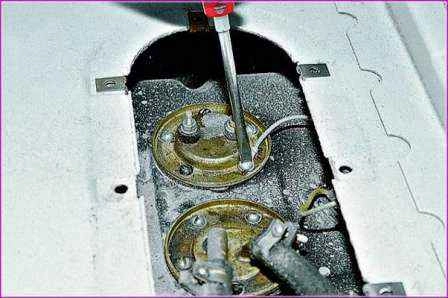
Disconnect the wire from the fuel level sensor
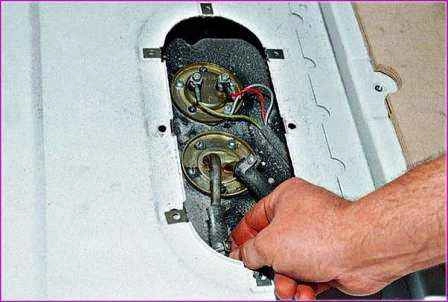
Disconnecting the fuel supply line
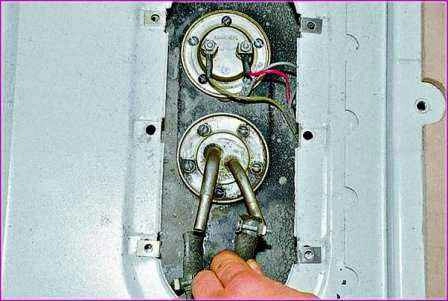
Disconnecting the fuel drain line
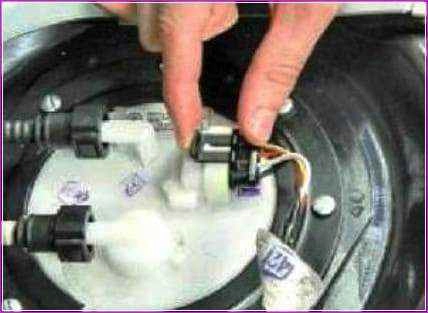
Vehicles with injection engines
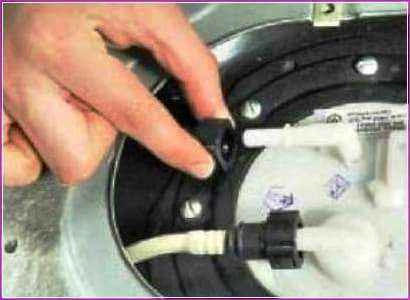
Disconnecting the wiring harness block
Disconnect the pressure and drain line hoses from the fuel pump module
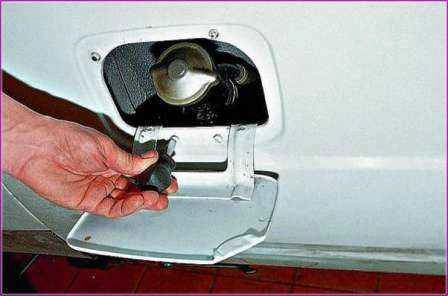
Open the filler hatch cover and unscrew the two screws securing the filler neck to the body.
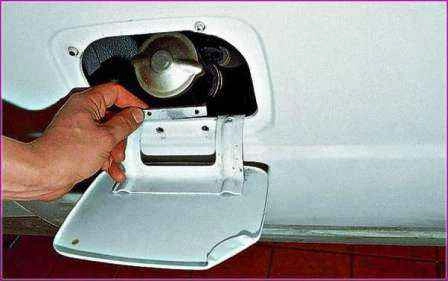
Remove the mounting plate
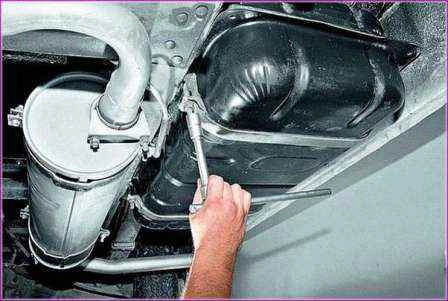
Holding the tank, with a head of 17, unscrew the nuts securing the tank mounting clamps
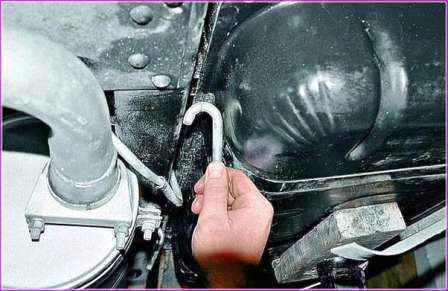
Remove the hooks of the clamps from the holes of the frame side members
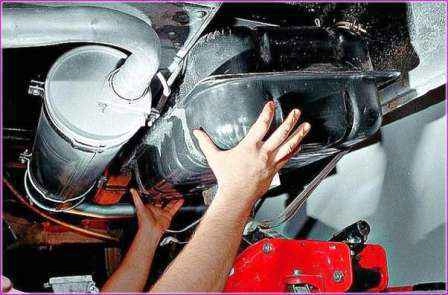
Carefully remove the fuel tank, making sure not to catch the filler neck on body parts
We install the tank in the reverse order, not forgetting to put gaskets under the clamps
Fuel tank repair
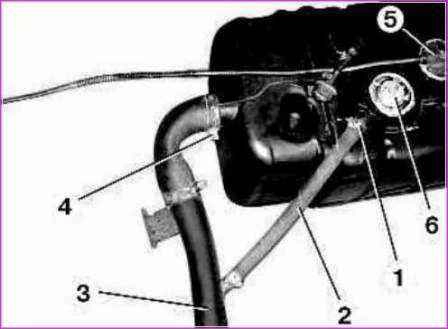
Loosen clamp 1 and disconnect hose 2 from the fitting on the fuel tank.
Loosen clamp 4 and remove filling pipe 3 with hose 2.
Remove the six fastening screws and pull up the fuel pickup tube 5.
Remove the six fixing screws and pull up the fuel level sensor 6.
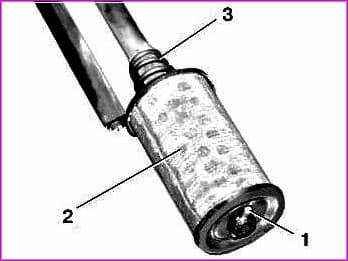
Remove pin 1 and remove strainer 2 and spring 3 from fuel pickup pipe
Rinse the fuel tank thoroughly with gasoline. Then rinse and steam the fuel tank with hot water to remove gasoline vapors.
To check the tightness by pressing, connect a compressed air supply hose to one of the openings of the fuel tank and plug all other openings.
Lower the tank into the tub with water and apply compressed air at a pressure of 0.2 atm.
Air bubbles will come out in places of leakage.
The detected leaks near the metal tank can be soldered with soft solder. The plastic tank needs to be replaced.
You can only solder a thoroughly washed and steamed tank that does not contain gasoline vapors to exclude the possibility of fire.
Rinse the strainer of the intake tube thoroughly, if cleaning is not possible, replace the filter.
Inspect the fill pipe and air pipe hoses.
If the hoses are cracked or the rubber has lost elasticity, replace them.
Inspect the tank clamps.
Cracks and significant corrosion on the clamps are unacceptable - defective clamps must be replaced.
Reassemble the fuel tank in the reverse order of disassembly.


