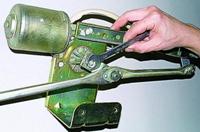
Before disconnecting hoses and electrical wires, it is recommended to mark them so as not to confuse them during assembly
The engine is pulled out of the car.
To remove the engine, a hoist or other lifting device with a lifting capacity of at least 300 kg is required.
The car must be installed on a lift, inspection ditch or overpass.
Disconnecting the fuel supply and drain lines
Remove the battery
Unscrew the fasteners and remove the hood
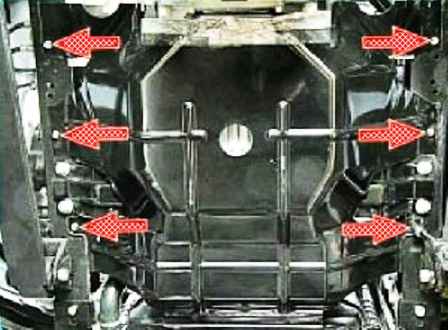
Using a 12 socket wrench, unscrew the six bolts securing the mudguard to the frame side members
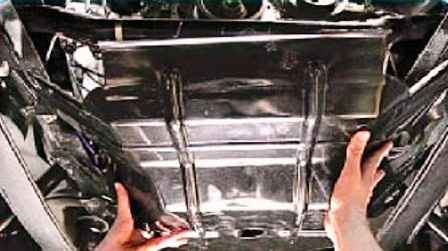
Remove the mudguard
Drain the liquid from the engine cooling system.
Drain the oil from the crankcase.
Drain the oil from the gearbox.
Remove the radiator of the cooling system with an electric fan and a fan shroud.
Remove the ignition coils.
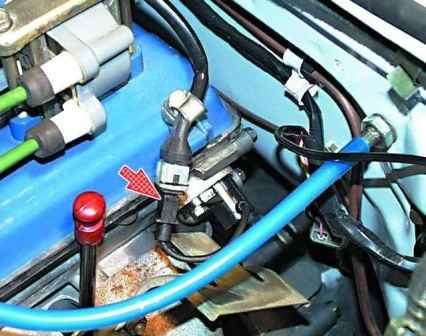
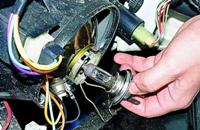
Disconnect the phase sensor plug from the wiring harness.
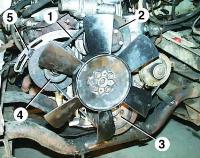
Unscrew the screws and disconnect the wires from the sensors for oil pressure indicator 1 and emergency oil pressure 2.
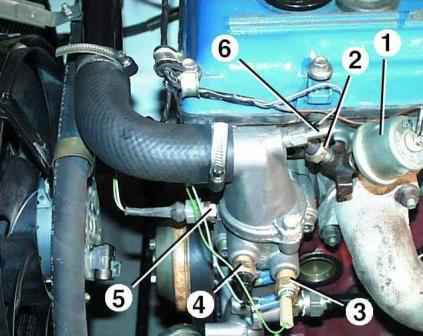
Disconnect plug connectors from engine temperature sensors 5, coolant temperature indicator 4, coolant overheat indicator 3.
Loosen the clamp and remove the hose to the expansion tank from fitting 6 of the thermostat.
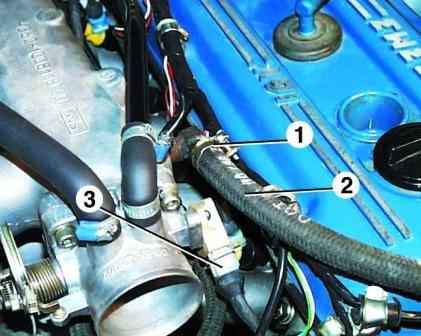
Loosen clamp 1 and remove hose 2 from the fitting to the non-return valve of the brake booster.
Disconnect connector 3 from throttle position sensor.
Unscrew nut 1 and remove the blue ground wire from the stud at the front end of the receiver.
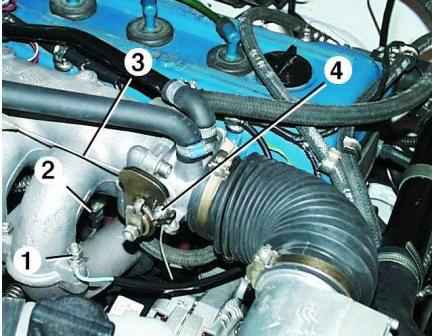
Unscrew nut 4 and pull accelerator cable 3 out of the air throttle actuator sector.
Disconnect plug 2 from the wiring harness, located between the engine intake pipes, the speed and crankshaft timing sensor, installed near the crankshaft pulley ring gear.
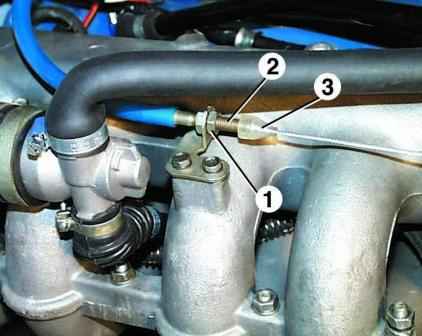
Slide the cable gland 3 from the threaded lug 2 of the cable sheath, unscrew the nut 1 securing the cable lug and pull the lug 2 out of the bracket fixed to the engine intake pipe by sliding it back.
Then pull the accelerator cable upwards out of the bracket.
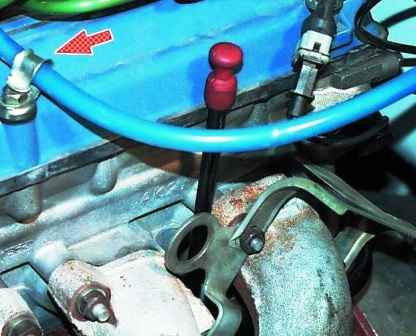
Pull back the accelerator cable holder and remove the cable from it.
Move the accelerator cable away from the engine.
Disconnect the wires from the generator.
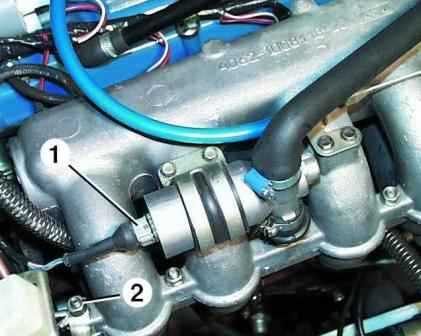
Disconnect connector 1 from the idle speed controller.
Unscrew nut 2 and remove the ground wires from the stud at the rear end of the receiver.
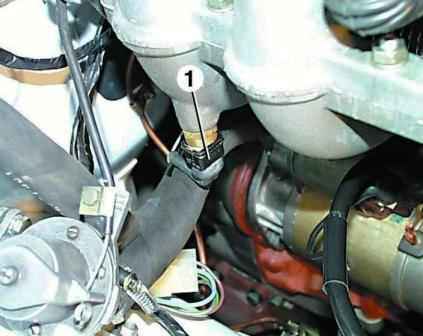
Disconnect connector 1 from air temperature sensor.
Loosen clamp 2 and remove the coolant supply hose from the heater tap fitting.
Disconnect wires from starter
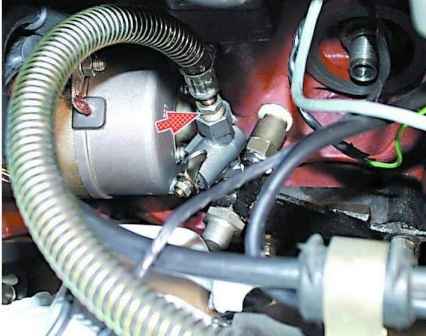
Unscrew the nut and disconnect the oil supply hose to the oil cooler from the tap.
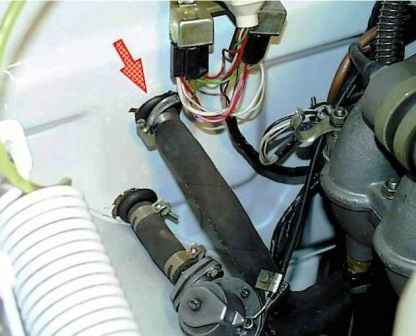
Loosen the clamp and remove the heater fluid drain hose from the heater radiator fitting.
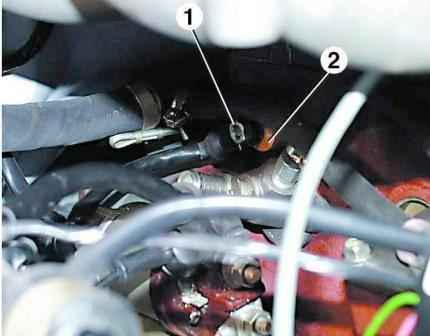
Unscrew nut 1, remove knock sensor 2 and move it away from the engine together with the wire.
Disconnect connectors 1 from injectors.
Unbend holders 2 of the wiring harness and remove the harness from the holders.
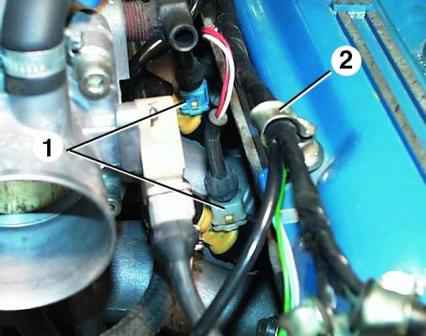
Move the wiring harness away from the engine.
Hook the engine onto the lugs on the exhaust manifold and alternator bracket with a hoist.
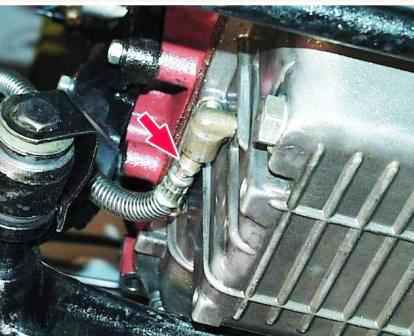
Unscrew the nut and disconnect the oil drain hose from the oil cooler from the fitting on the crankcase.
Remove the exhaust system.
Remove the gearbox.
Remove the clutch housing.
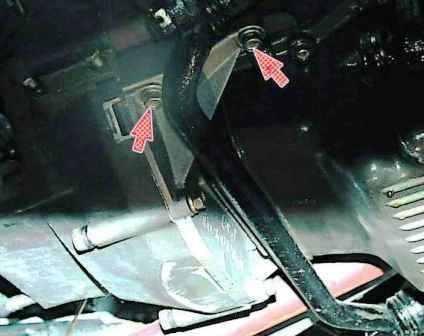
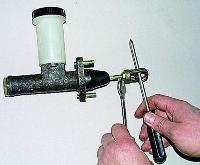
Remove two bolts on each side of the clutch booster to the cylinder block.
Then lift the rear of the engine and remove the booster, moving it out from behind the middle link of the steering link.
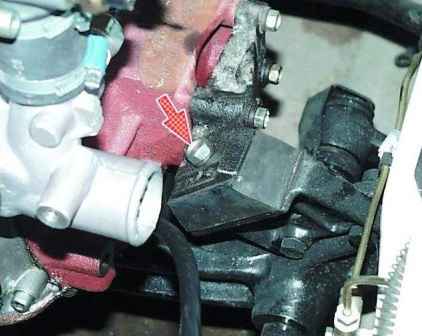
Remove the bolt securing the engine mount bracket to the cushion on each side.
Check that all hoses and wiring are disconnected from the engine.
If you need maximum relief, remove the flywheel and remove the starter.
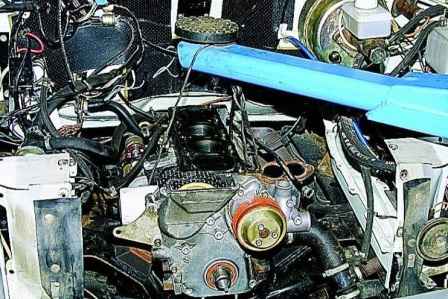
We pass a cable or a strong rope under the engine and, putting it on the leg of the lift or the hook of the lifting mechanism, remove the engine from the car.
If there is no lifting device, together we lift the engine using a steel pipe with a diameter of 50–80 mm passed under the cable.
Holding the block so that it does not damage the wires and other parts of the car, we take it out of the engine compartment.
Install and assemble the engine in reverse order.
When installing the engine on the pads, make sure that the mounting pins on the pads fit into the holes on the engine brackets, while the bolt holes on the brackets and pads must be aligned.


