For gluing glass, a special set and a “gun” device for squeezing glue out of the tube are used
You can do without a device by squeezing the glue with a hammer handle.
We do the work together.
Removing glass
Remove the inner upholstery of the windshield pillars and the lining of the outer front panel.
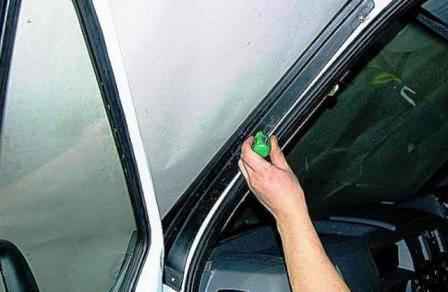
Using a screwdriver, we unscrew the four self-tapping screws securing the outer lining of the windshield pillar
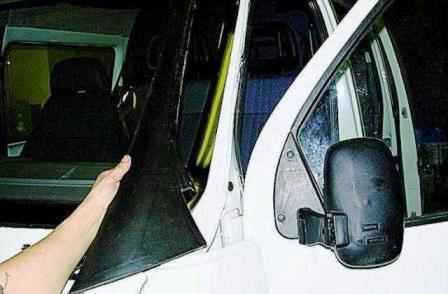
Remove the overlay.
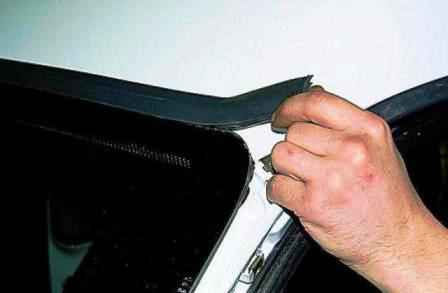
Remove the seal from the upper edge of the glass.

We pierce the adhesive seam with an awl or a thick needle.
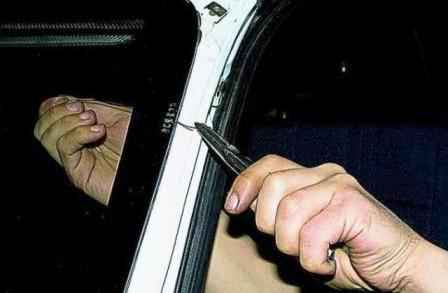
We pass a steel string through the puncture
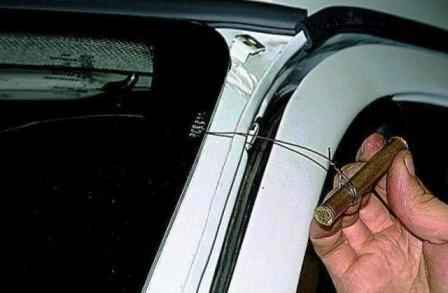
We attach handles from improvised materials to its ends.
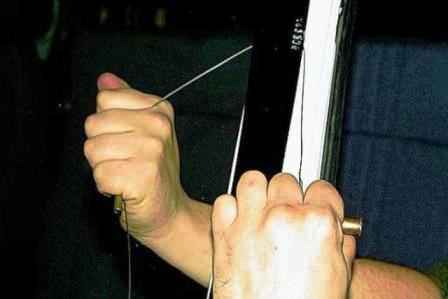
We stretch the string and, working with it like a two-handed saw, we cut the glue line around the entire perimeter of the glass.
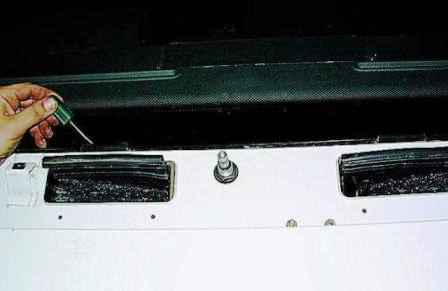
We cut carefully, without damaging the paint on the body, the upholstery of the ceiling and the instrument panel.
There are two rubber stops under the lower edge of the windshield.
They provide a uniform gap between the glass and the body.
Save them when removing the glass.
Instead of a string, you can use a wire from a semi-automatic welding machine.
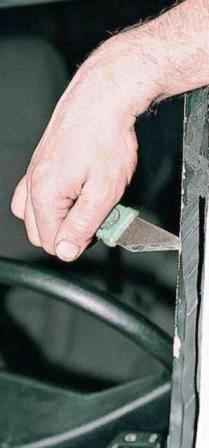
Having removed the windshield, cut off the excess of the old adhesive seam with a sharp knife, leaving a layer 1–2 mm thick.
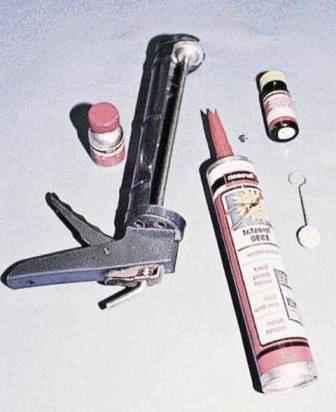
To paste new glass, we use a special kit and a “gun” device for squeezing glue out of the tube.

If there is no fixture, then the glue can be squeezed out, for example, with a hammer handle.
Cut off the tip of the tube nozzle and make an angled cut, as shown in the figure.
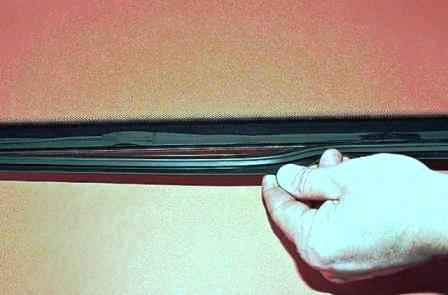
We put a sealant on the upper edge of the glass, and two stops on the bottom.
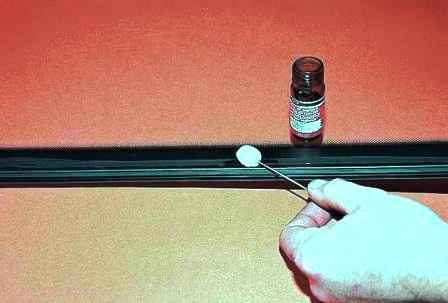
Degrease the edge glass on the side that will be adjacent to the opening, and the remaining adhesive layer on the window opening
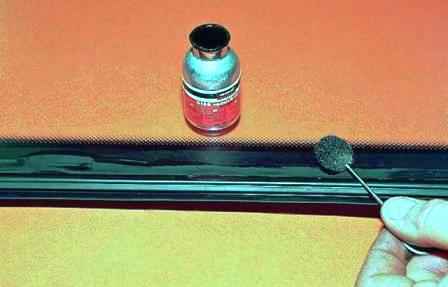
We apply a primer (primer) to the edge of the glass along its perimeter and to the opening of the body.
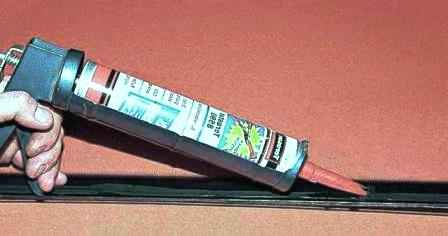
Squeeze out the glue from the tube along the edge of the glass, stepping back from the edge of 6–7 mm
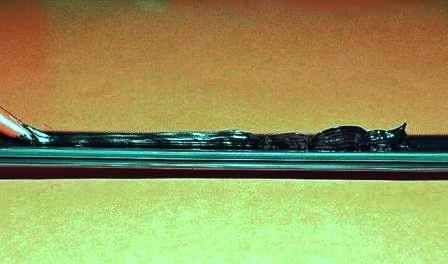
The glue is applied around the entire perimeter with a continuous roller 10–12 mm high
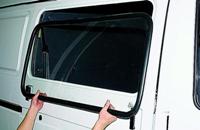
We apply the glass to the window opening, making sure that the gaps with the mating body panels are uniform and that the seal fits the body panels correctly.
Having opened the doors, we wrap a cloth tape or cord several times around the cab pillars.
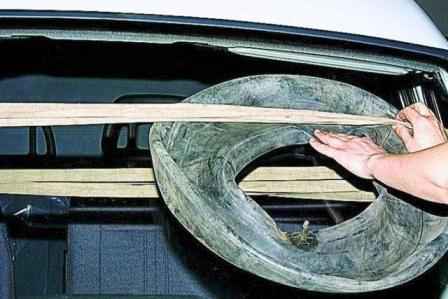
We put two tire chambers under the tape on both sides of the glass.
If the tape is thin, we put wide wooden planks under it over the cameras.
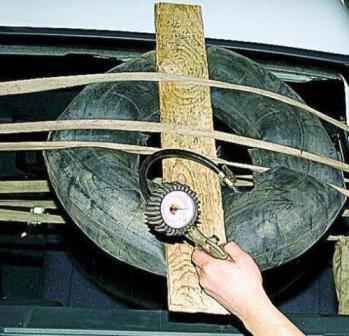
We inflate the cameras so that the glass is pressed tightly against the opening.
The polymerization of the glue takes several hours (see the instructions that came with the glue).
During this time, the car must not be moved, the door windows closed or slammed, as any increase in air pressure in the vehicle interior can cause the glass to break.
After waiting at least 6 hours, remove the cameras and ropes.
Pour water from the hose outside onto the glass around the entire perimeter.
If leaks are found, lubricate the leaks with sealant.
It is possible to operate the car after gluing the glass no earlier than 24 hours


