We remove the supports when replacing, as well as when removing the power plant
We prepare the car for the task and install it on a lift or a viewing ditch
We install a jack or an adjustable support under the engine crankcase through a wooden spacer and raise the power unit, thereby unloading its supports
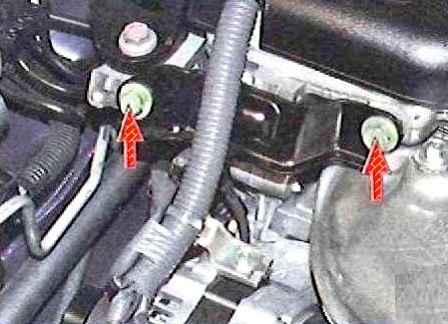
To replace the right support, unscrew the two bolts securing the bracket to the cylinder head and to the support bracket
We unscrew the bolts of the bracket of the right support to the engine
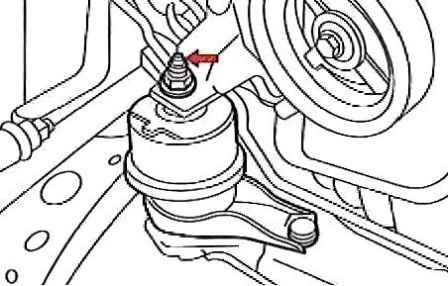
Unscrew the nut securing the support to the bracket (Fig. 2) and remove the bracket
Unscrew the nuts securing the engine mount to the front suspension subframe and remove the mount
Install the right support in reverse order
Replacing the front support
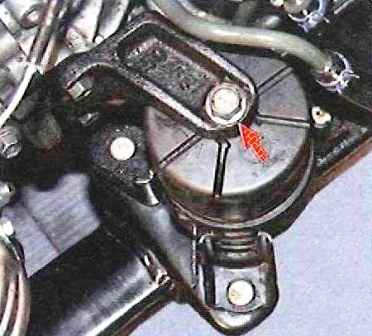
To replace the front support, unscrew the bolt securing the support to the engine bracket
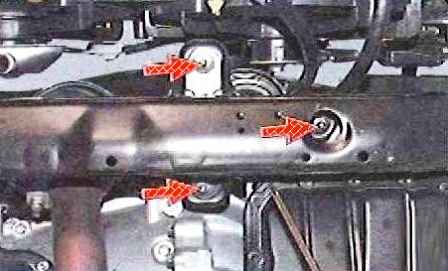
We unscrew the three nuts securing the support to the subframe and remove the support
Install the support in reverse order
Replacing the left support
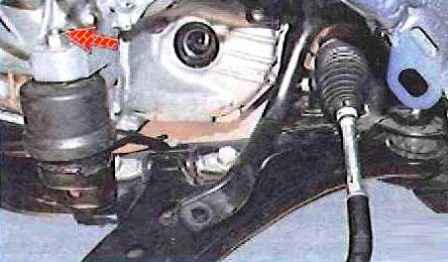
To replace the left support of the power plant, unscrew the nut that secures the support to the automatic transmission bracket (the photo shows the front left wheel drive for clarity)
We unscrew the three nuts securing the support to the front suspension subframe and remove the support
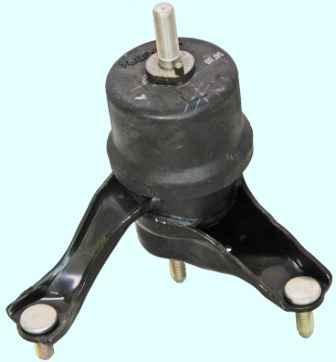
You need to pay attention to the marking of the support and purchase the same one when replacing it
Install the support in reverse order
Replacing the longitudinal movement rod
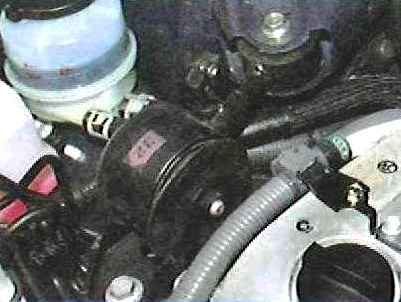
To replace the longitudinal movement rod, unscrew the three bolts securing the rod to the brackets of the engine body
Remove the rod by removing its tip from the body bracket
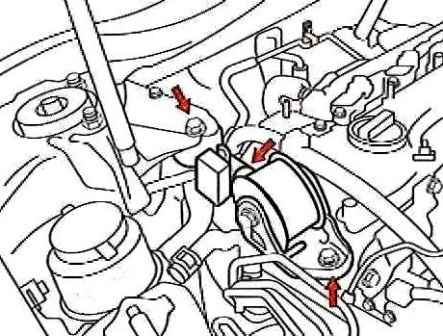
Unscrew the nut of the bolt that secures the rod end to the bracket and remove the bracket
Install the thrust in reverse order


