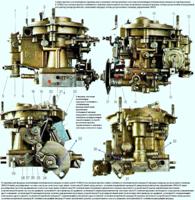
All parts of the boost corrector (CPN) to be assembled must be clean and the rubbing surfaces lubricated with engine oil
Wiping parts with cleaning material is not allowed.
During assembly, the diaphragm should be checked for visible damage.
Rivets must be installed on NTs 5129 enamel.
Dents, cracks, warping are not allowed on the plates.
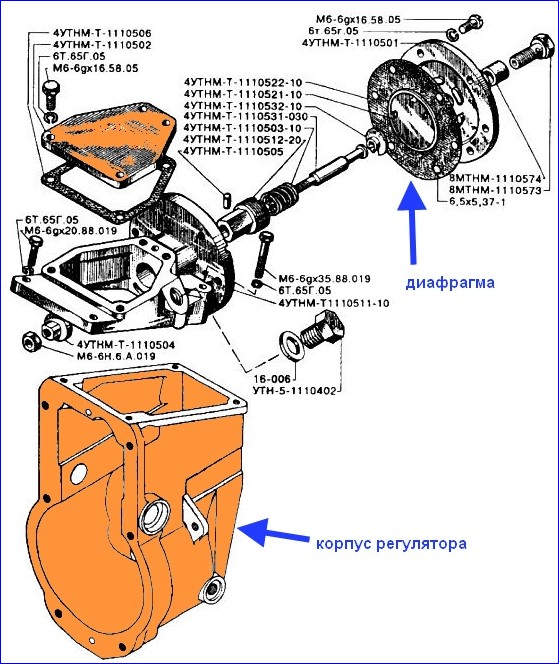
The bushing should be screwed into the CPN body until it stops.
The rod should move smoothly in the sleeve, without jerks. Jamming and sticking are not allowed.
The stop must be screwed onto the stem by 15 mm and locked with a nut.
When installing the diaphragm, it is allowed to put the cover on the KLT-75T compound.
The cavity under the diaphragm cover should be checked for tightness with dry compressed air at a pressure of 0.09-0.10 MPa for 10 seconds with wetting the checked places with diesel fuel.
Air bubbling through the cover connector with diaphragm and body is not allowed.
Install the assembled CPN on the fuel pump regulator housing.
When installing the CPV, it is allowed to apply the KLT-75T compound in an even layer over the entire surface of the connector on the mating surfaces of the regulator housing and the CPV housing (having previously degreased them).


