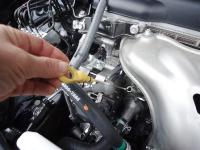
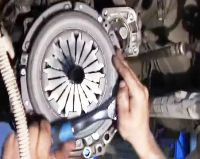
Do not turn the engine crankshaft in the opposite direction of rotation
We perform work on a lift or a viewing ditch.
Disconnecting the battery
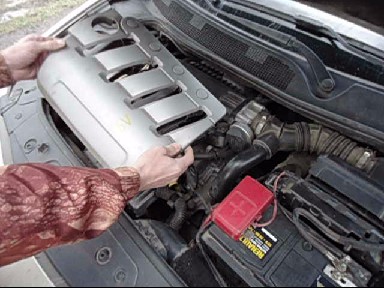
Remove the top plastic cover
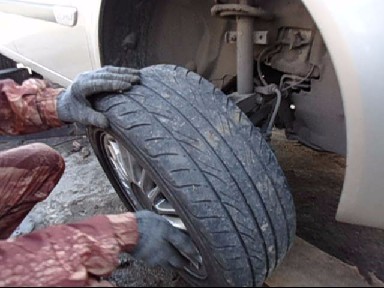
Remove the right front wheel
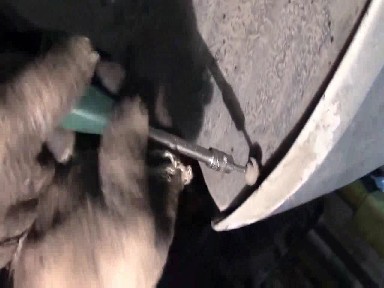
We unscrew the screws securing the fender liner and remove the clips.
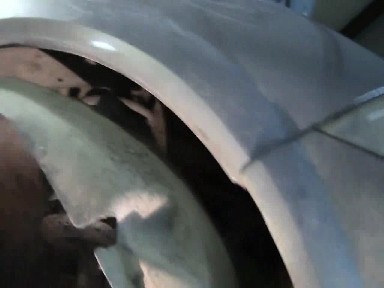
Removing the fender liner
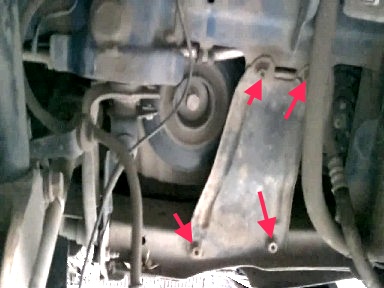
We unscrew the four bolts of the amplifier
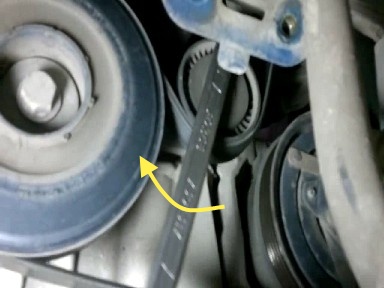
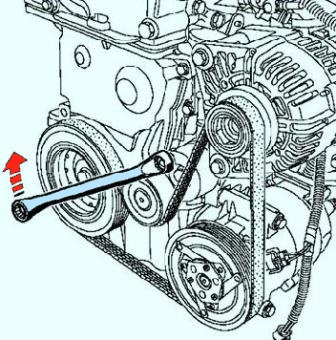
With a 16 key, turn the tension roller clockwise, thereby loosening the belt
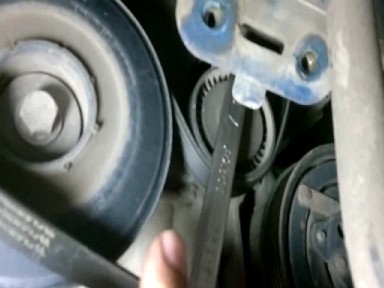
Remove the belt from the crankshaft pulley
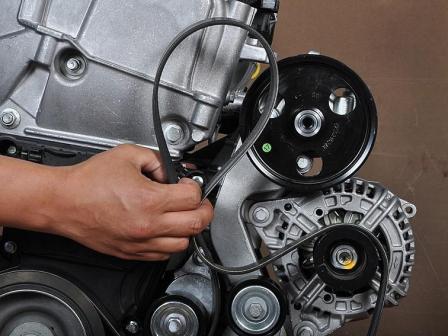
Remove the belt from the A/C compressor pulley and the alternator pulley
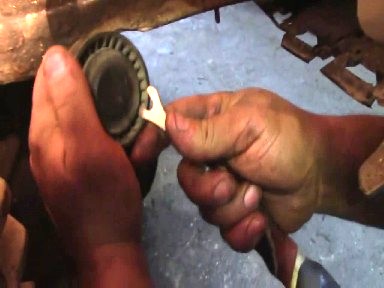
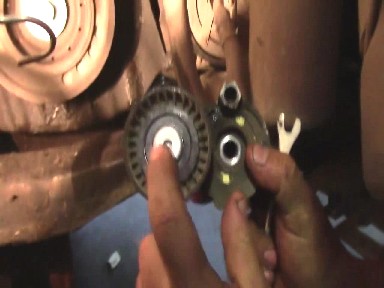
To replace the tension roller, pry off the plug with a screwdriver and unscrew the roller fastening screw
Install
Clean the crankshaft pulley streams with a brush.
Install the idler.
Tighten the tightening bolt to the required torque (40 Nm).
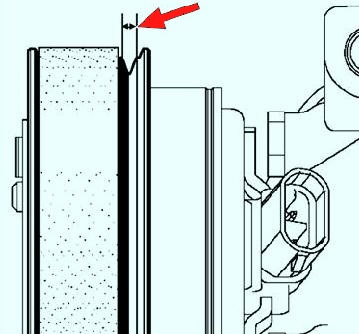
The accessory drive belt has five grooves and the A/C compressor pulley has six grooves.
When installing the belt, make sure that the creek, shown by the arrow in figure 12, remains free.
Install the accessory drive belt.
Turn the engine crankshaft two turns to properly install the accessory drive belt on the pulleys.
Install in the reverse order of removal.
Connect the battery.
Replacing the accessory drive belt for the F4R engine
Withdrawal:
Put the car on a two-post lift.
Disconnect the battery.
Remove the top engine covers.
Remove the right front her wheel.
Remove the right front fender liner.
Remove the right side reinforcement.
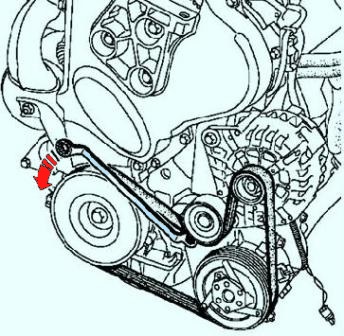
Turn the accessory drive belt auto-tensioner clockwise with a 16mm wrench (fig. 13).
Install the accessory drive belt.
Turn the engine crankshaft two turns to properly install the accessory drive belt on the pulleys.
Installation is performed in the reverse order of removal.
Connect the battery.


