We repair the exhaust system due to burnout of the system elements or if the system elements are clogged with soot and combustion products
Preparing the car for work.
We install the car on a lift or a viewing ditch.
Replacing exhaust system suspension pads
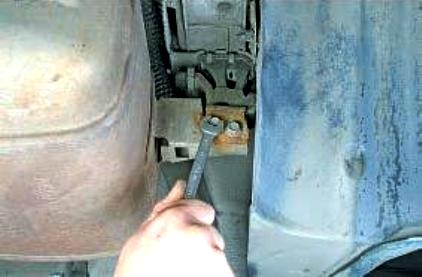
We unscrew the two bolts securing the bracket of the main muffler to the suspension cushion
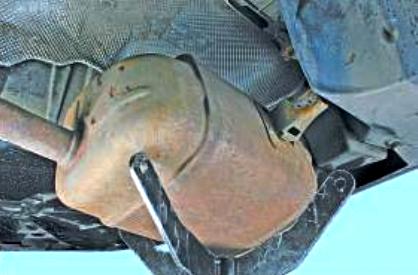
Lowering the main muffler down
Installing a support under the muffler
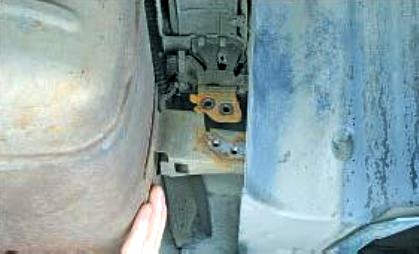
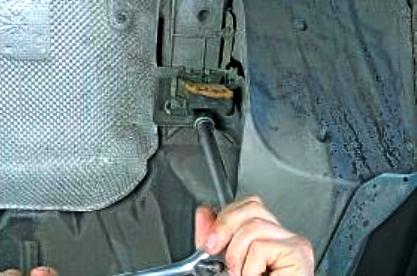
Unscrew the bolt securing the pillow to the body
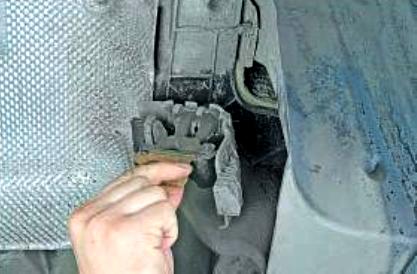
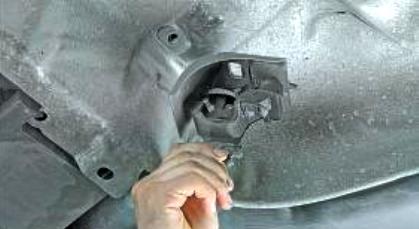
Remove the pillow
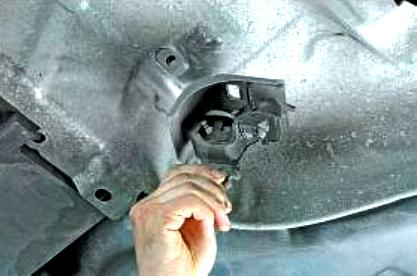
We also remove the additional muffler pipe cushion
Install pillows in reverse order
Replacing the catalytic converter
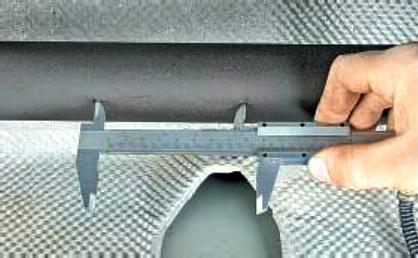
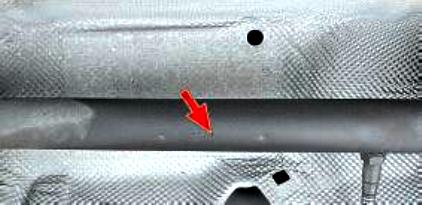
Measure the distance between the marks (it should be 80 mm)
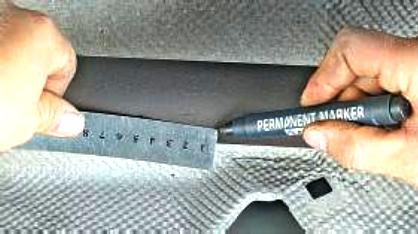
Mark the middle between the marks and apply an additional mark with a felt-tip pen
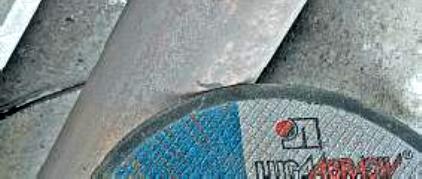
Saw the pipe according to the marked mark
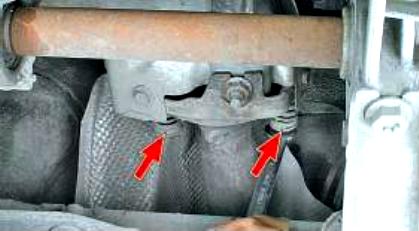
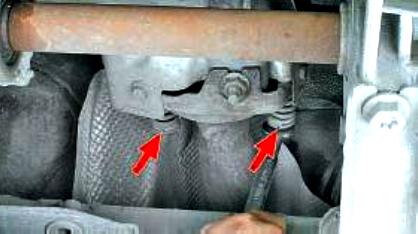
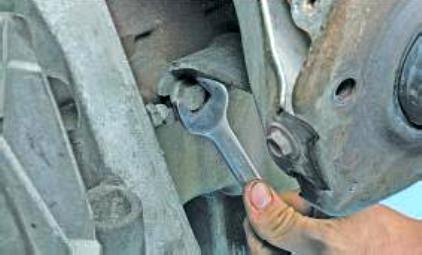
Remove the catalytic converter pipe-to-exhaust manifold bolts
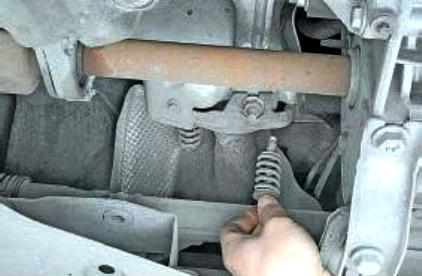
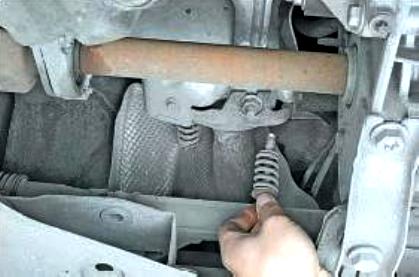
Removing bolts with springs
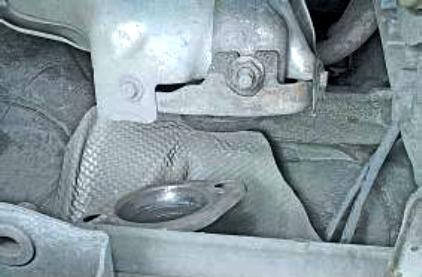
Disconnecting the main muffler pipe and the catalytic converter
Install the parts in reverse order.
We connect the elements of the exhaust system with special compression couplings that are commercially available.
We replace the additional and main muffler in the same way.
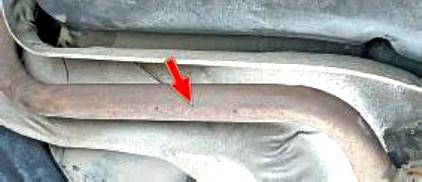
To replace the main muffler, we cut the system between the marks located near the left spring of the rear suspension.
To replace the additional muffler, we cut the system in two places:
- between catalytic converter and additional silencer
- near the left rear suspension spring
Removing and installing exhaust manifold
Disconnect the negative battery terminal.
Remove the bolts securing the catalytic converter pipe to the exhaust manifold
Removing the bolts
Disconnecting the main muffler pipe and the catalytic converter
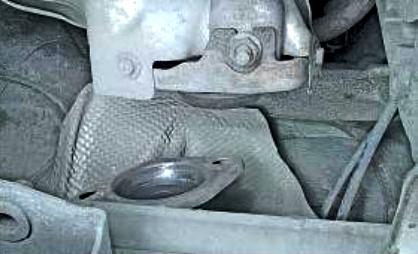
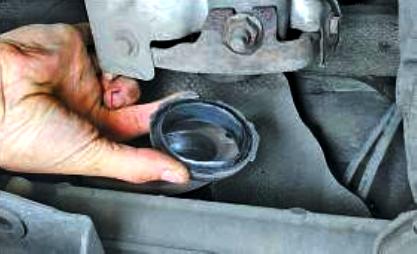
Remove the sealing sleeve
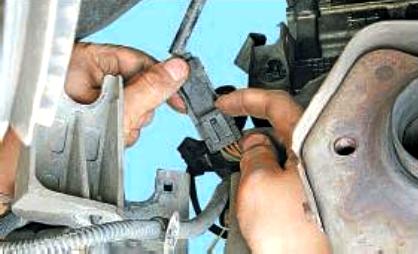
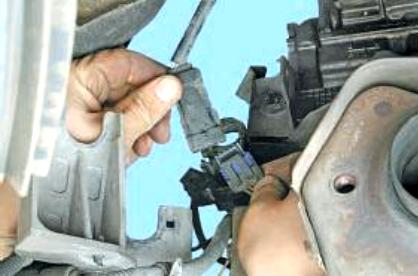
We press the clamp of the oxygen sensor harness block
Disconnecting pads
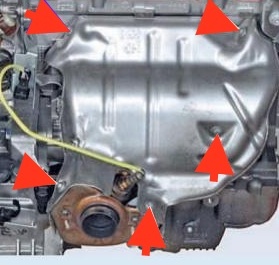
Unscrew the bolts of the upper thermal screen
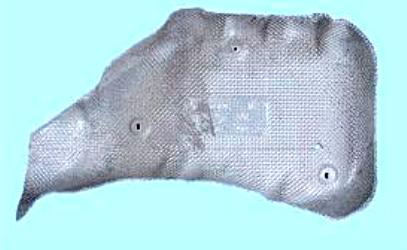
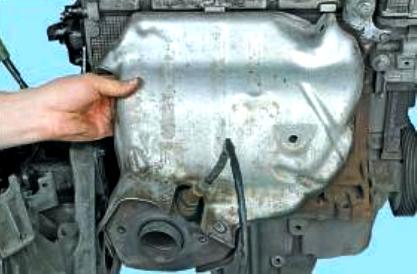
Remove the thermal screen
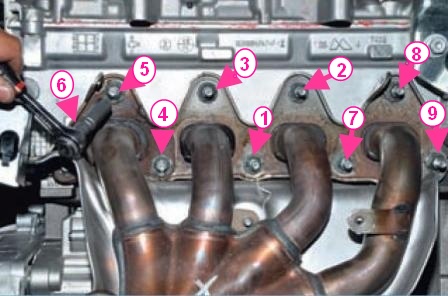
Unscrew the exhaust manifold mounting nuts.
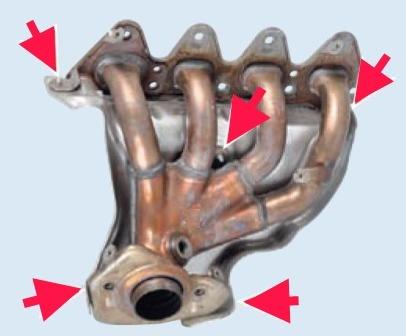
When installing, twist according to the order in the photo
Unscrew the exhaust manifold bracket nut
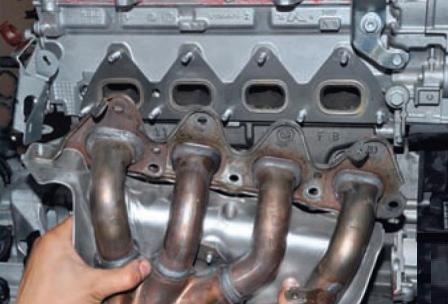
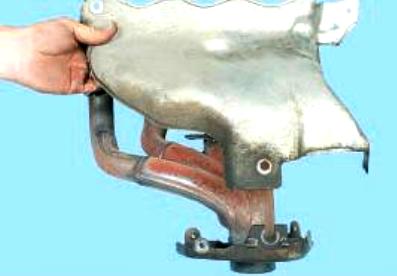
Remove the exhaust manifold
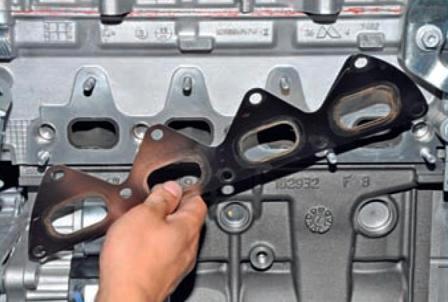
Remove the gasket from the studs
Removing and installing thermal screens
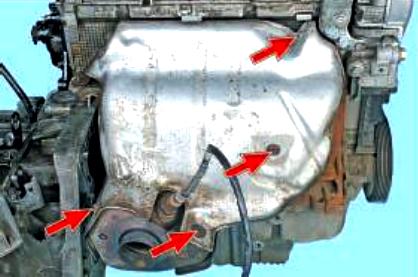
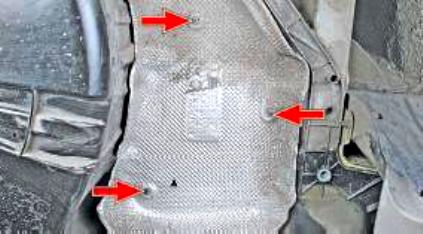
To remove the thermal screen of the main muffler
Unscrew the three screws securing the thermal screen
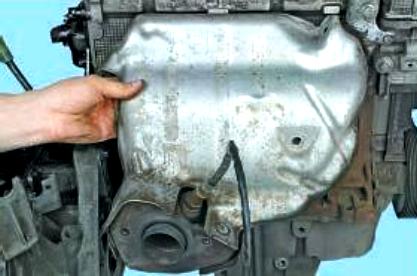
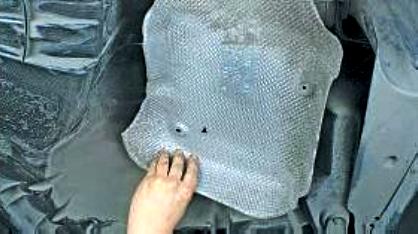
And remove the thermal screen of the main muffler
To remove the thermal shield of the additional muffler
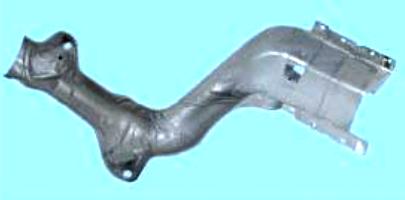
Remove the additional muffler pipe suspension
Unscrew the rear bolt of the thermal screen
We unscrew the front bolt of the thermal screen
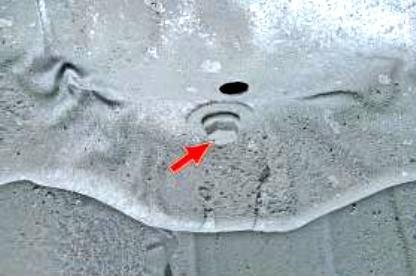
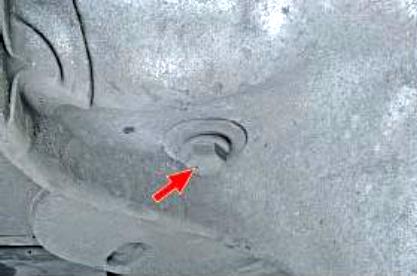
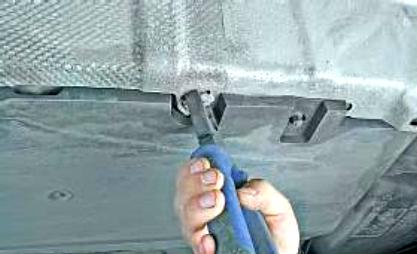
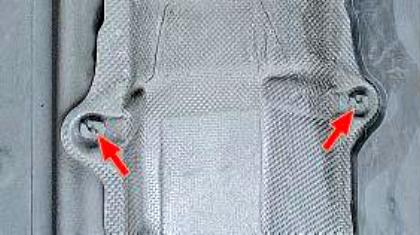
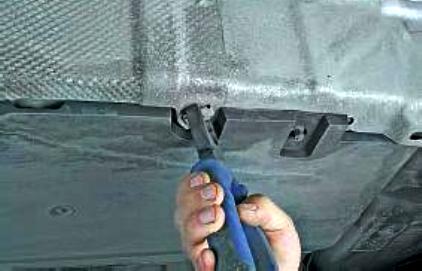
Using pliers, unscrew the latches
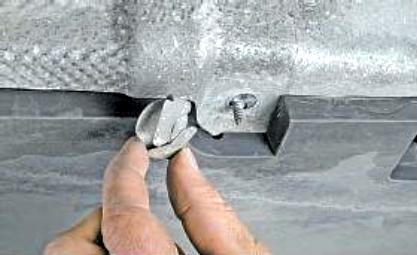
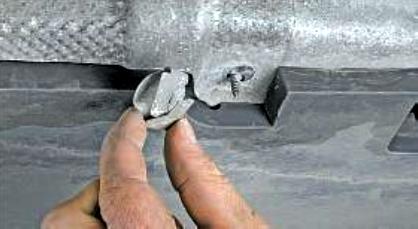
Remove the clamps for fastening the central thermal screen with the thermal screen of the pipe of the additional muffler
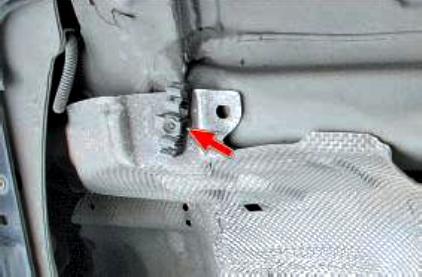
This is how the latches are located
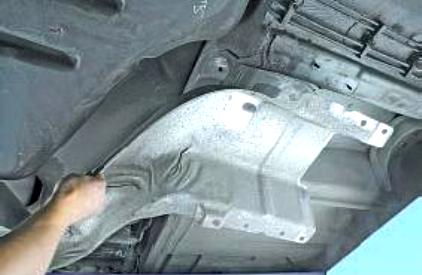
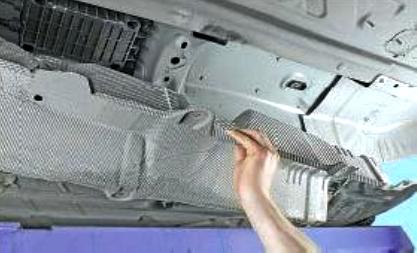
We disengage the central thermal screen from the studs and remove the thermal screen of the pipe of the additional muffler
To remove the central thermal screen:
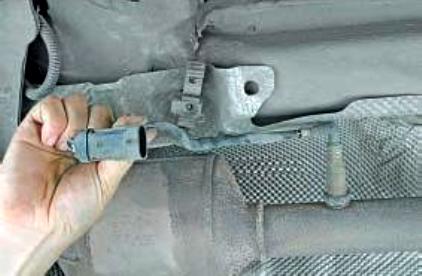
Remove the diagnostic oxygen sensor harness from the holder
Remove the holder
With the help of pasatizhey unscrew the latches
And remove the fixing clips of the central thermal screen
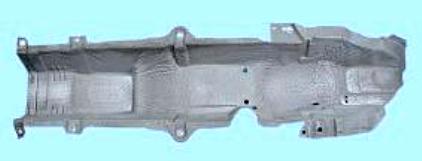
Remove the central thermal screen
Unscrew the bolts securing the upper thermal screen
Remove the thermal screen
We unscrew the bolts of the lower thermal screen
Remove the thermal screen
Install thermal screens in reverse order
