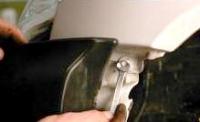
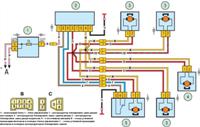
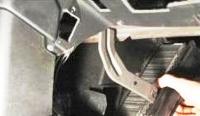
The composition of the fuel pump includes: a fuel level sensor, a fuel filter and the actual electric pump
All these elements are installed in the bracket and the fuel pump housing.
Main malfunctions of the fuel pump:
- – failure or incorrect operation of the fuel gauge sensor;
- - clogging or damage to the fuel filter of the pump;
- – failure of the electric pump.
In most cases, the malfunction of the fuel level sensor is caused by contamination or oxidation of its contact group.
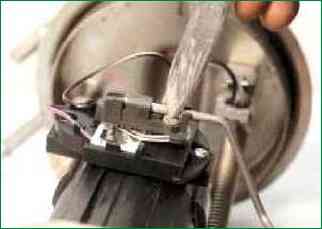
Remove the retaining ring from the axis of the sensor rheostat slider by prying it with a pointed tool
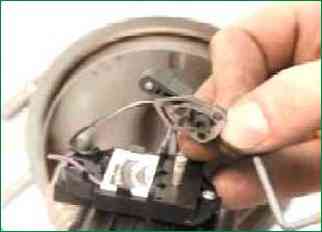
Remove the slider from the shaft along with the float arm and contact plate.
Wash the rheostat contacts and slider plates with gasoline, then wipe with a lint-free cloth soaked in alcohol.
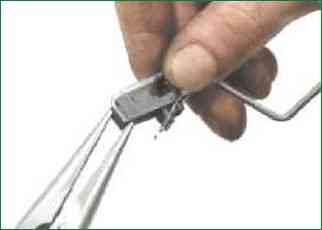
To replace the slider with long-nosed pliers, slide the slider off the float lever arm
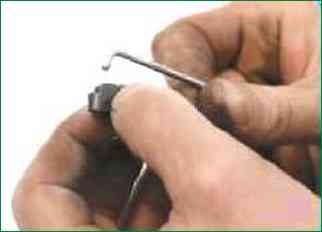
Remove the slider.
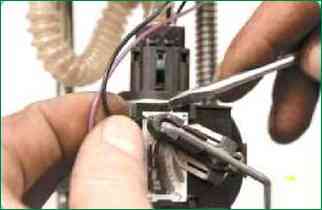
To replace the rheostat plate, use a pointed tool to press the upper lock of its fastening, remove the plate from under the slider.
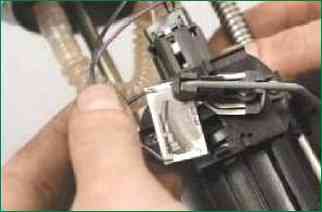
To remove the plate, unsolder the wires from its leads
Install the plate and slider in the reverse order of removal.
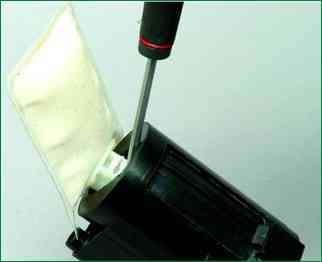
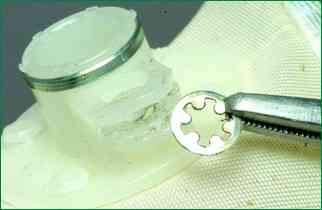
To clean or replace the fuel filter, pry its base with a pointed tool and remove it from the pump housing, overcoming the resistance of the spring lock washer.
Before reinstalling the filter, remove the lock washer, straighten it with pliers and install it in the filter.
Install the filter in the reverse order of removal
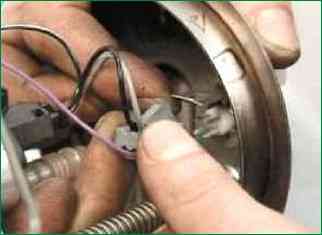
To replace the electric pump, disconnect the wiring harness block from the intermediate block
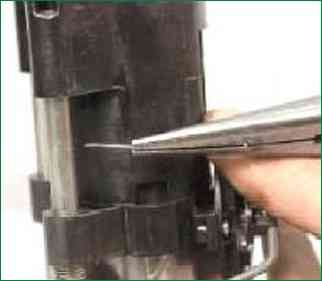
Overcoming the force of the spring, press the pump housing down along the guides, remove the locking pin
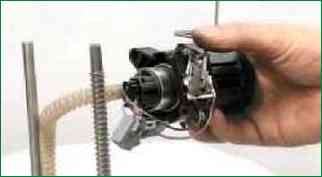
Remove the housing together with the electric motor from the bracket rails.
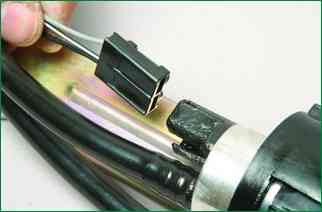
Disconnect the wiring harness block from the electric motor by depressing the spring clip, remove it
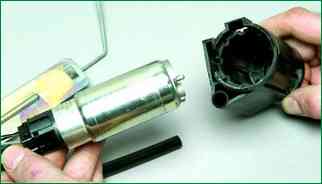
Remove the electric pump from the housing.
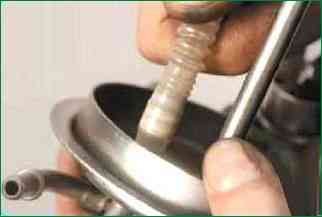
Disconnect the electric pump hose from the bracket nozzle.
Install the electric pump and all removed parts in the reverse order of removal
Removing and disassembling the fuel module of a car from 2009 of release
The fuel module of later releases of the car is different from the modules of early releases.
The fuel pressure regulator is installed in the module. In early releases, it was mounted on a ramp.
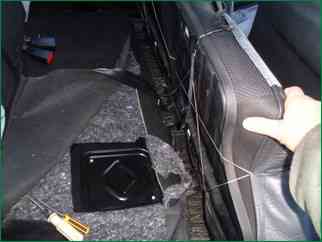
We raise the right rear seat cushion, it is better, of course, to raise the two cushions to a vertical position
Bending soundproofing
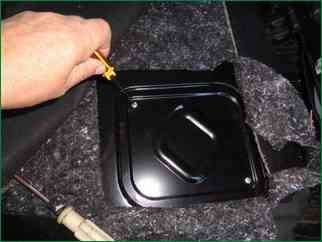
Using a Phillips screwdriver, unscrew the two screws securing the hatch cover
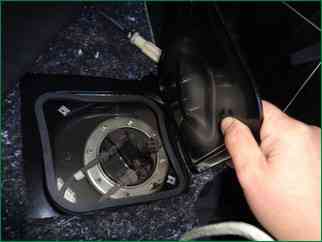
Remove the cover
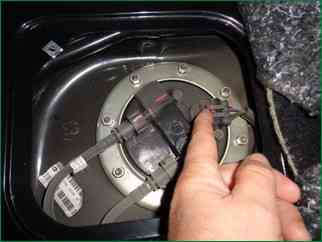
We press the lock of the block and disconnect the block of wires from the fuel module
We start the engine and let it idle until it stops completely due to running out of fuel.
Again we turn on the starter for two, three seconds.
After that, the pressure in the system will be released, and you can disconnect the fuel pipes from the module.
Disconnect the negative battery terminal
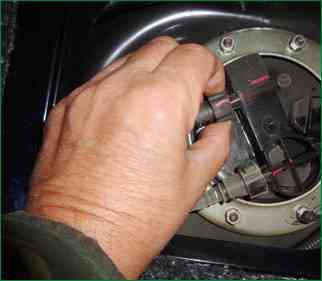
Press the clamps on the tips of the supply and drain pipes and disconnect them from the fuel module.

With a head of 10, unscrew the eight nuts securing the pressure plate of the fuel module
Removing engraving washers
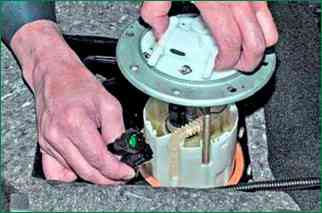
Carefully lift the fuel module, turning it a little, remove the float of the fuel gauge sensor from the hole in the tank.
Remove the pressure plate from the fuel module cover.
Drain the remaining fuel in the module into the prepared container.
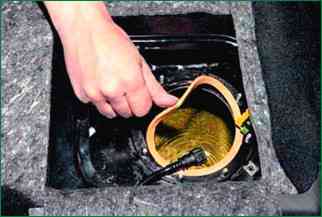
The connection between the module and the tank is sealed with a rubber ring
So that nothing gets into the tank, close its neck with a piece of cardboard or other object.
We disassemble the module on the table
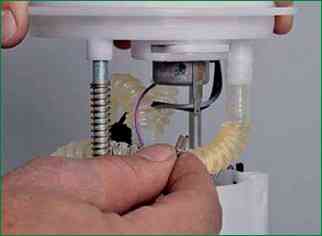
To disconnect the fuel pressure regulator, disconnect the ground wire tip from the terminal on the regulator body
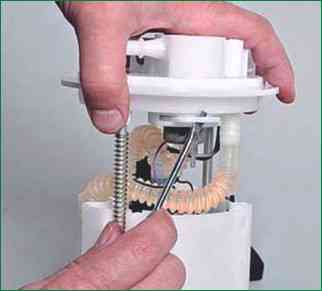
Pry the stopper of the regulator fastening with a screwdriver
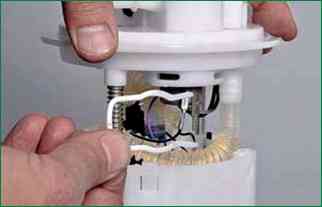
Remove the pressure regulator retainer
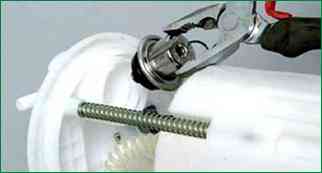
Use pliers to remove the regulator from the socket of the module cover
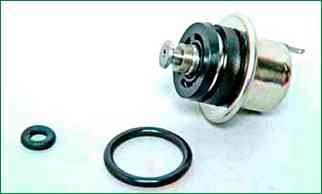
Remove the two sealing rubber rings of the regulator
When installing the regulator, it is advisable to replace the rubber o-rings
The pressure regulator does not need to be removed to replace the fuel gauge sensor or fuel pump.
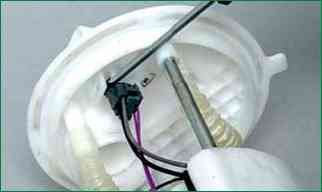
On the inside of the module cover, use a screwdriver to press the fixing plate of the common wire block
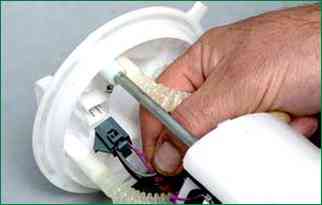
And disconnect the wire block from the cover connector
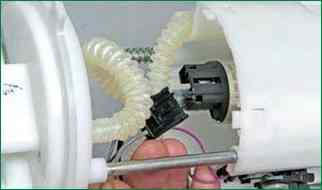
Press the latch and disconnect the wiring harness from the fuel pump
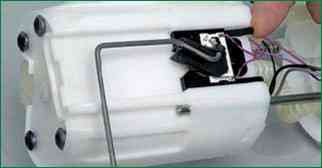
To remove the fuel gauge sensor, press the two sensor latches
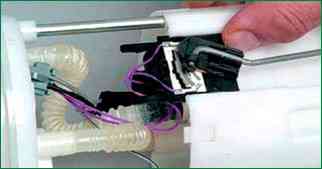
And move the sensor along the grooves of the housing towards the cover
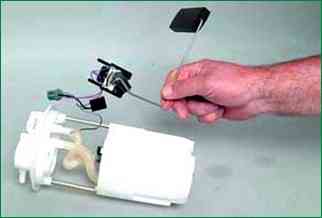
Remove the fuel gauge sensor with wire blocks
Install the fuel gauge sensor in reverse order
When replacing the fuel pump, it is better to remove the fuel gauge sensor so as not to damage it
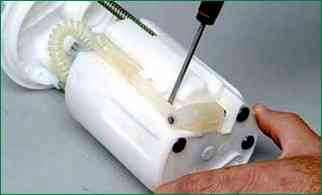
Pry off the drain tube with a screwdriver and disconnect it from the module case
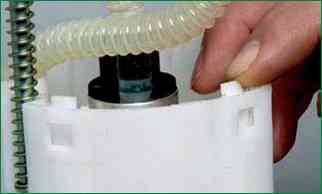
We press the four latches of the pump holder
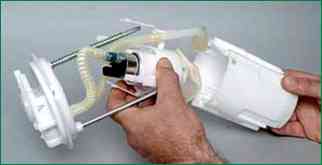
Remove the cover of the fuel module assembly with the holder and the fuel pump
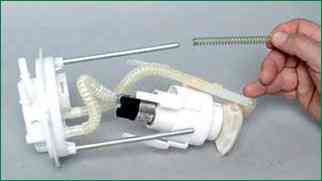
Remove the spring from the guide rack of the cover
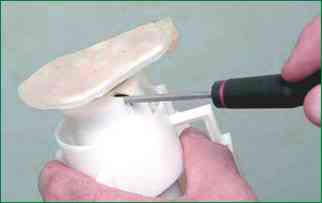
Pry off the strainer with a screwdriver
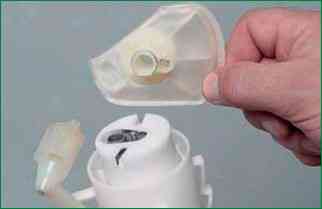
Remove the strainer
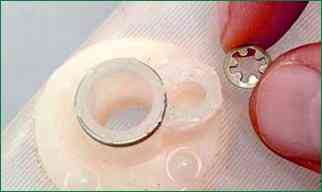
Remove the lock washer from the slot of the strainer housing
When installing a new filter, this washer must be straightened or replaced
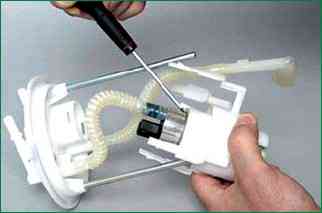
Use a screwdriver to squeeze the plastic latch of the holder
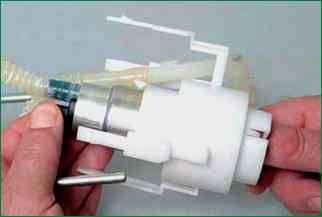
Use your finger to push the fuel pump out of the holder
We heat the plastic corrugated tube on the pump nozzle over a container of boiling water
Can be heated with a blow dryer
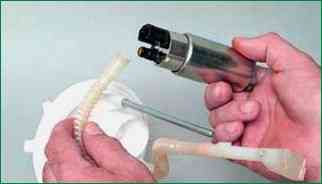
Remove the tube from the pump nozzle
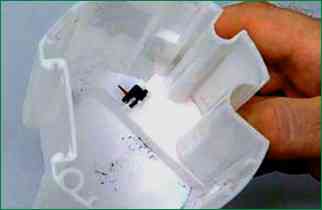
A valve is installed in the fuel module housing to prevent fuel from leaking out of the housing
We assemble and install the fuel module in the reverse order
Before closing the hatch cover, check the tightness of the fuel module connections.
Connect the negative terminal and start the engine. Inspection check the tightness of the connections.
After that, close the hatch.


