Removing the spare wheel bracket
You will need the key "for 17".
Remove the spare wheel from the bracket.
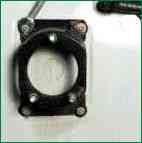
Remove the four nuts securing the bracket to the tailgate
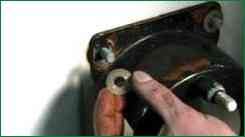
Remove the washers under the nuts.
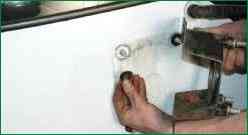
Remove the bracket and rubber washers from the tailgate studs
Install the spare wheel bracket in the reverse order of removal
Removing and installing tailgate upholstery
You will need flat and Phillips screwdrivers.
Open the tailgate.
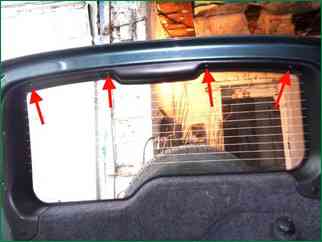
Remove the top screws securing the glass frame.
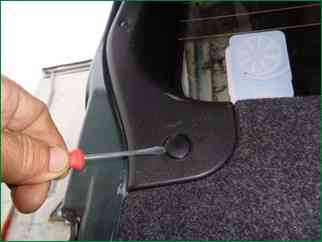
Remove the decorative caps from both sides of the frame
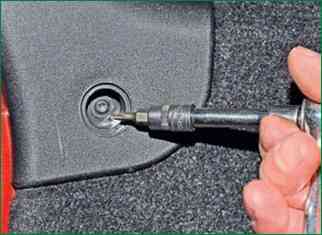
Remove the screws under the covers.
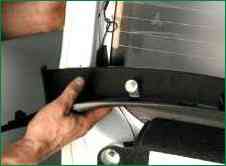
Remove the glass frame.
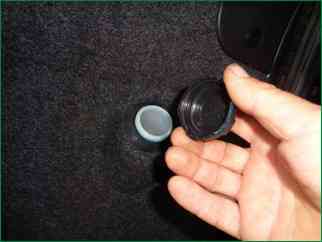
Remove the fill plug
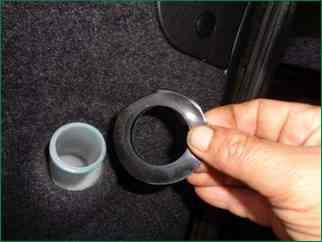
Remove the tailgate glass washer reservoir cap.
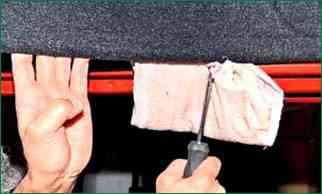
Carefully pry upholstery with a screwdriver at the location of the fastening clips and remove it
To avoid scratching painted parts with a screwdriver, wrap the tip of the screwdriver with electrical tape.
Install the upholstery and glass frame in the reverse order of removal.
Replace broken upholstery clips with new ones
Removing and installing tailgate lock actuator
You will need flat and Phillips screwdrivers.
Remove the tailgate trim.
Disconnect the wire from the negative terminal of the battery.
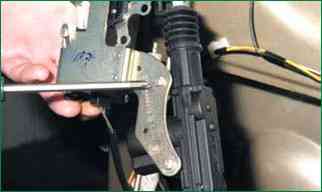
Remove the screws securing the gearmotor
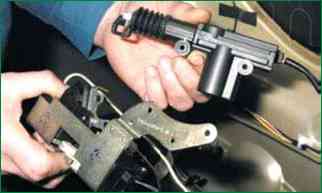
Remove the gearmotor of the lock drive.
Disconnect the wiring harness block from the gearmotor
Install the lock motor gear and removed parts in the reverse order of removal.
Removing and installing the lock and handle of the tailgate lock
You will need: 8" and 10" wrenches, flat and Phillips screwdrivers.
Remove the door trim and back.
Disconnect the negative terminal of the battery
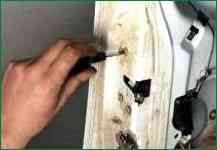
Remove the lock screws
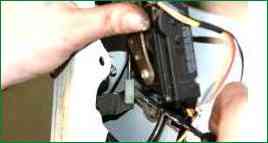
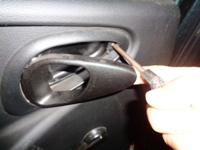
Using a screwdriver, disconnect the rods from the door lock switch lever
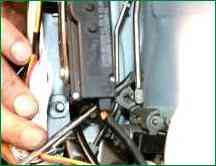
Disconnect the linkages from the door handle
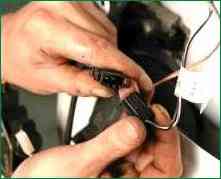
Disconnect the black harness block
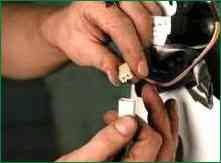
Disconnect the white harness block
Remove the lock assembly with the drive gearmotor
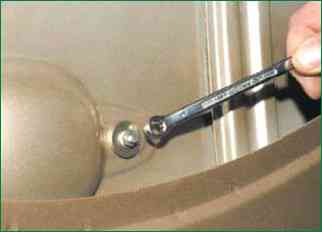
Remove the door handle nuts
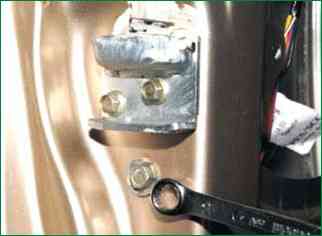
Remove the handle bracket bolt
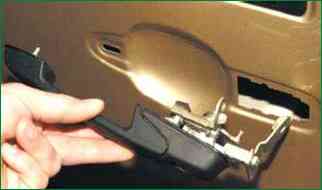
In the open position, slide the handle to the left and remove the handle from the door opening
Install the tailgate lock and its handle in the reverse order of removal
Before assembling, lubricate the rubbing metal parts of the mechanism with grease.
Removing and installing tailgate
You will need: keys for 10, 13, 17 and a screwdriver
Disconnect the negative battery terminal
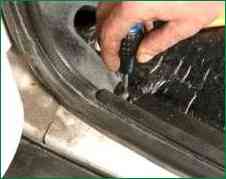
Remove the screws securing the left trunk lining
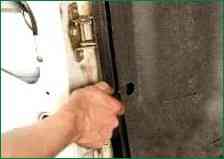
Remove the clips securing the left trunk lining
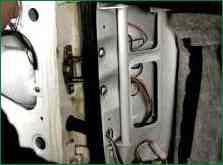
Push upholstery to one side
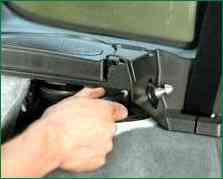
Remove the screws securing the sidewall trim
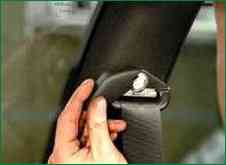
Remove the seatbelt eyelet trim
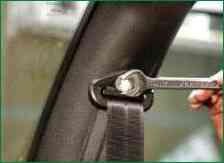
Remove the lug-to-body bolt
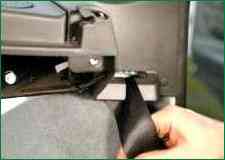
Remove the belt from under the sidewall lining
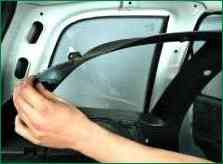
Remove the overlay
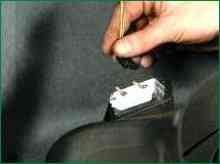
Disconnect the wiring harness connector from the trunk light
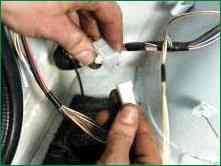
Disconnect the tailgate harness connector
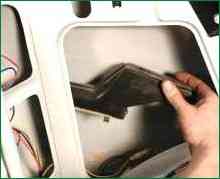
Remove the exhaust deflector
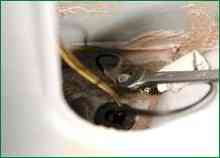
Remove the ground terminal nut
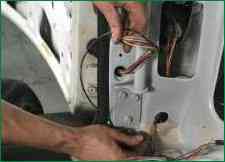
Remove the rubber bushing from the opening of the body
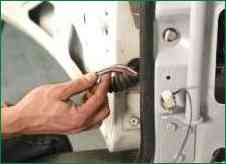
Remove tailgate harness from body opening
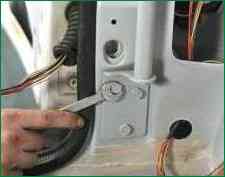
Remove the bolts securing the door opening limiter
Remove the bolts securing the lower rear hinge, having previously marked the position of the hinge on the body (if you install the previous door)
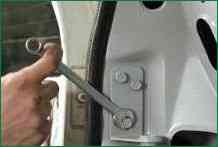
Remove the bolts securing the upper tailgate hinge, having previously marked the position of the hinge on the body (if you are installing the previous door)
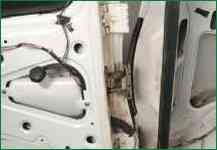
Remove the tailgate
Install the tailgate and all removed parts in the reverse order of removal.
Adjusting the position of the tailgate
The position of the tailgate is adjusted by changing the position of the lock latch and the door stud socket.
You will need an impact screwdriver
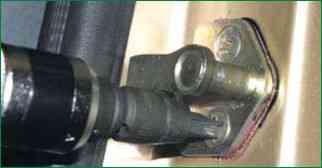
Using an impact screwdriver, loosen the screws securing the door lock latch
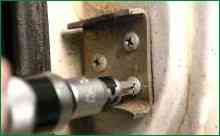
Loosen the screws securing the tailgate stud socket
Move the retainer and socket in the desired direction and tighten the screws.
Removing and installing tailgate opening limiter
You will need: 13 wrench, Phillips screwdriver, hammer
Remove tailgate trim
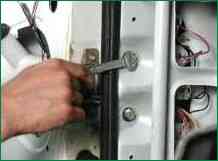
Remove the bolts securing the limiter to the body
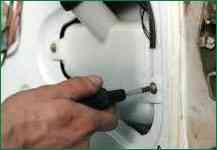
Remove the screws securing the tailgate glass washer reservoir and remove it.
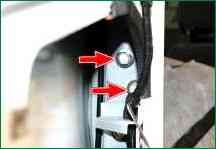
Remove the bolts securing the stopper to the door
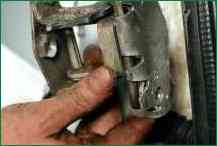
Remove the limiter
Install the restrictor in the reverse order of removal.
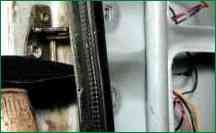
Use a hammer if necessary.


