In order to remove the fender, you must first remove the front turn signal, turn signal and remove the bumper
You can not remove the bumper, just detach its side part.
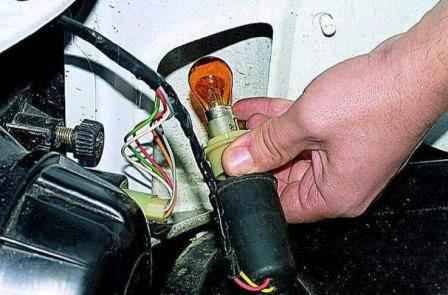
From the engine compartment, turning clockwise, we take out the cartridge in a rubber case with a lamp.
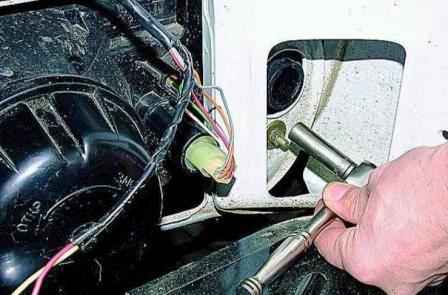
To remove the pointer with a “10” head, unscrew the two nuts of its fastening.
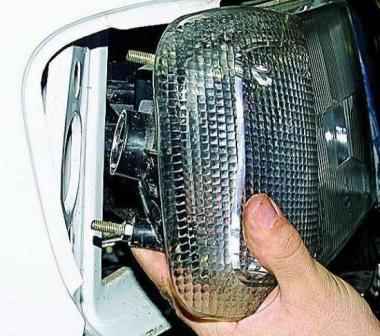
Remove the pointer.
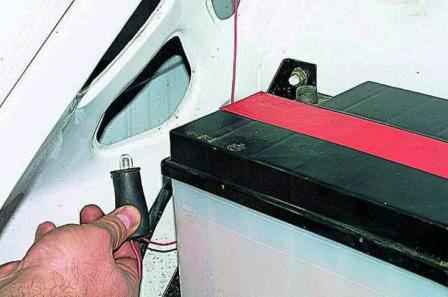
From the engine compartment, manually disconnect the cartridge with a lamp and a rubber boot from the direction indicator
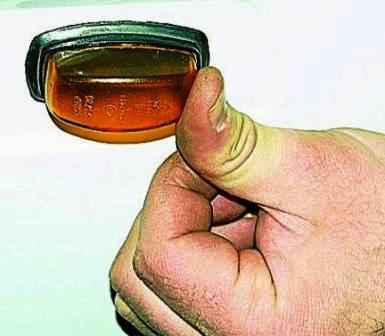
By moving the turn signal back
Remove the repeater of the direction indicator.
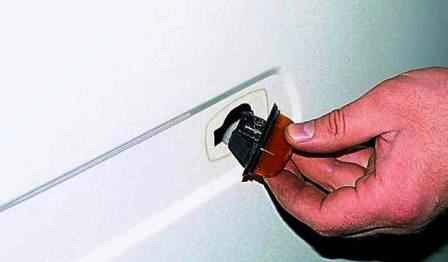
Unscrew the side bumper mount
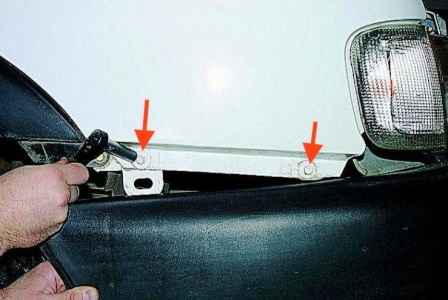
With a “10” head, we unscrew the two bolts of the lower wing mount
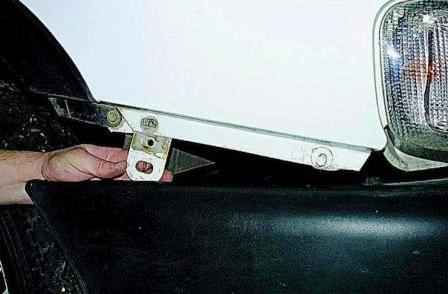
One of these bolts holds the bumper lug.
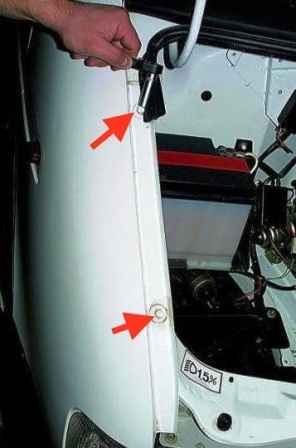
With the same wrench, unscrew the two bolts of the upper wing mount.
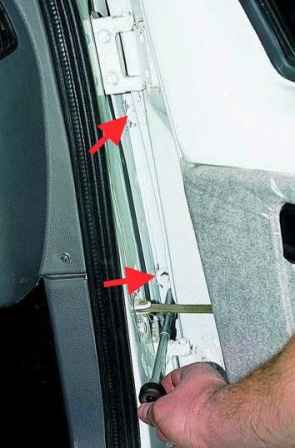
Having opened the door, with a “10” head with an extension, unscrew the two bolts securing the wing from the side of the door hinges by 3–4 turns.
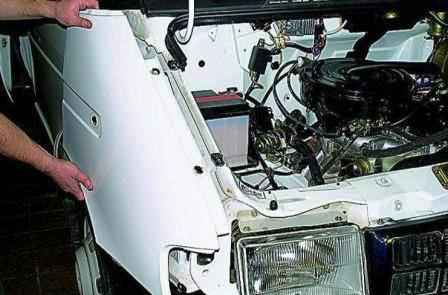
Carefully move the wing away from the car, starting from its lower edge, and then, lowering the wing a little down, we remove its upper edge from under the A-pillar lining
Install the fender in the reverse order, covering with an anticorrosion compound the places where the fender fits to the car body.
Install the front pointer and repeater in reverse order.
Before tightening the indicator mounting nuts, we move it within the slot for the screws, achieving a uniform and minimal gap between it, the headlight and the hood.


