Drain the engine oil
Drain the engine coolant and remove the radiator.
Disconnect the intake pipes from the exhaust manifold
Remove the carburetor and fan impeller. This will protect them from accidental damage.
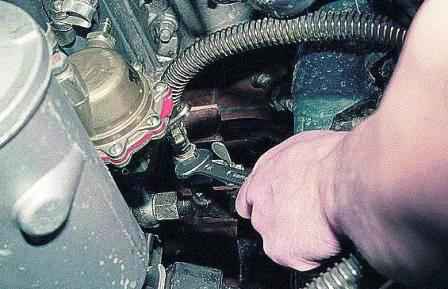
Using a 14 key, we unscrew the fitting and disconnect the oil cooler hose.
Disconnect the second oil cooler hose from the timing gear cover
Remembering or writing down the location of the remaining hoses and electrical wiring, disconnect them.
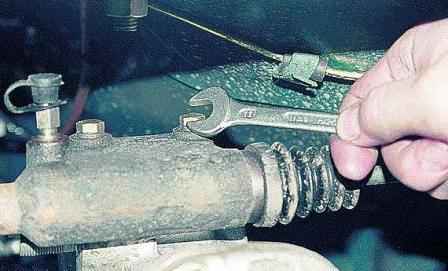
Using the “12” key, unscrew the two bolts and remove the clutch release cylinder from the clutch housing.
Remove the gearbox.
Disconnect the "mass" wire from the clutch housing cover.
Using the “17” key, we unscrew the two bolts securing the engine to the supports.
We lift the engine with a hoist or winch, carefully remove it from the engine compartment and install it on the stand.
Remove the drive and driven clutch discs and flywheel.
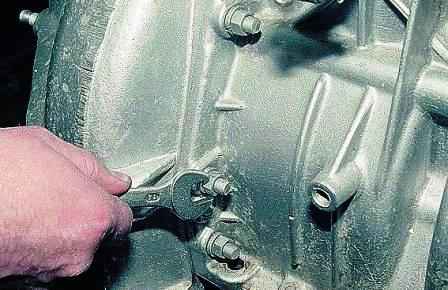
With a 14 key, we unscrew six nuts and two bolts securing the clutch housing
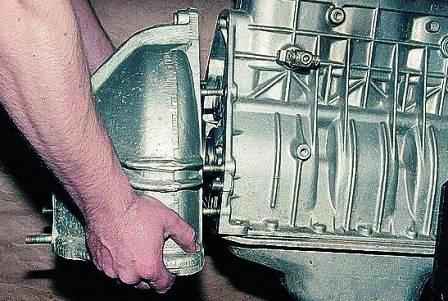
And remove it.
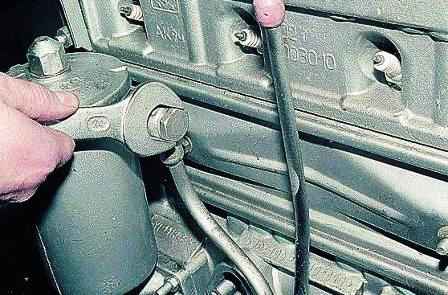
Use the “24” key to unscrew the bolt and disconnect the tube from the oil filter housing.
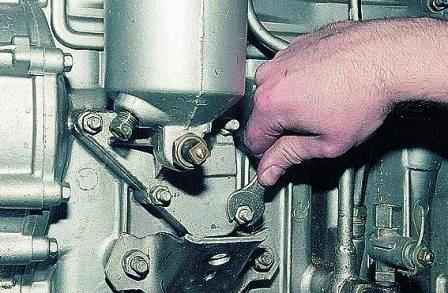
Using a 13 wrench, unscrew the four nuts securing the oil filter
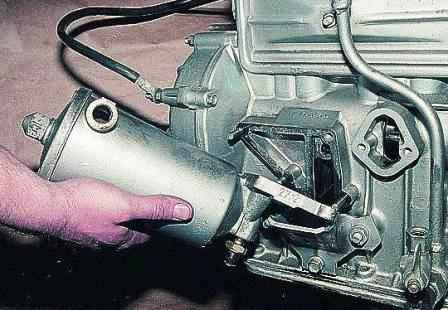
And remove it.
- Remove the generator.
- Remove the fuel pump.
- Remove the starter.
- Remove the coolant pump.
- Remove the cylinder head.
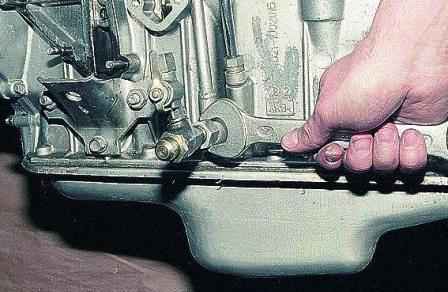
Using the “24” key, turn off and remove the oil cooler tap and oil pipe
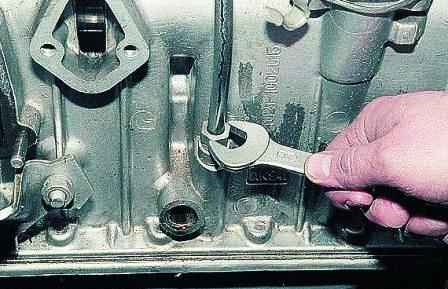
Using the “12” key, unscrew the fitting and remove the oil level indicator tube.
Remove the timing gear cover.
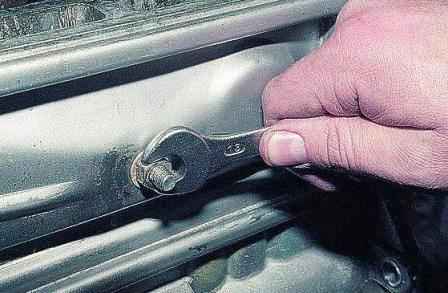
Using the “13” key, we unscrew the two nuts securing the cover of the pusher box ...
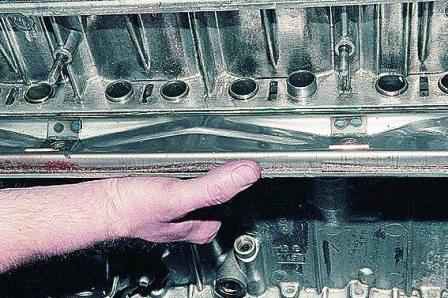
And take it off.
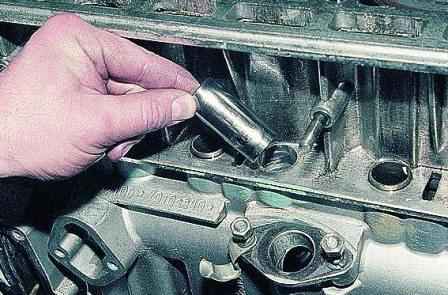
We take out eight valve lifters and number them (or arrange them in order).
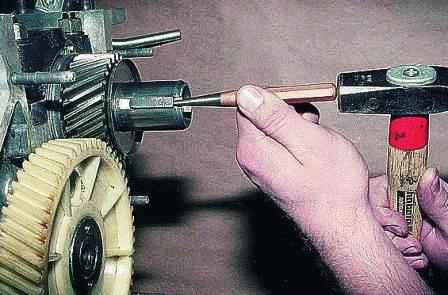
With light hammer blows through the beard, we knock out the key and remove the oil reflector from the crankshaft.
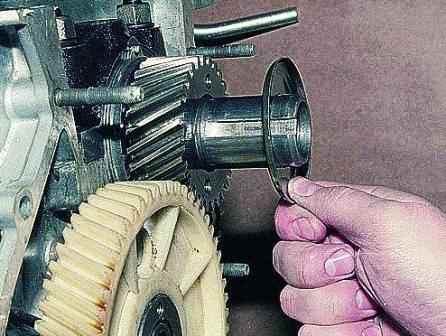

Using a “12” socket or socket wrench, unscrew the two bolts securing the thrust flange through the hole in the gear.
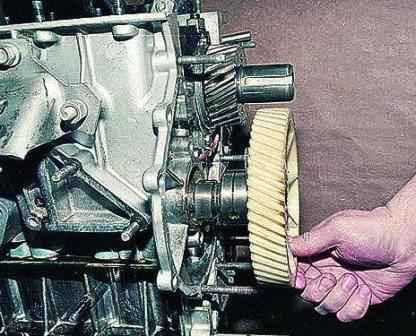
and take out the camshaft together with the gear.
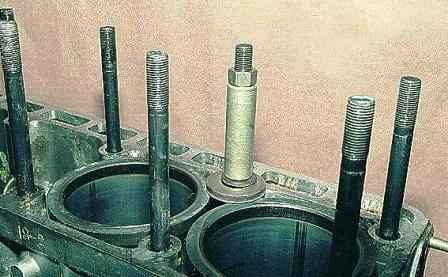
To prevent the cylinder liners from falling out, we fix them with a fixture and turn the block over.
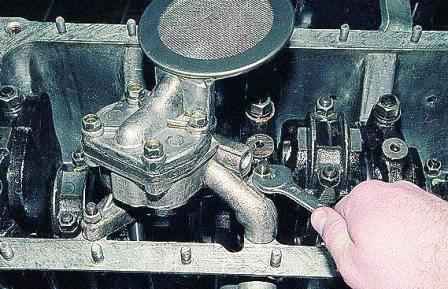
With a 1Z head, we unscrew the two nuts securing the oil pump.
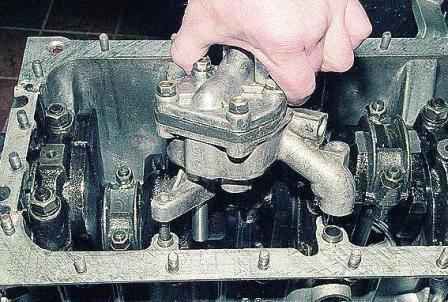
And remove it.
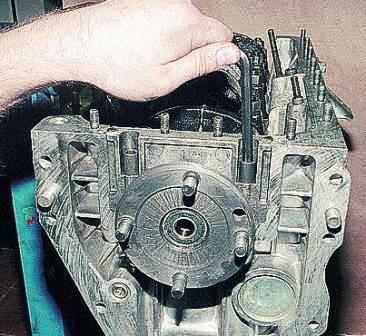
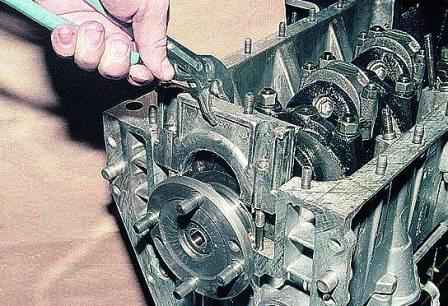
Using an 8 hexagon wrench, unscrew the two nuts and remove the crankshaft rear seal packing holder
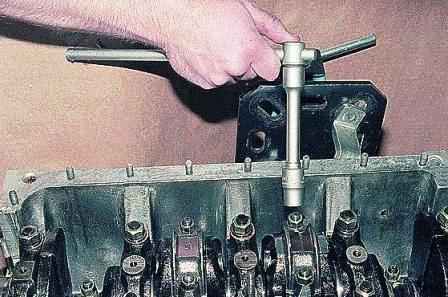
With a head of 15, we unscrew the two nuts securing the connecting rod cover.
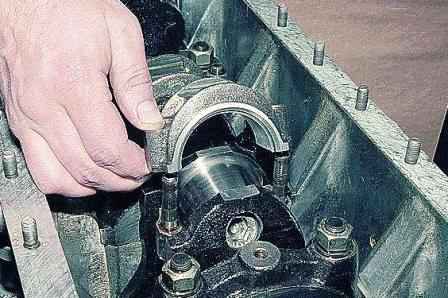
And take it off
By pressing the wooden handle of the hammer on the connecting rod, we push the piston out of the cylinder.
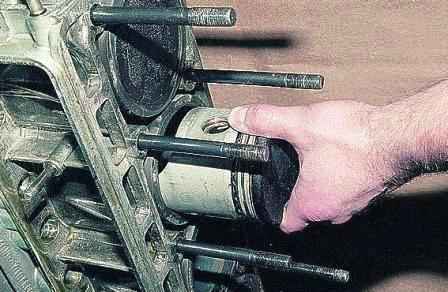
Remove the remaining three pistons
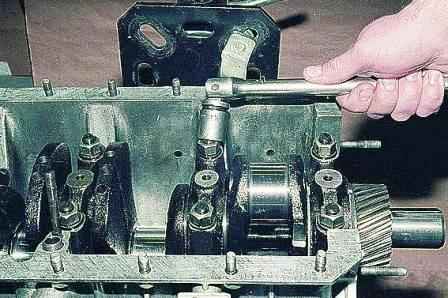
With a 19 head, unscrew the two nuts and remove the main bearing cap.
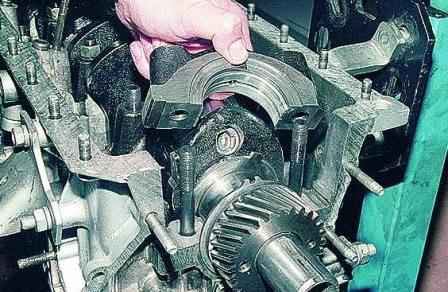
Remove the remaining four covers.
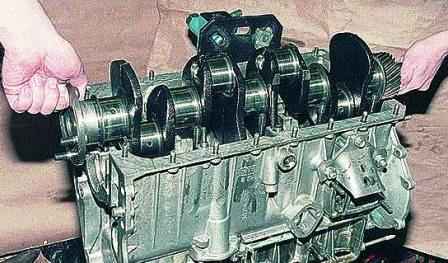
Remove the crankshaft from the block.
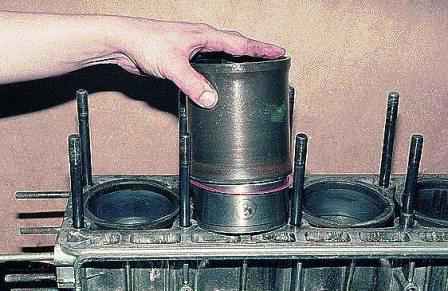
Remove the fixture for fixing the cylinder liners.
Risks, paint, etc. mark their position in the block so that it does not change when installing old cases


