There are two models of the headlight range control unit:
- - with a dimmer for the "basic" instrument lighting
- – for models with manual air conditioning control;
- - with a dimmer for "top-of-the-range" instrument lighting
- - for models with automatic air conditioning control.
The headlight range control switch of the same model is used regardless of the type of air conditioner.
Remove
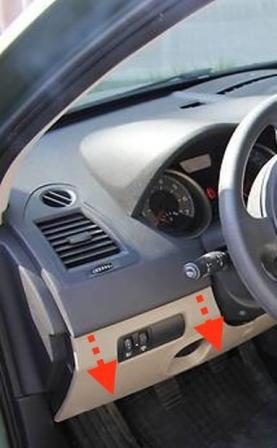
Remove the lining of the lower part of the dashboard on the driver's side (Fig. 1, 2).
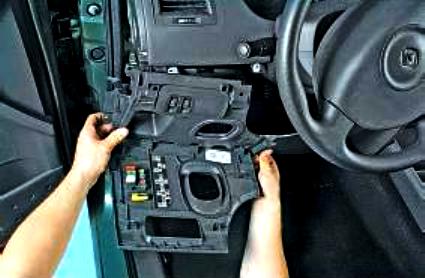
Disconnect the connector.
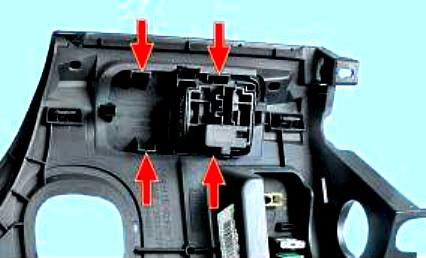
Pry off the four fasteners securing the trim of the regulator block (Fig. 3)
Remove the trim assembly with the regulator block (Fig. 4)
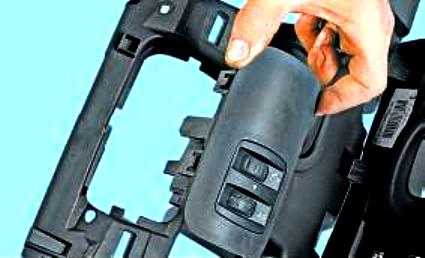
Press out the lock of the block (Fig. 5)
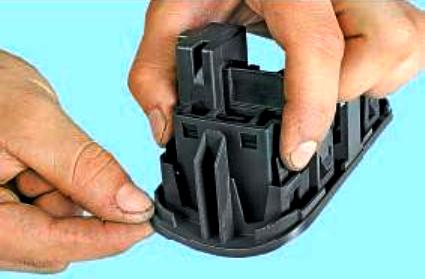
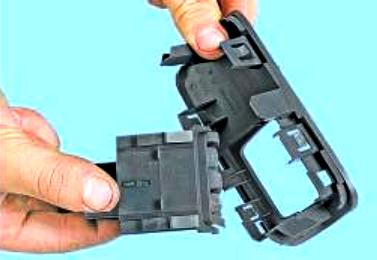
And remove the overlay from the regulator block (Fig. 6)
Removing and installing the headlight range control motor
To remove the corrector actuator, you must remove the headlight.
Withdrawal
Remove the headlight.
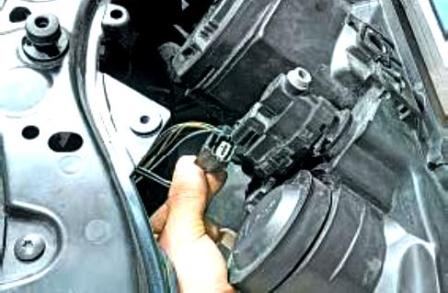
Disconnect the harness block from the headlight range control motor
Turn the motor 1/8 turn outward to disengage it from the headlamp.
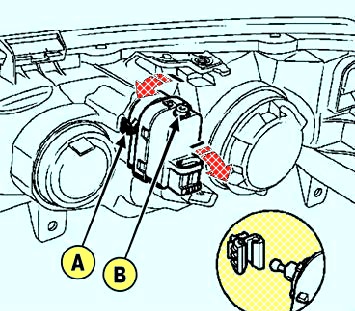
Move aside tab "A" a little so as not to break it (Fig. 3).
Slightly wiggle the actuator to disengage the ball head from the parabolic reflector.
To make it easier to disconnect, turn the screw "B" a few turns (see fig. 3).
Installation
Holding the bulb by the base, pull the parabolic reflector back from the headlamp.
Snap the ball head into the headlight retainer.
Insert the electric motor into the headlight.
Turn the motor 1/8 turn to lock it into the headlight.
Connect the connector.
Install the lid.
Adjust the headlights.


