The main brake cylinder with a two-section reservoir and an emergency drop in brake fluid level sensor is attached to the vacuum booster
The pistons in the cylinder are arranged in series, the one closest to the vacuum booster actuates the brake mechanisms of the rear wheels, the other piston - the front ones.
We remove the main brake cylinder for repair, as well as for replacing the vacuum booster.
The following defects of the brake master cylinder usually occur:
- - contamination of the main cylinder or heavy wear of its mirror;
- - wear or damage to the master cylinder piston cuff;
- - cuff swelling;
- - compensation holes are clogged (the car brakes spontaneously)
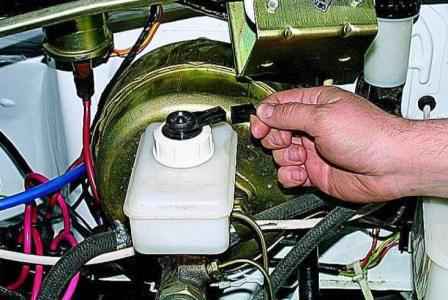
Disconnect the wiring harness from the brake fluid level emergency drop sensor.
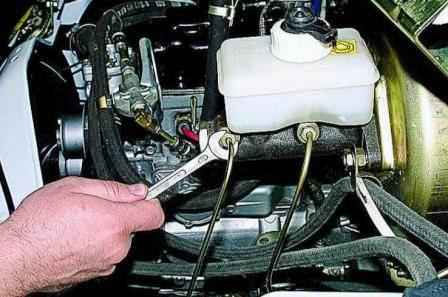
Using the “12” key, we unscrew both fittings of the brake pipes and take them to the side.
With the “17” key, unscrew the nut and remove the hose and wire clamp.
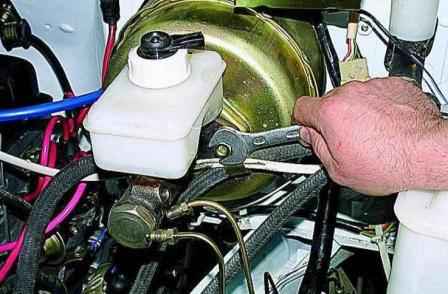
Using the “17” key, we unscrew the two nuts securing the master cylinder to the vacuum booster
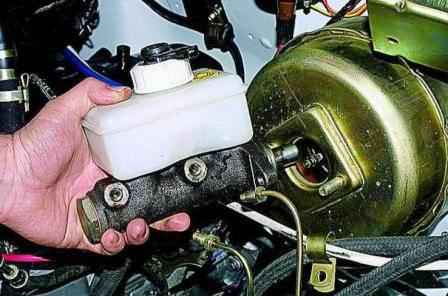
Remove the master cylinder
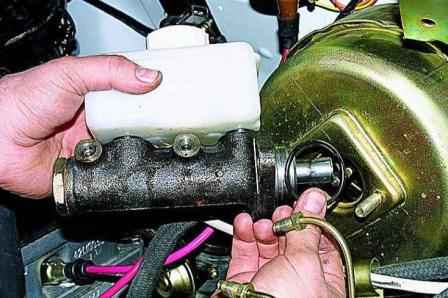
A rubber o-ring is installed between the cylinder and the booster. It should be moved to a new cylinder (in case of replacement)
Unscrew the tank cap and, turning the cylinder upside down, drain the liquid from it.
By pressing the piston several times, we completely drain the remaining liquid
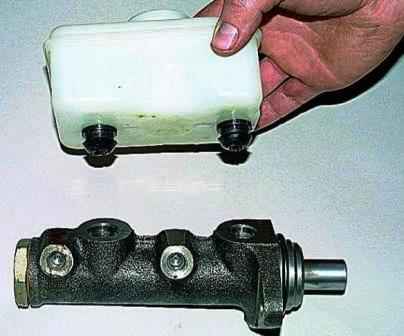
Pull out the tank from the cylinder
Install the brake master cylinder in reverse order.
After filling the reservoir with liquid, we check the operation of the brakes and, if necessary, bleed the brake system (see Bleeding the brake system, replacing the brake fluid).


