In the article, we will consider disassembly, assembly and verification of generator parts
We remove the generator from the car, as described in the previous article
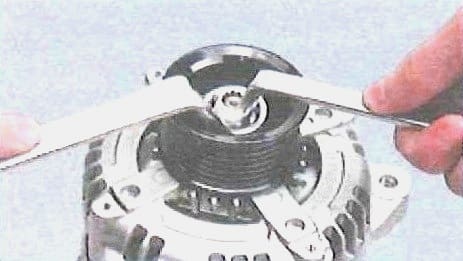
Unscrew the pulley fastening nut, holding the generator shaft with the second key and remove the pulley from the shaft
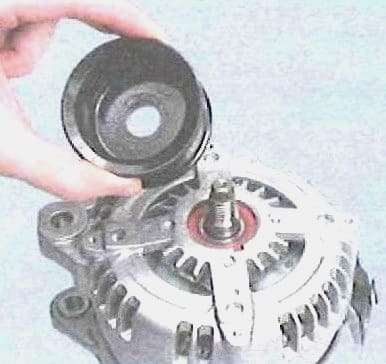
A pulley with a freewheel can be installed on the generator.
To remove such a pulley, you will need a special tool
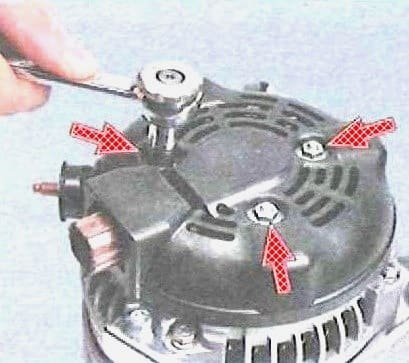
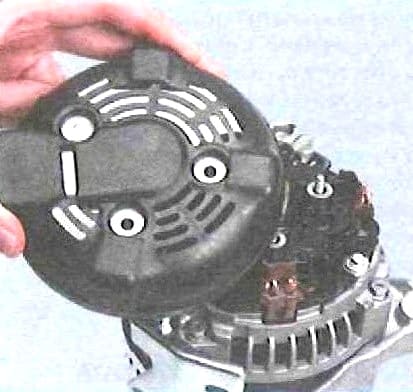
We unscrew the three nuts securing the brush holder cover and remove the cover
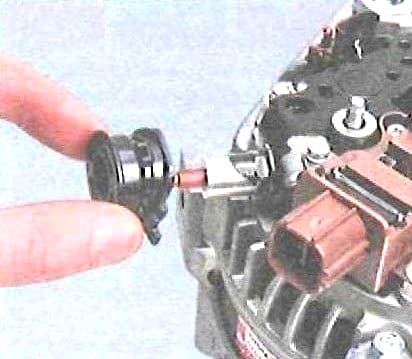
Remove the insulating sleeve of the generator power contact
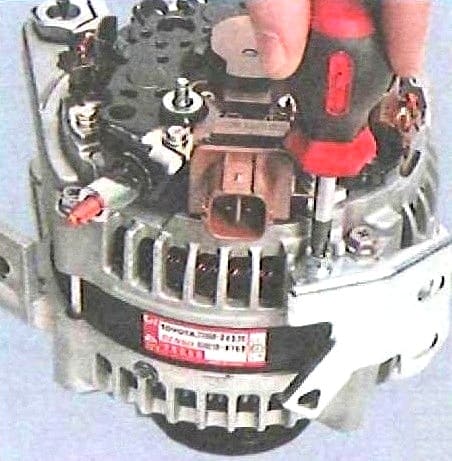
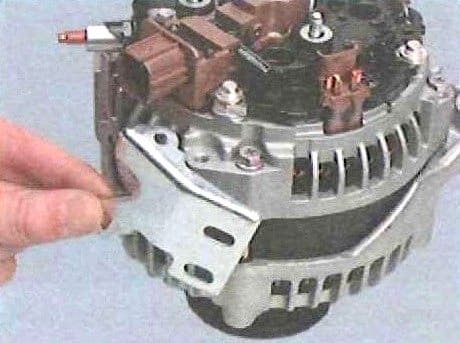
We unscrew the screw securing the bracket for the harness holder and remove the bracket
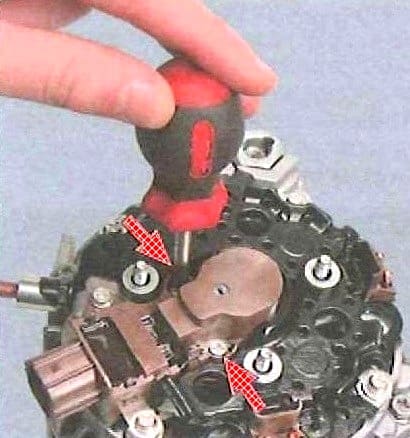
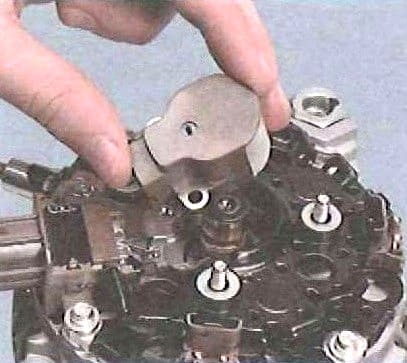
We unscrew the two screws securing the brush holder and remove it
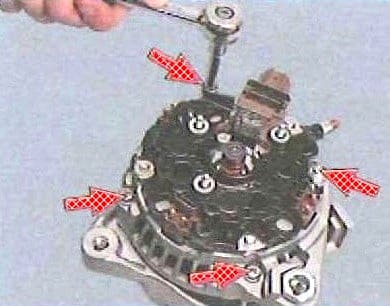
We unscrew the four coupling bolts of the generator
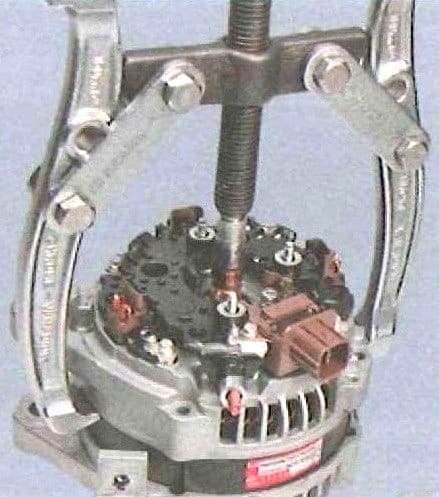
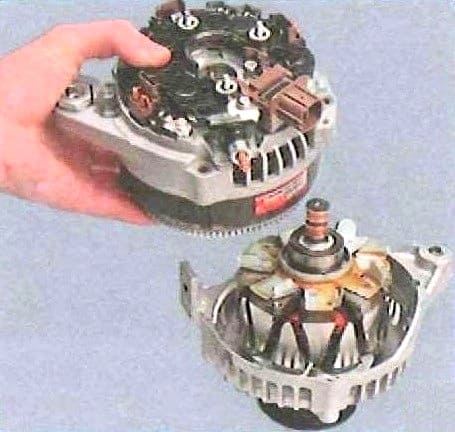
Install the screw puller and separate the stator from the cover on the drive side
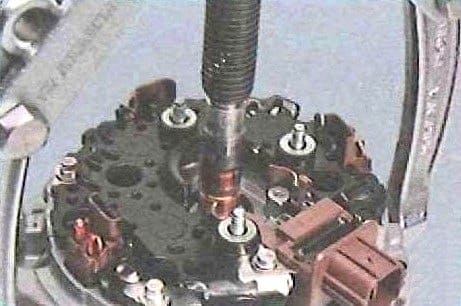
In order not to damage the rotor shaft, we substitute a suitable socket head under the puller screw
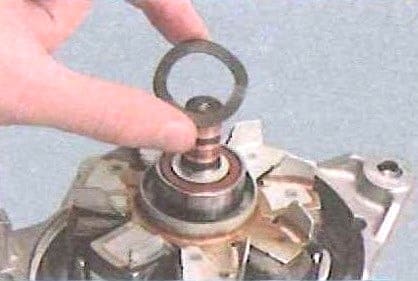
Remove the spring ring and drive side cover from the rotor shaft
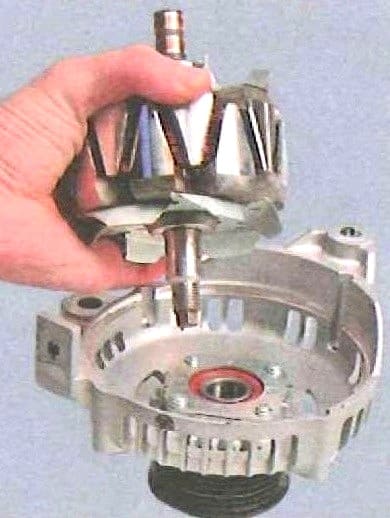
Inspecting the cover of the generator.
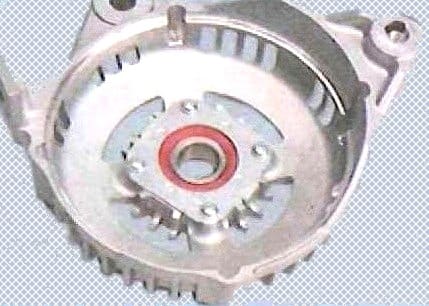
If during rotation and the bearing, there is a play between the rings, rolling or jamming of the rolling elements, protective rings are damaged or there are traces of grease leakage, replace the bearing.
If cracks are found on the cover, especially in the places where the generator is attached, it is necessary to replace the cover
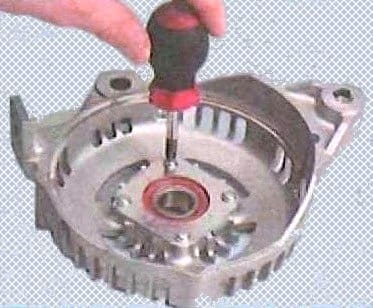
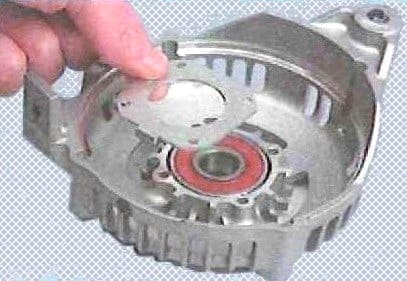
To replace the front rotor bearing, unscrew the four screws securing the pressure plate and remove the plate
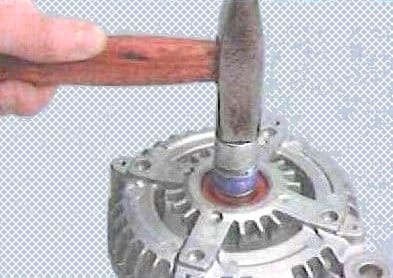
Press the bearing out of the cover
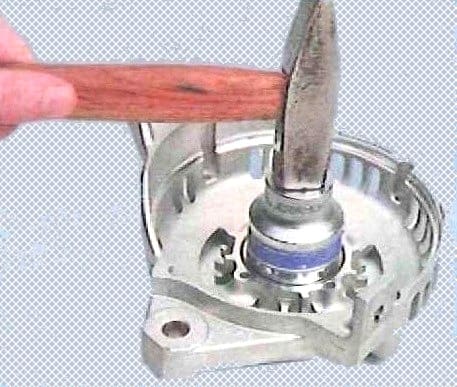
We press the new bearing into the cover with a mandrel of a suitable size, applying force to the outer ring
Check the ease of rotation of the bearing from the side of the slip rings.
If during the rotation of the bearing there is play between the rings, rolling or jamming of the rolling elements, the protective rings are damaged or there are traces of lubricant leakage, the rotor assembly with the bearing should be replaced
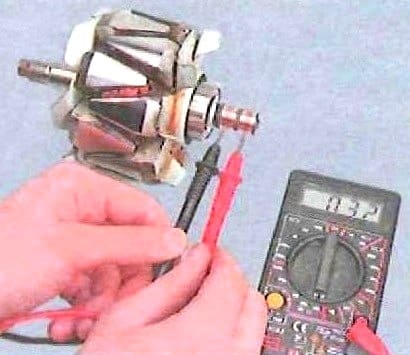
Check the resistance of the rotor winding by connecting the tester to slip rings.
Resistance should be about 2.3-2.7 ohms.
If the tester shows infinity, then there is a break in the windings and the rotor needs to be replaced
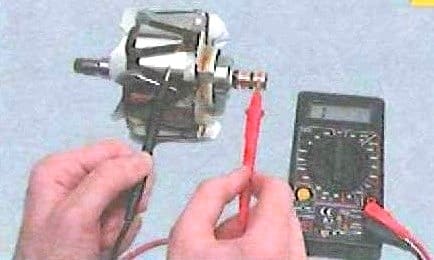
Checking the short circuit of the rotor winding to ground.
To do this, we connect the tester probes to the rotor pole and alternately to the slip rings.
The measured resistance must be infinite, otherwise we replace the rotor
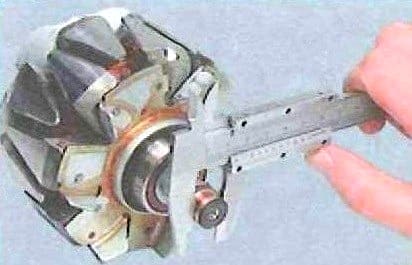
Measure the diameter of the slip rings of the rotor.
If the diameter of any ring is less than 14 mm, replace the rotor
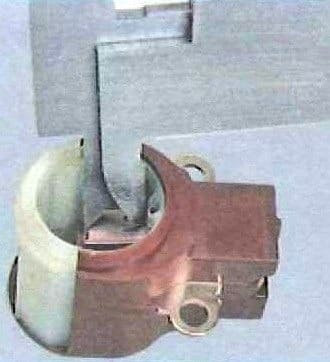
Checking the protrusion of the brushes in a free state.
If the brushes protrude less than 4.5 mm, replace the brush holder assembly
Assemble the generator in reverse order
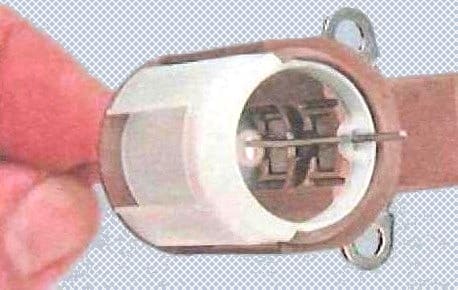
Before installing the brush holder, we sink its brushes into the holes of the brush holder and insert a rod of a suitable size
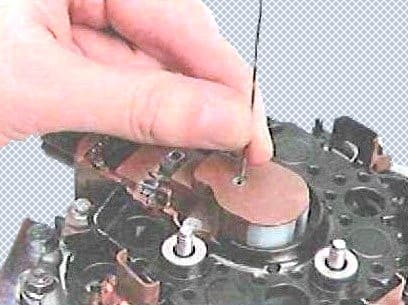
After installing the brush holder, remove the rod


