Removing the stator shaft
Inspect the oil pump
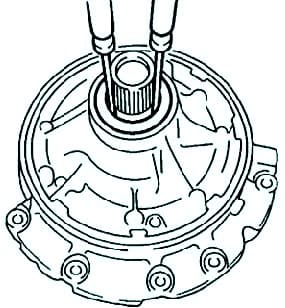
Turn the oil pump drive gear with 2 screwdrivers and make sure it rotates smoothly (fig. 1).
Be careful not to damage the lug of the oil seal.
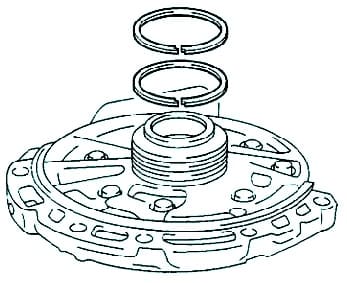
Remove the 2 O-rings of the clutch drum (fig. 2).
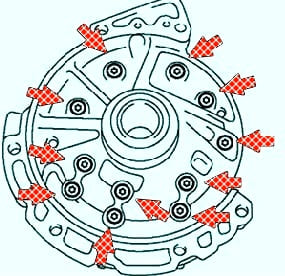
Using a Torx socket wrench (T30), unscrew the 11 mounting bolts and remove the stator shaft.
Store gears in assembly order (Figure 3).
Checking oil pump clearances
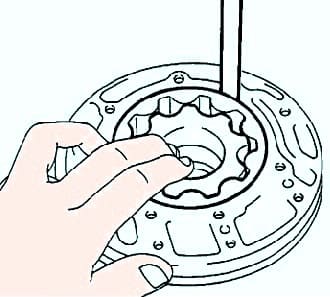
Push the driven gear against the housing wall.
Using a feeler gauge, measure the clearance between the driven gear and the stator shaft housing (fig. 4).
- Standard clearance: 0.10 - 0.17 mm.
- Maximum gap: 0.17mm
If the clearance is greater than the maximum, replace the oil pump housing.
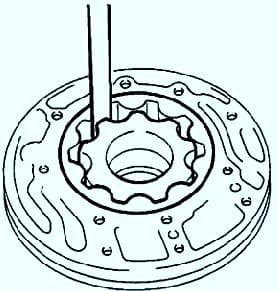
Measure the gap between the tooth heads of the driving and driven gears (Fig. 5).
- Standard gap between tooth heads: 0.07 - 0.15 mm.
- Maximum gap between tooth heads: 0.15 mm.
If the gap between the tooth heads is greater than the maximum, replace the oil pump housing.
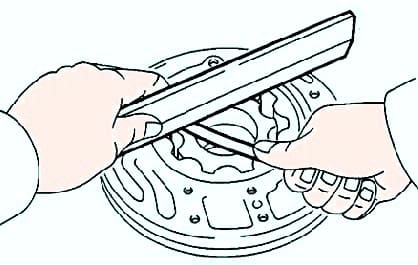
Using a straightedge and feeler gauge, measure the backlash of both gears (fig. 6).
- Standard side clearance: 0.02-0.05mm
- Maximum side clearance: 0.05 mm.
Removing the oil pump drive and driven gears
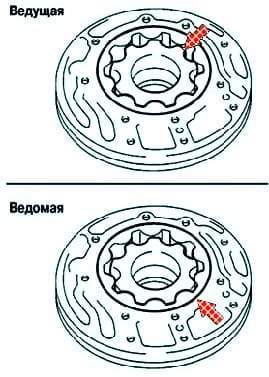
Remove the front oil pump drive gear, then remove the oil pump driven gear (Fig. 7).
Removing the front O-ring and the front oil pump housing oil seal

Using a screwdriver, remove the O-ring from the oil pump housing (fig. 8).
Before use, wrap the tip of the screwdriver with electrical tape.
Clamp the oil pump in a vise with soft jaws.
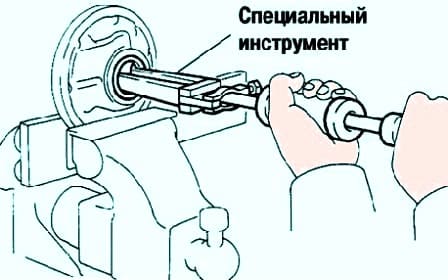
Using the special tool 09308-00010, remove the oil seal from oil pump housing (Fig. 9).
Checking the oil pump
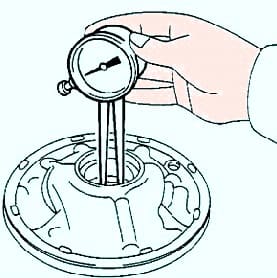
Using a dial gauge, measure the inside diameter of the oil pump housing bushing (fig. 10).
- Standard inside diameter: 38.113mm - 38.138mm
- Maximum inner diameter: 38.188mm
If the inner diameter is larger than the maximum, replace the oil pump housing.
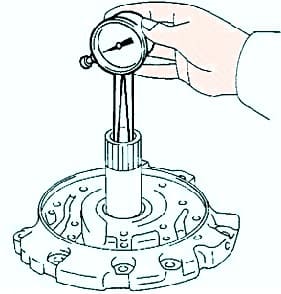
Using a dial gauge, measure the inside diameter of the stator shaft bushings (fig. 11).
- Standard inside diameter: 21.500mm - 21.526mm
- Maximum inner diameter: 21.57mm
If the diameter is larger than the maximum, replace the stator shaft.
Oil pump assembly
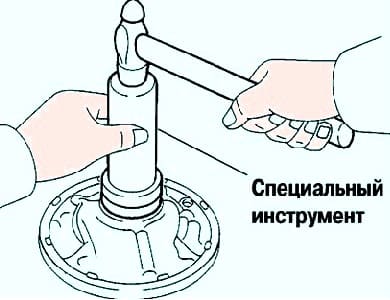
Using the special tool 09350-32014 (09351-32140) and a hammer, install the new pump seal (fig. 12).
Before installing, lubricate the lip of the oil seal with petroleum jelly.
The oil seal must be flush with the outer edge of the oil pump.
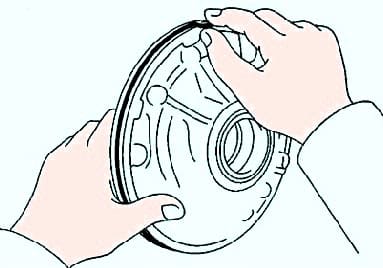
Lubricate the O-ring with automatic transmission fluid, install it in the oil pump housing (Fig. 13).
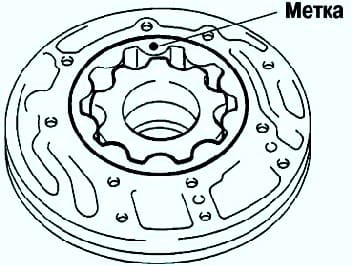
Lubricate the front driven gear of the oil pump with automatic transmission fluid, install it in the oil pump housing with the mark up (Fig. 14).
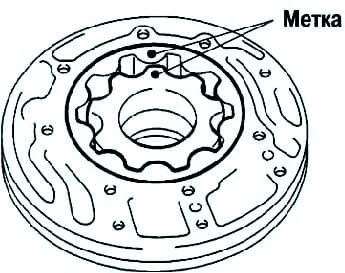
Lubricate the front drive gear of the oil pump with automatic transmission fluid, install the gear in the oil pump housing with the mark up (Fig. 15)
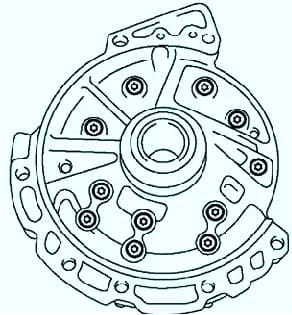
Install the stator shaft by aligning the holes for the mounting bolts.
Using a Torx socket wrench (T30), install and tighten the 11 mounting bolts (fig. 16). Tightening torque: 9.8 Nm.
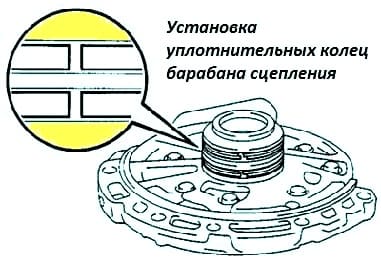
Install the 2 O-rings of the clutch drum (fig. 17).
Do not over-expand the gap between the ends of the rings.
Check the oil pump by turning the drive gear with 2 screwdrivers and making sure it turns smoothly


